How To Add Your Designs
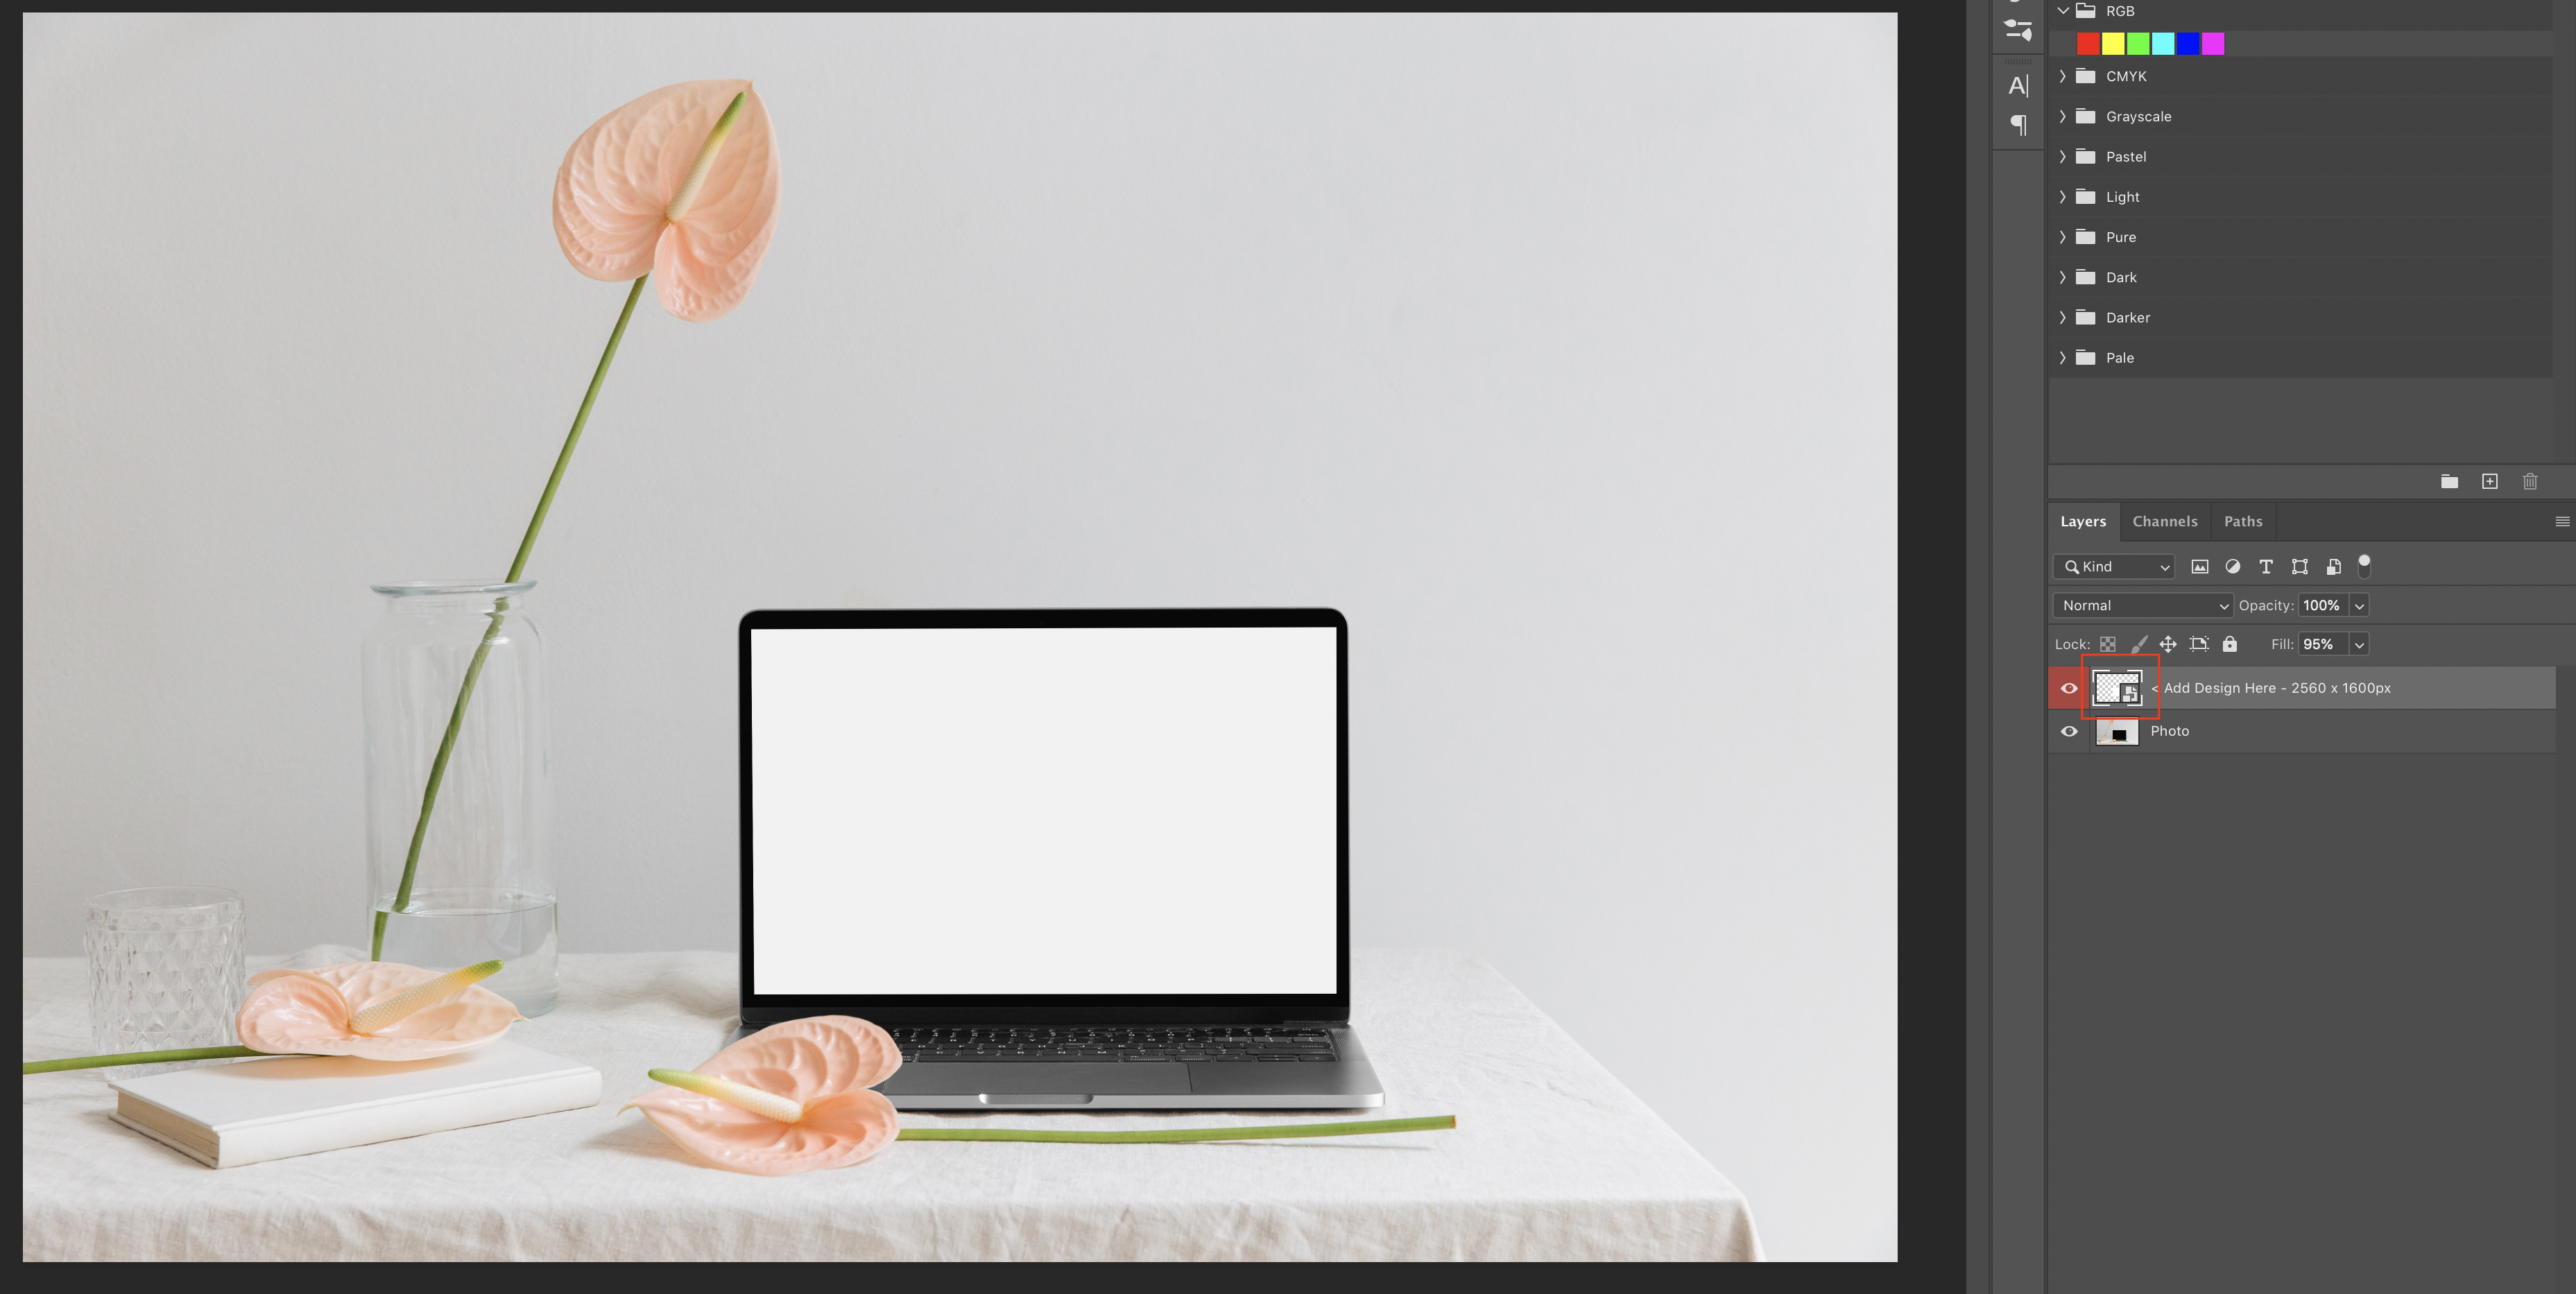
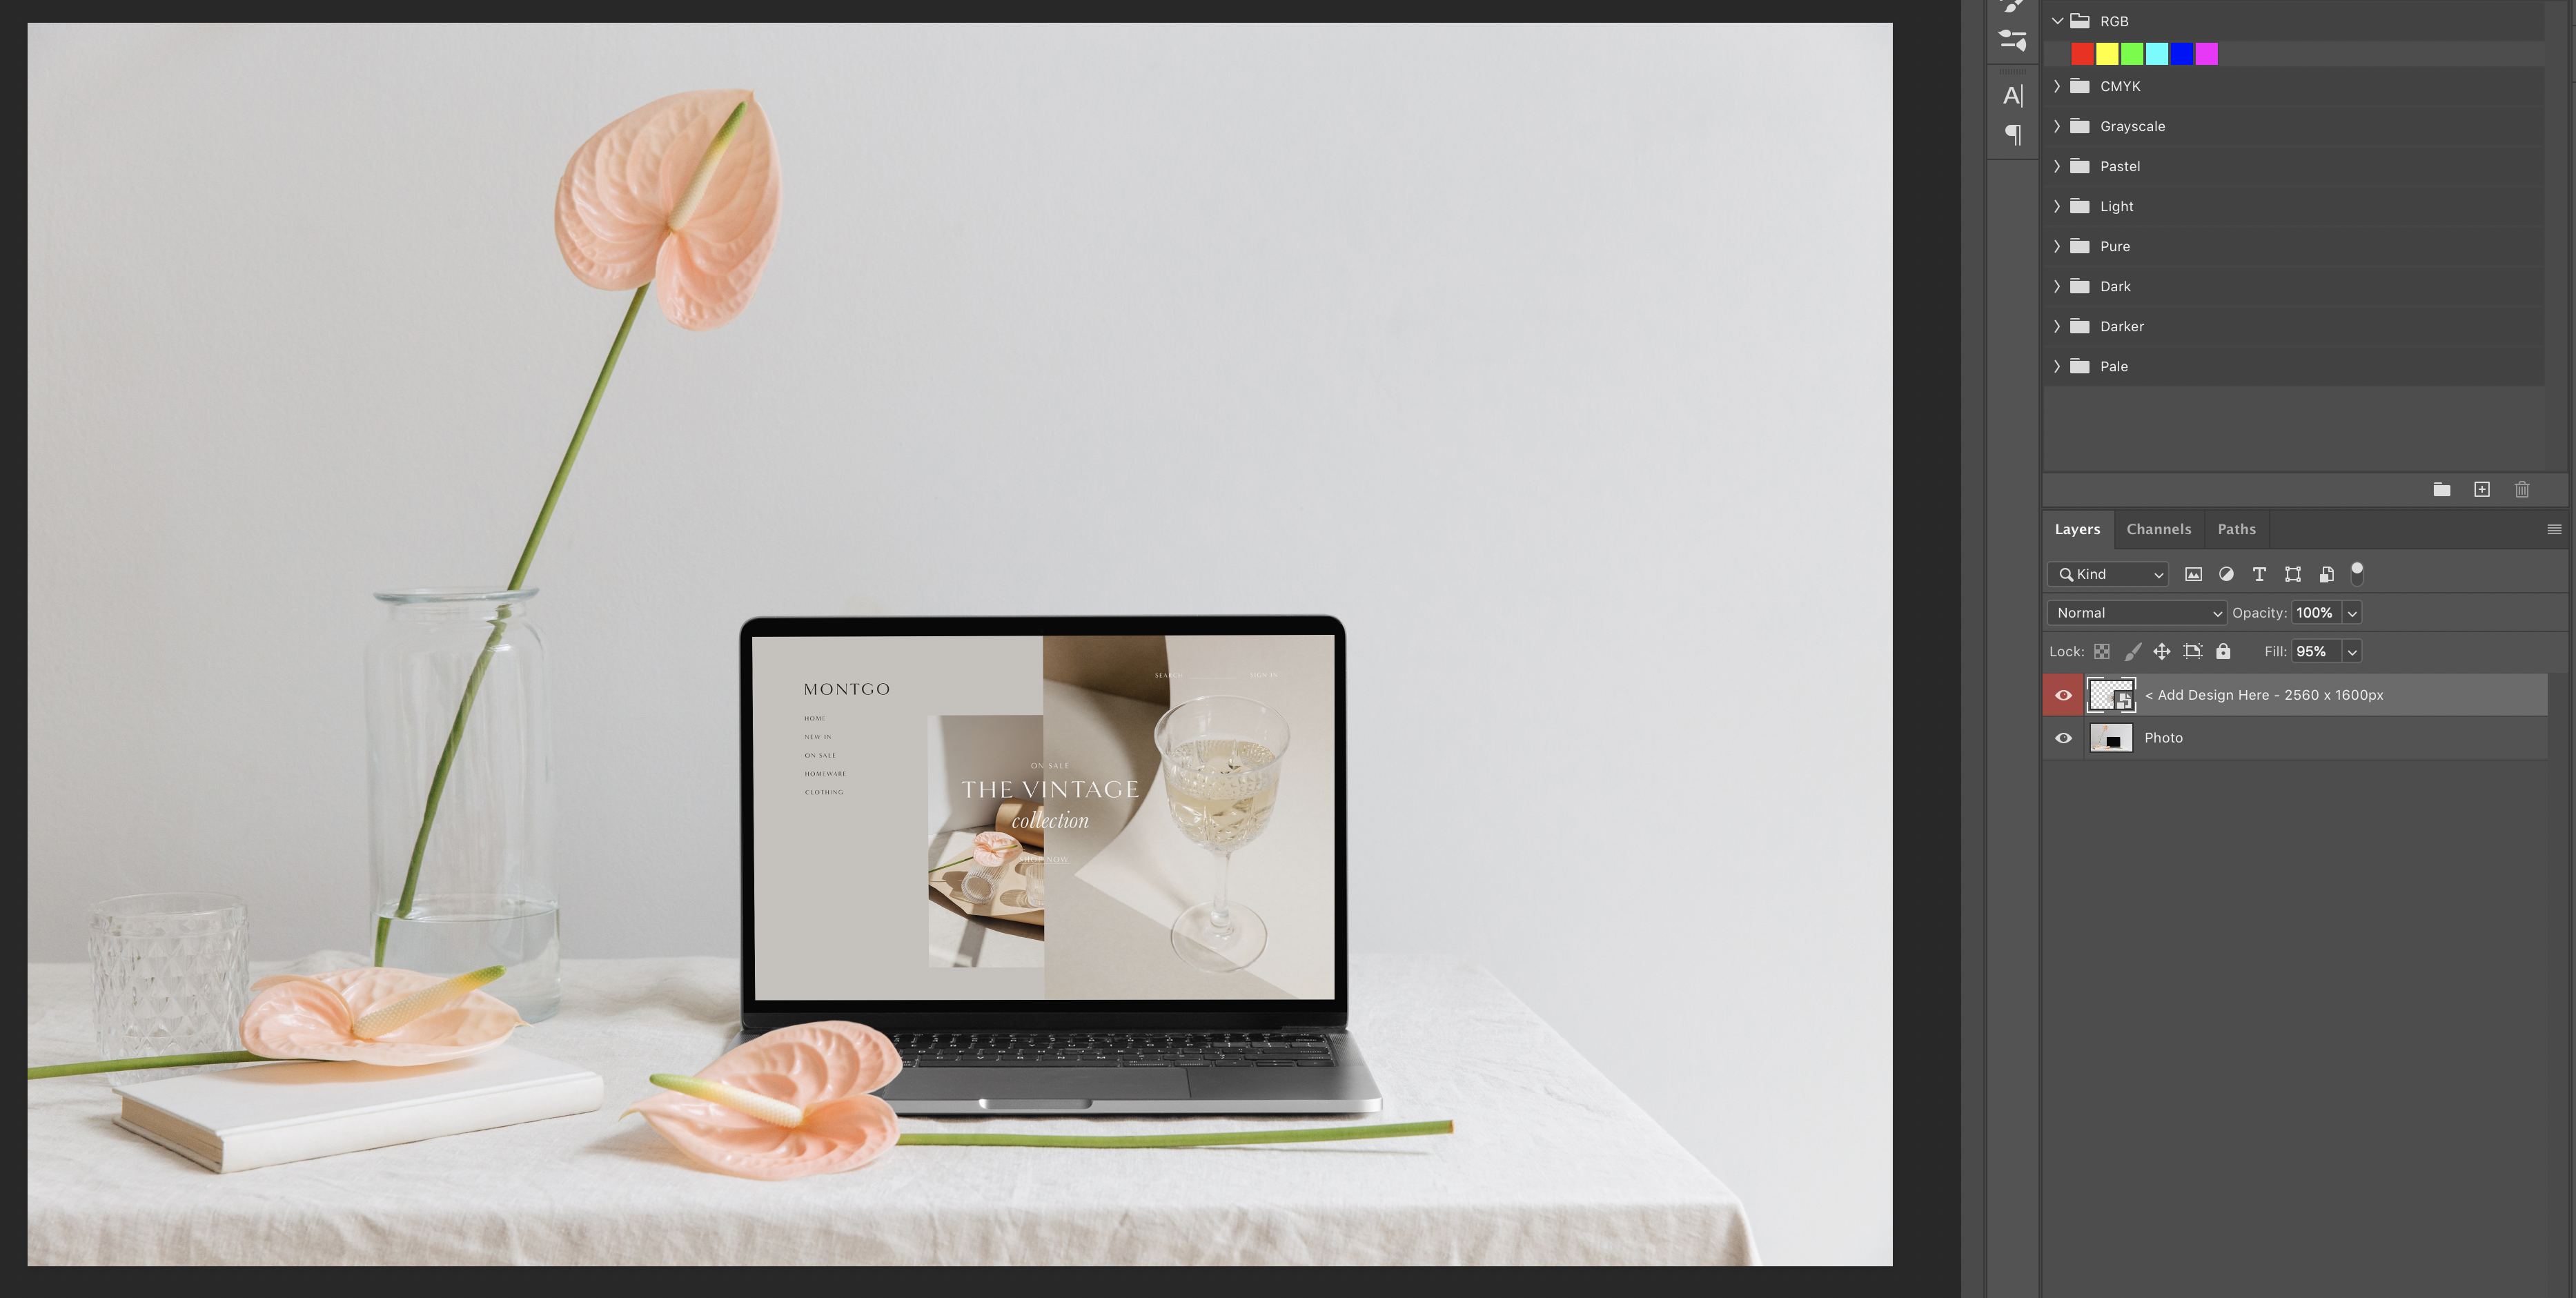
1. Double click on the thumbnail of the ‘Add Design Here’ layer (highlighted in red). This will open a new tab in Photoshop.
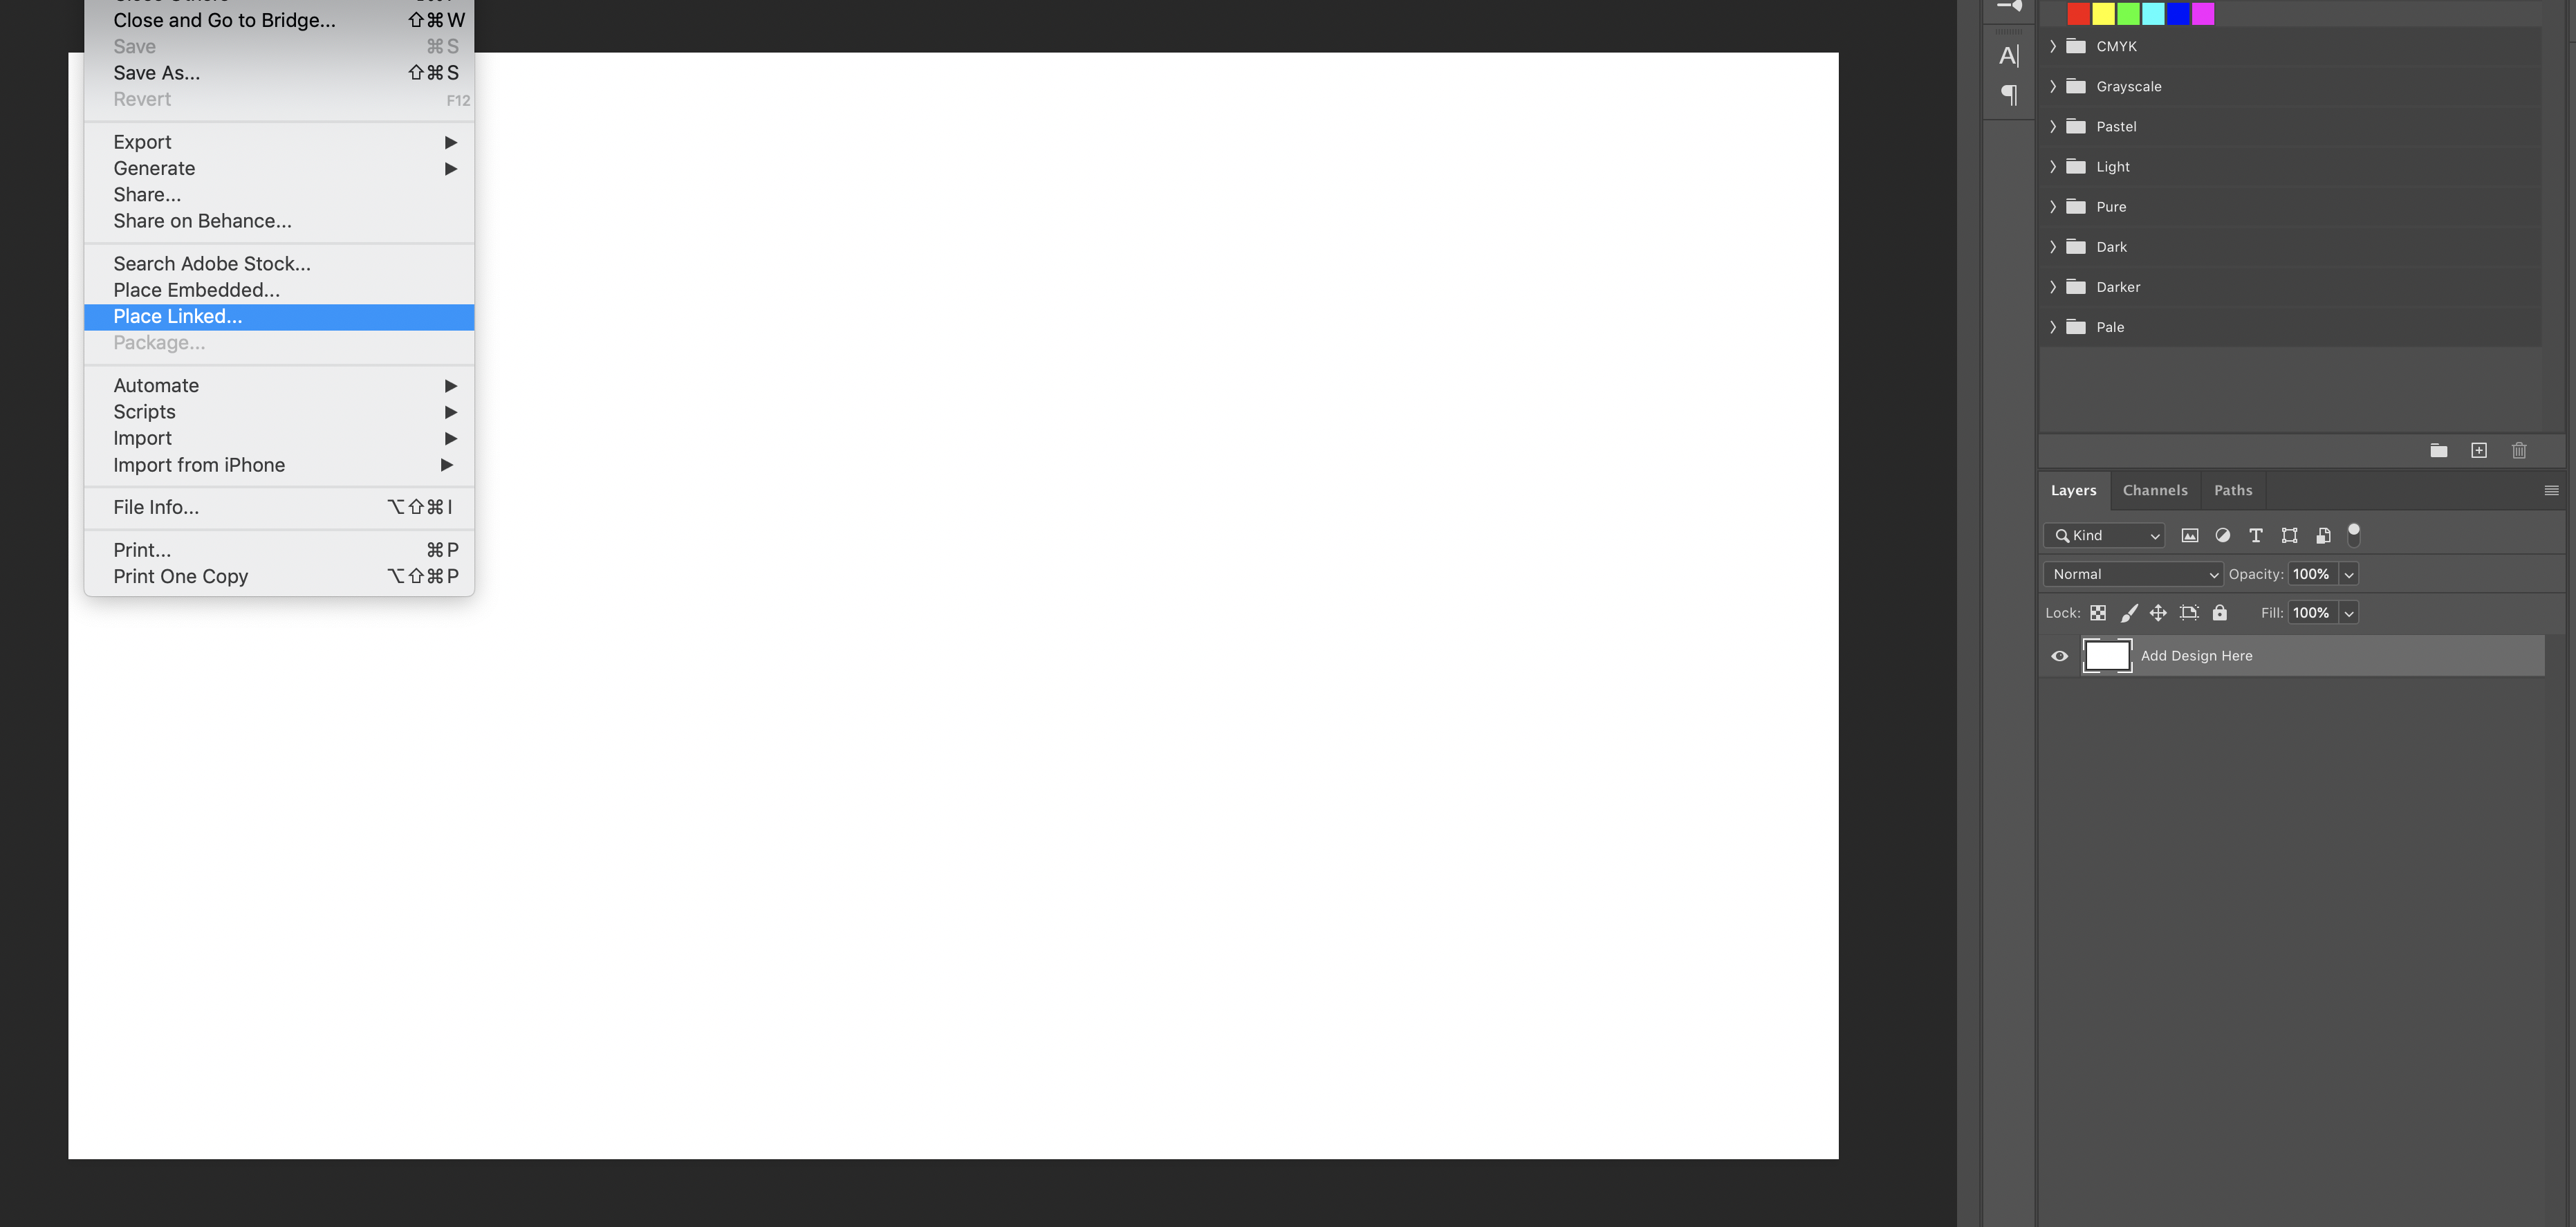
2. In the new tab, click File > Place Linked, select your design and click ‘Place’.
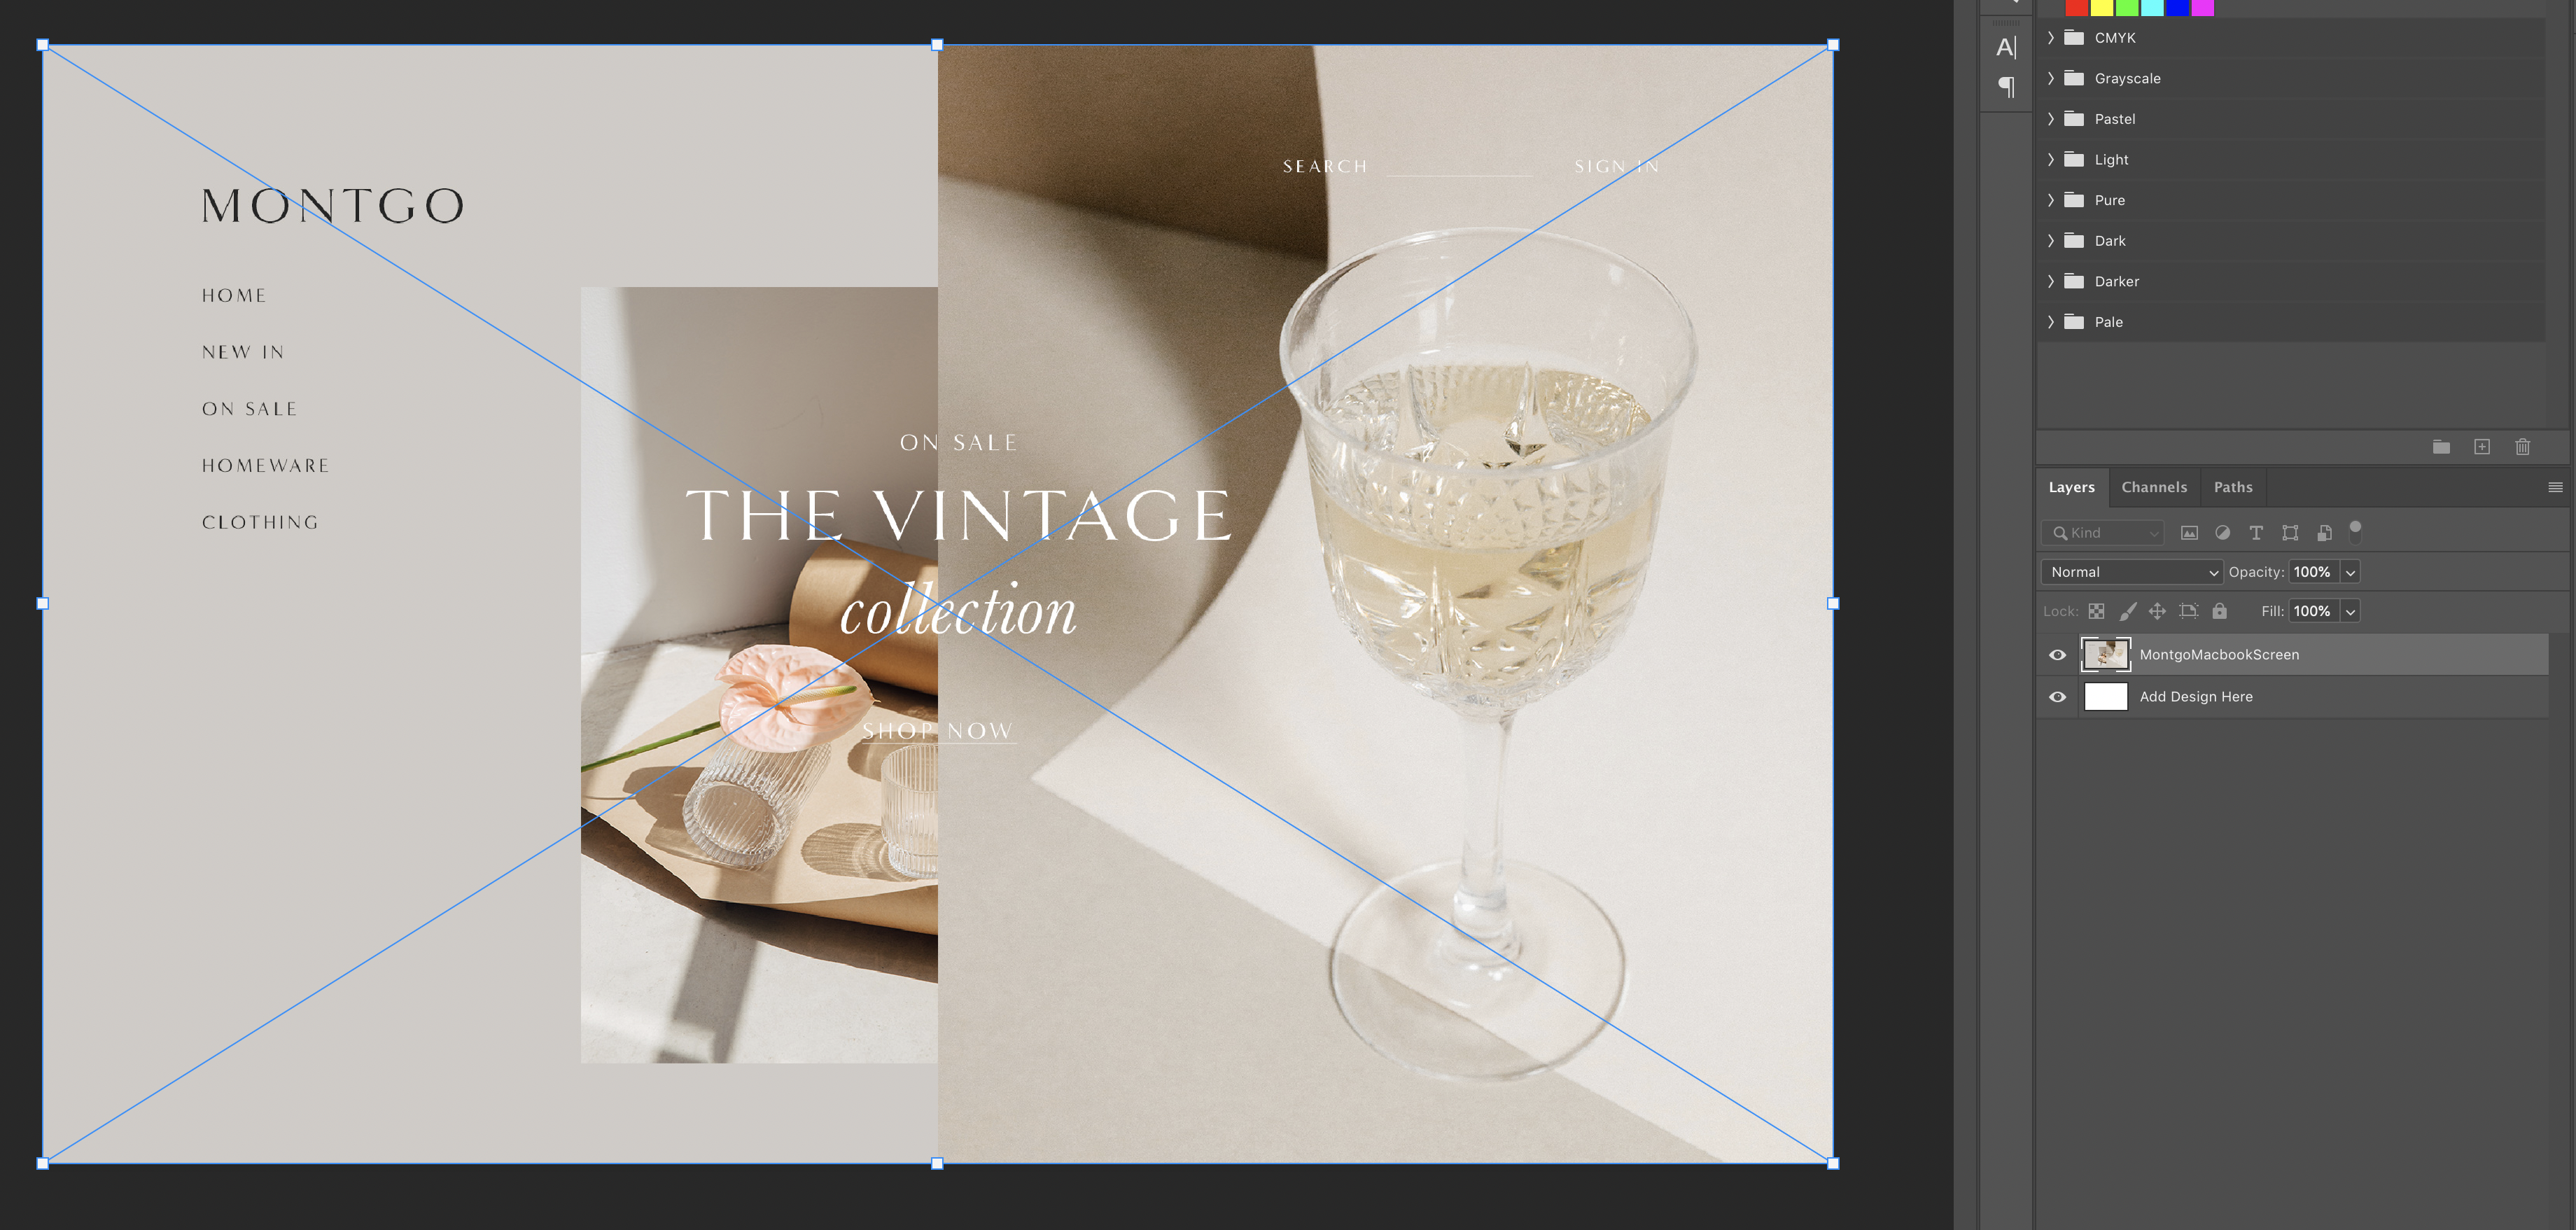
3. Scale the image so it fills the white space (if necessary) and once you are happy with the image position go to File and then click Save. You can then close this tab.
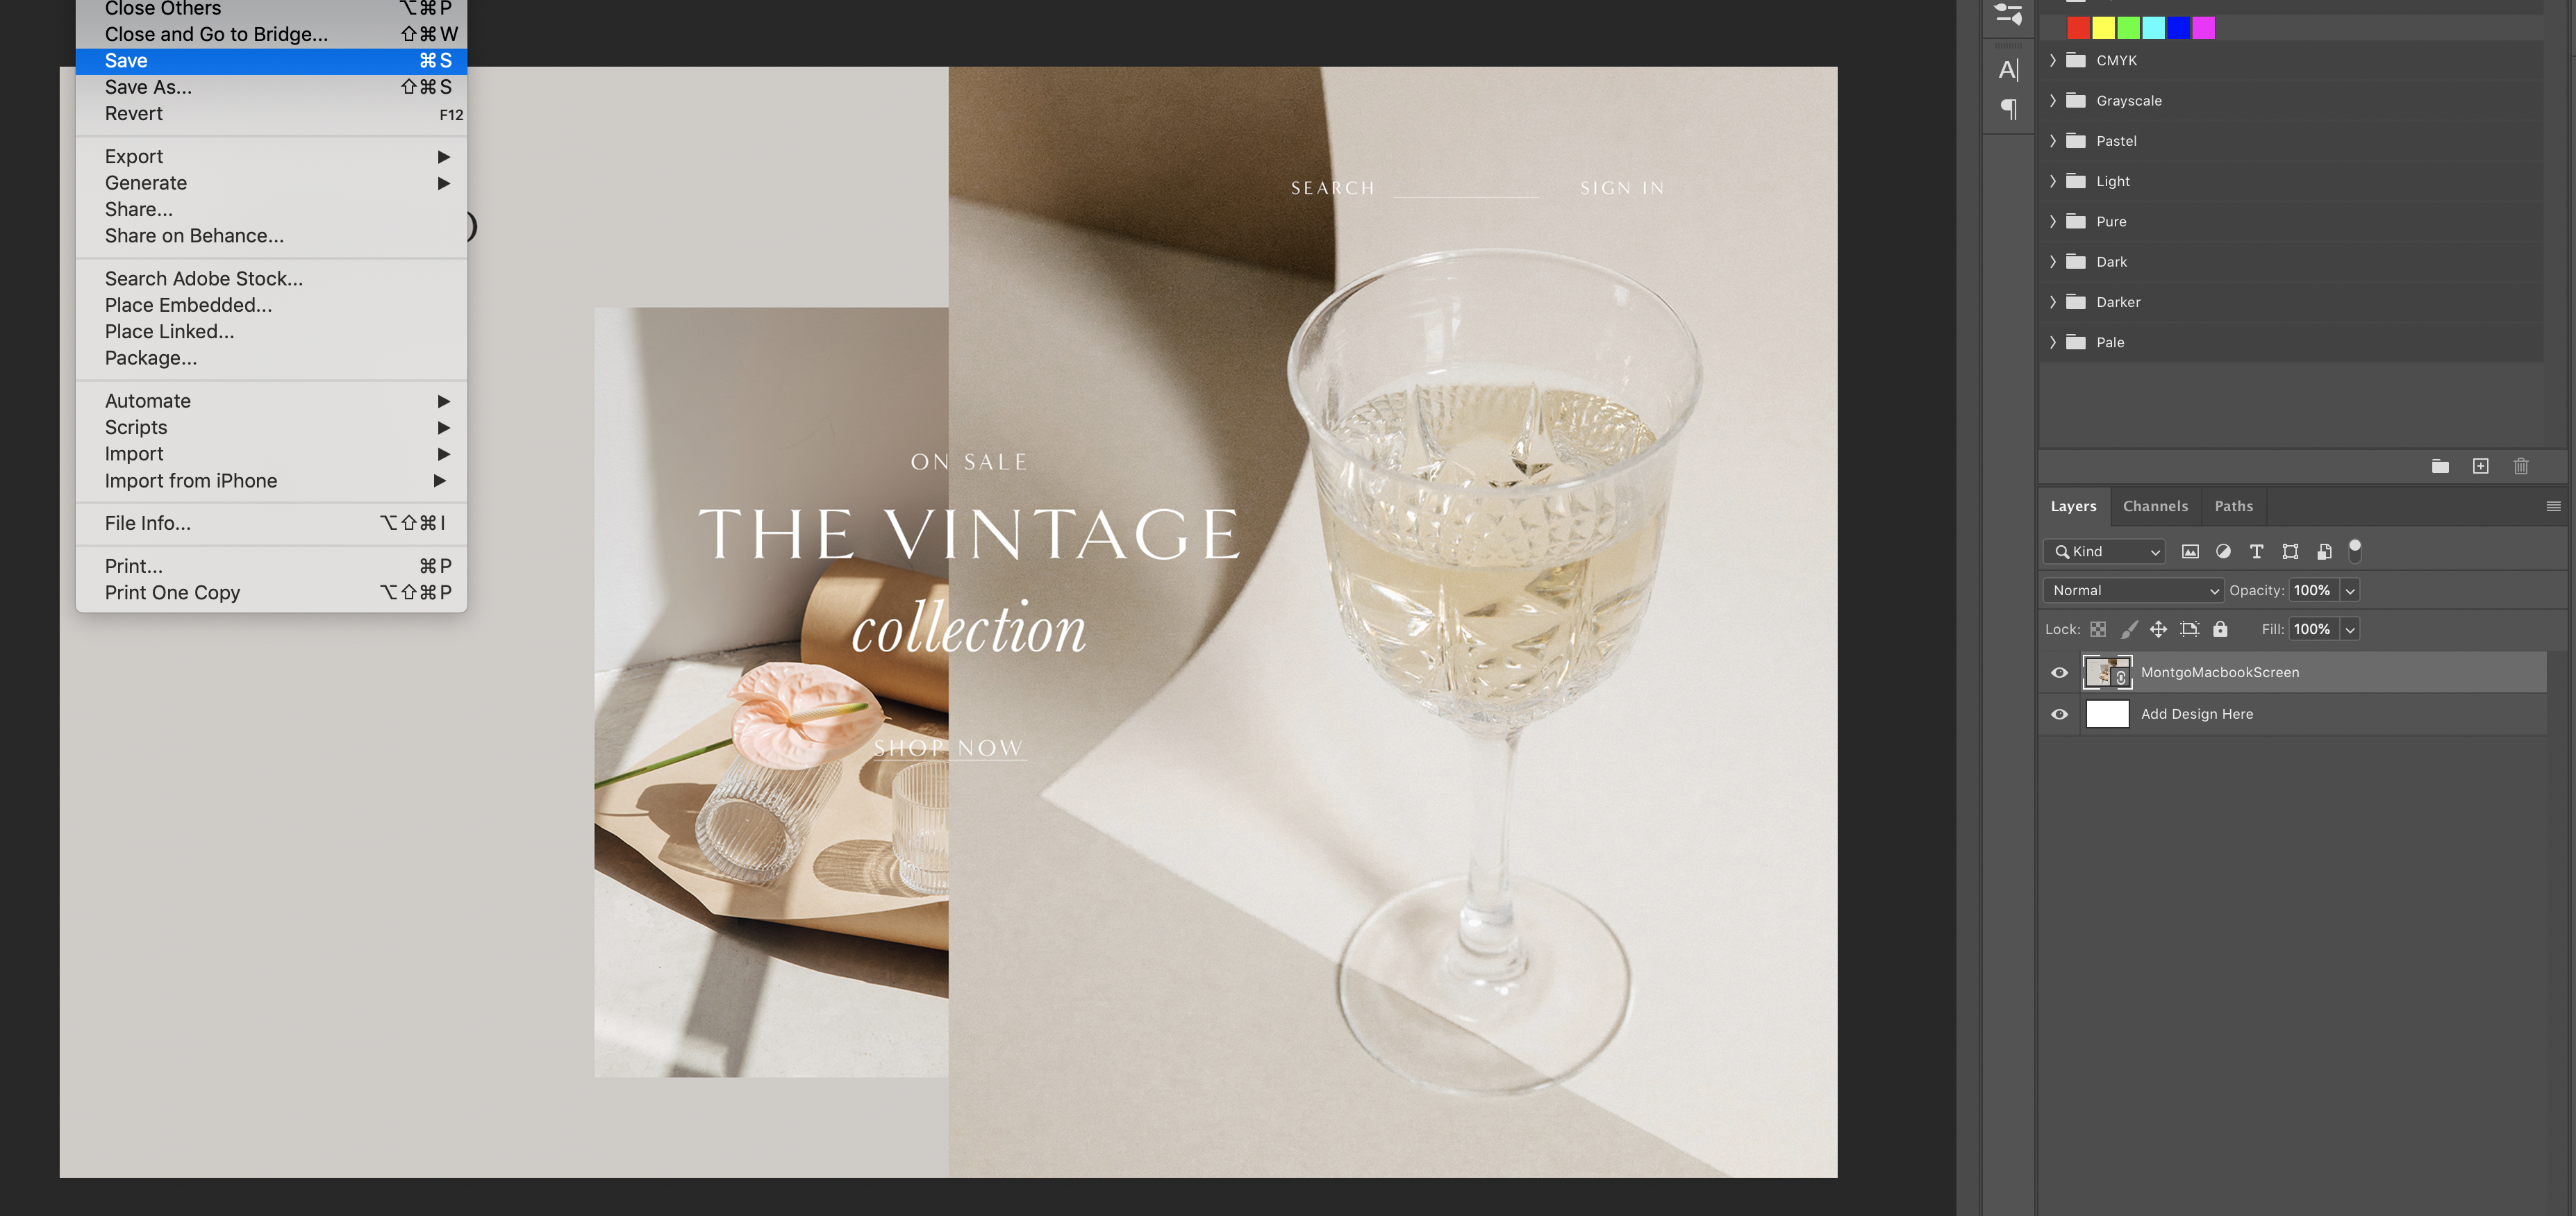
You will then see that your design is now placed in the correct position. To edit the image again, simply repeat the above.
Frame Mockups
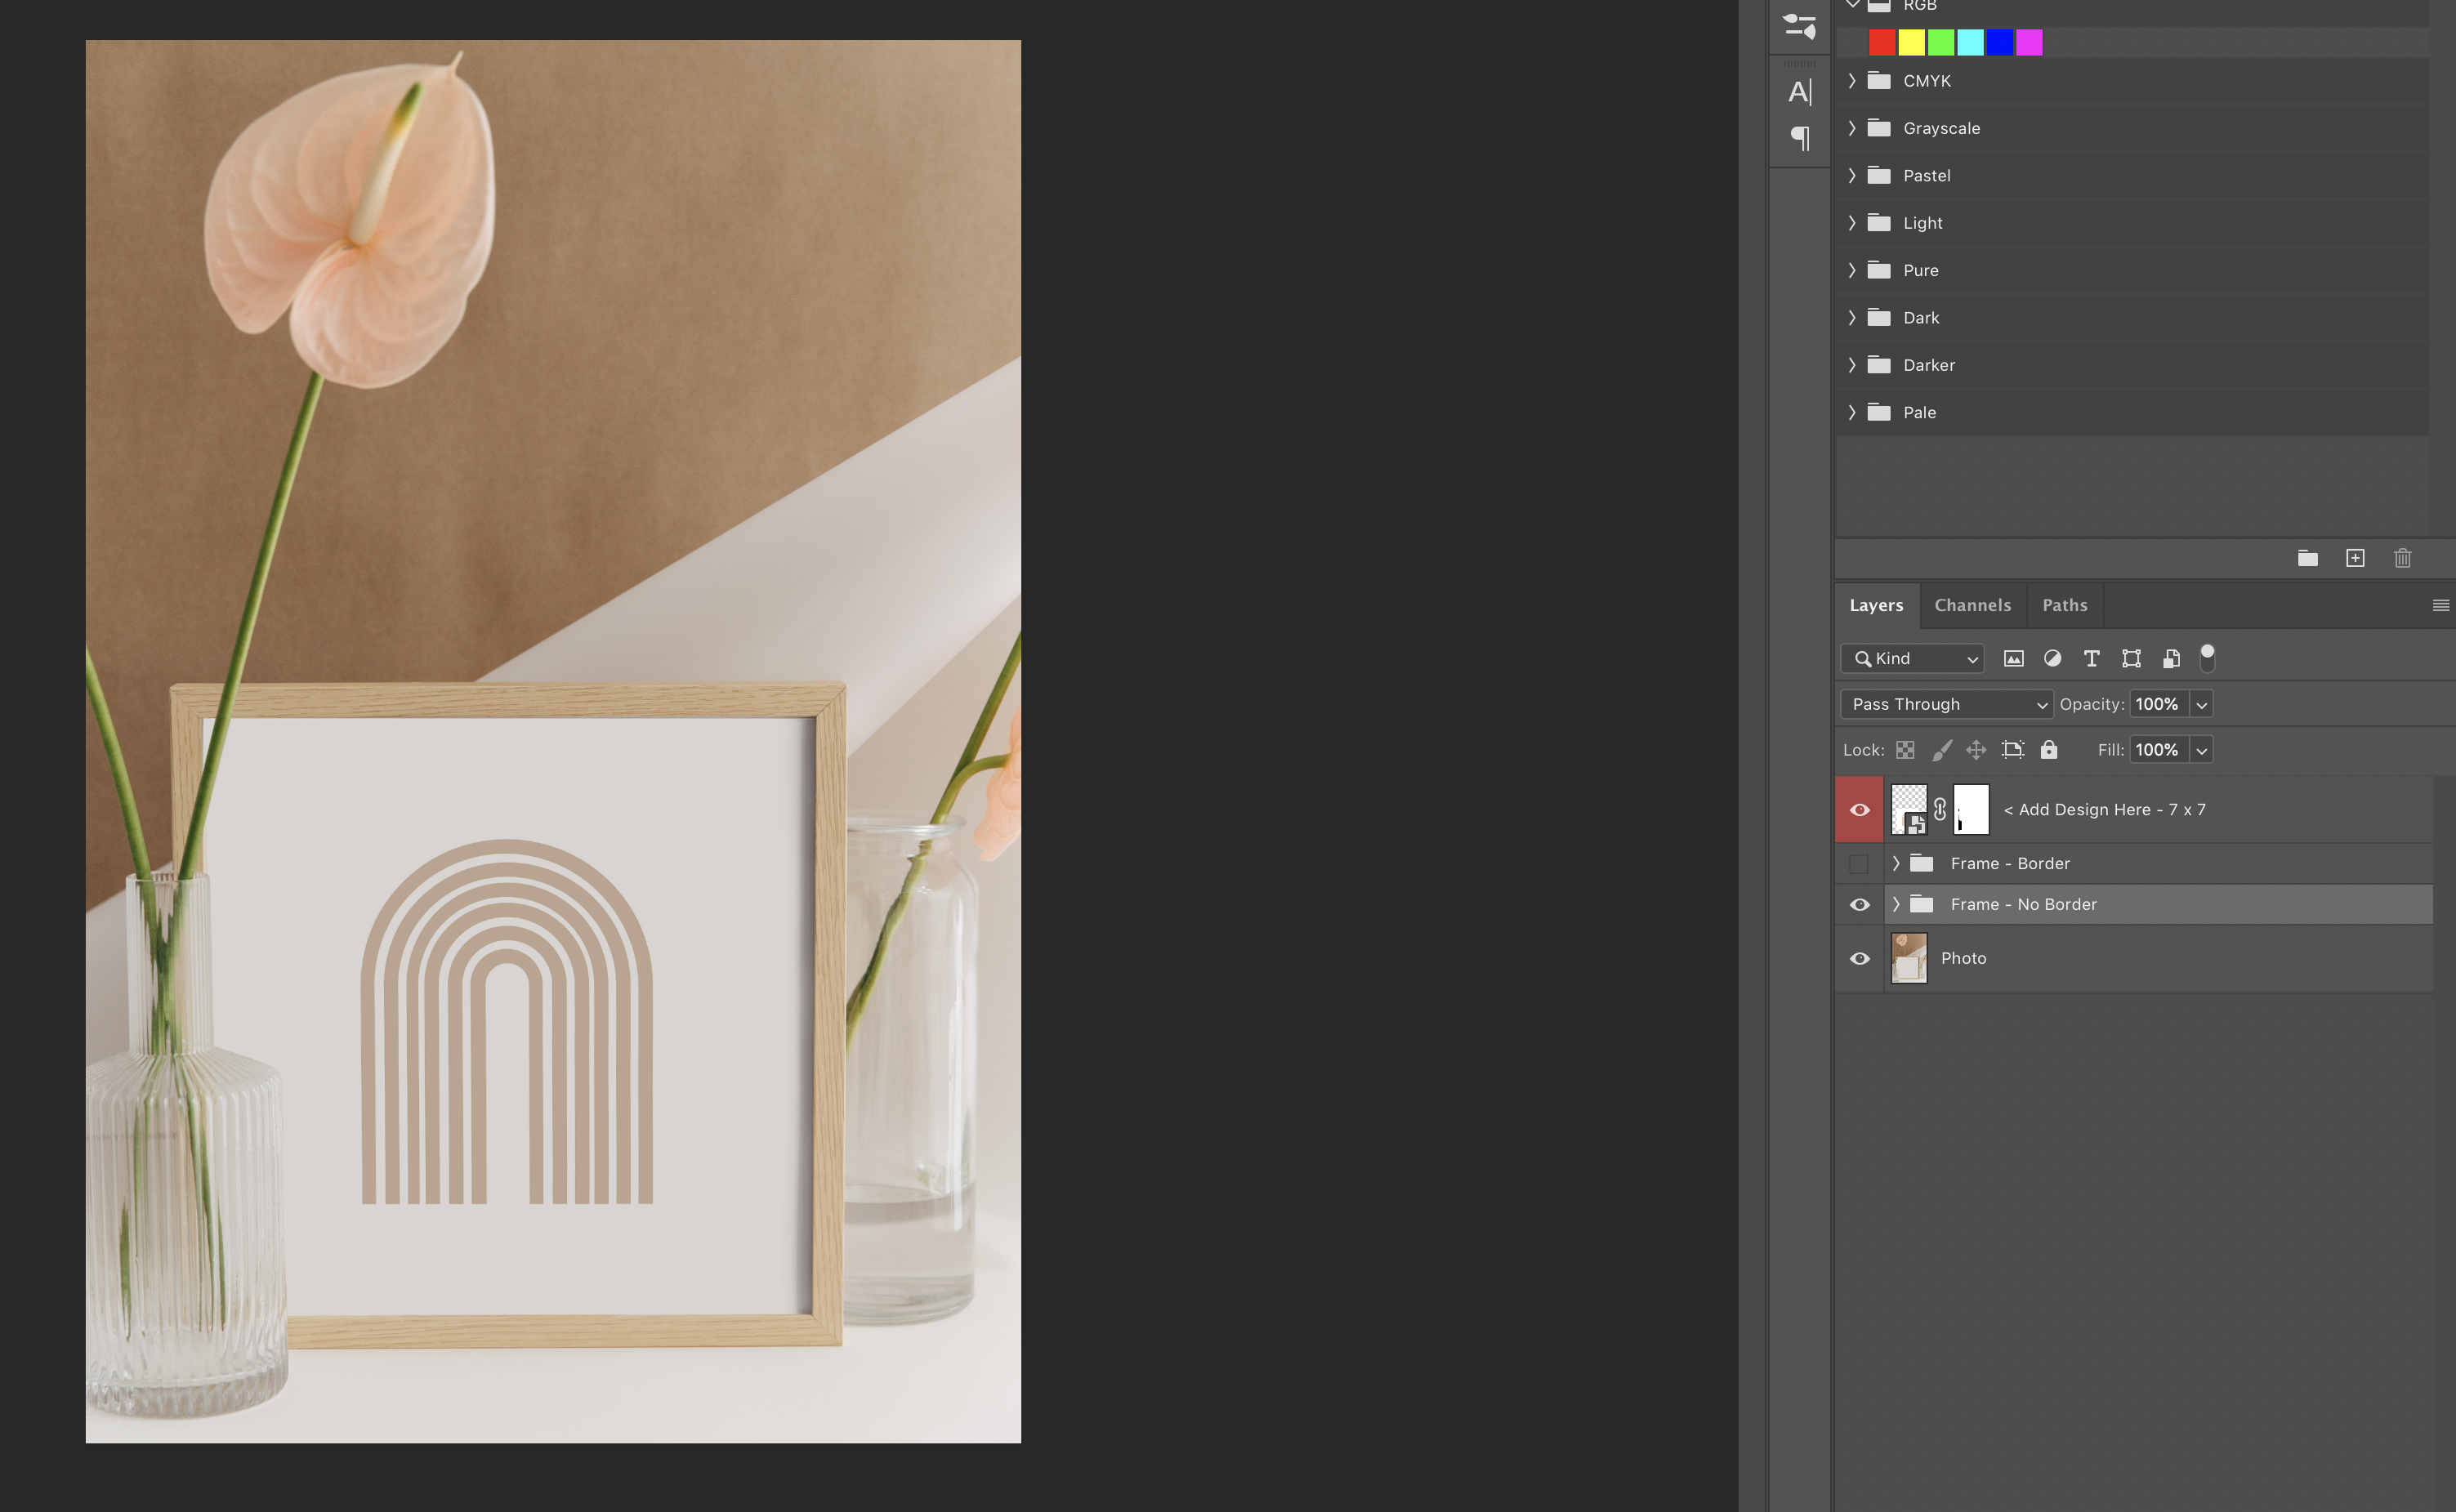
For the frame mockup there is an option to show the frame with or without a border (passe-partout). There are 2 folders - 'Border' and 'No Border'. Simply add your design to one of the smart layers highlighted red and toggle on/off these folders. Make sure that only of these folders is toggled on at any one time.
If your design appears too dark or a slightly different colour to what you expect then please try changing the blend mode from 'Multiply' to 'Normal' and adjusting the opacity slider.
No Border folder toggles on

Border folder toggled on
Mockup Sizes/Ratios
Paper – 5 x 7in, A4
Business Card – 85 x 55mm
MacBook - 2560 x 1600px
iPhone – 1125 x 2436px
iPad – 2048 x 1536px
Frame – Square
Comments
0 comments
Please sign in to leave a comment.