Note: Frames with border (passe-partout) has a ratio of 2:3 and frames with no border have a 3:4 except the small wooden frame which is 4:5 ratio.
The large white frame is 50x70cm, the medium sized wooden frame is 30x40cm and the small wooden frame is 22x27cm
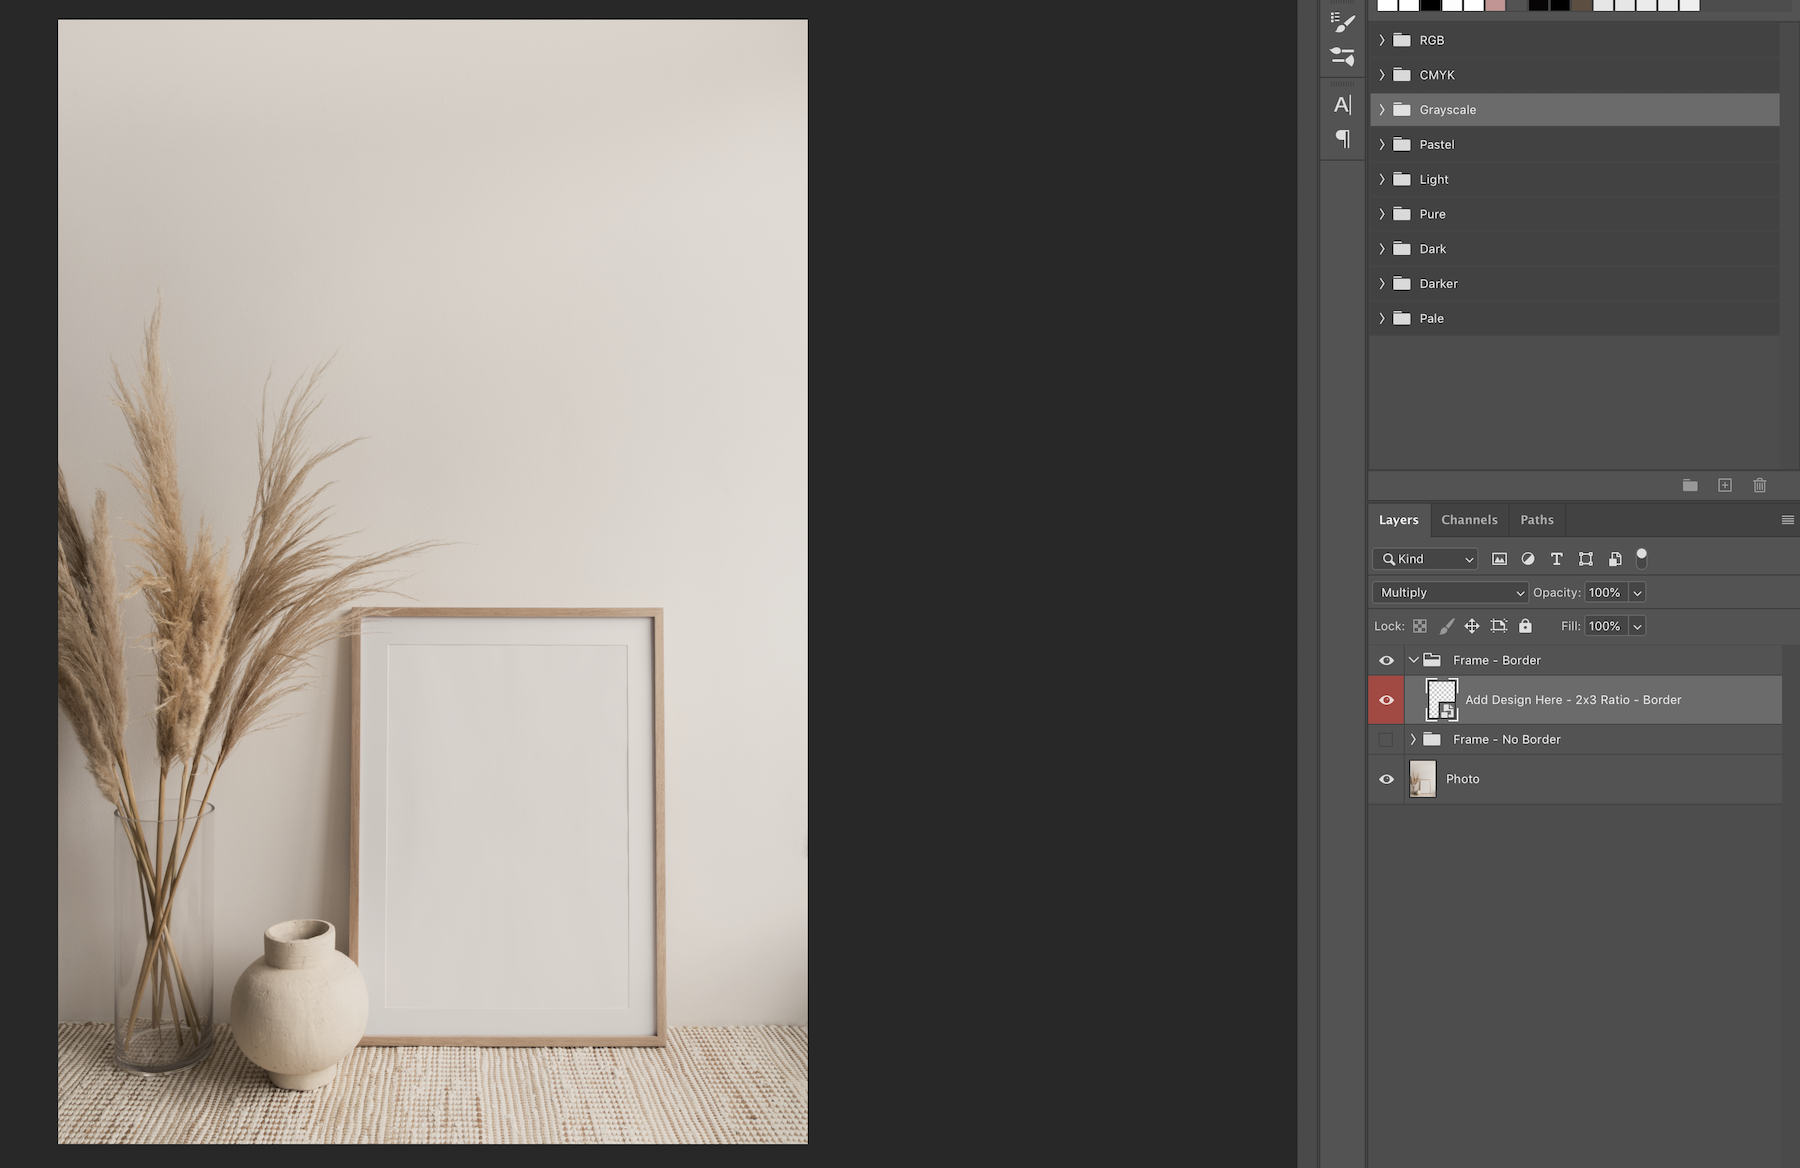
1. To add your artwork with the border simply expand the ‘Frame-Border’ folder by clicking the down arrow. Double click on the thumbnail of the ‘Add Design Here’ layer (highlighted in red). This will open a new tab in Photoshop. To add your design without the border toggle on (by clicking the eye icon) and expand the ‘Frame - No Border’ folder and repeat this process to add your artwork without a border. Please note that the ‘Frame - Border’ and ‘Frame - No Border’ layers should not be toggled on at the same time so use the eye icon the toggle them on one at a time.
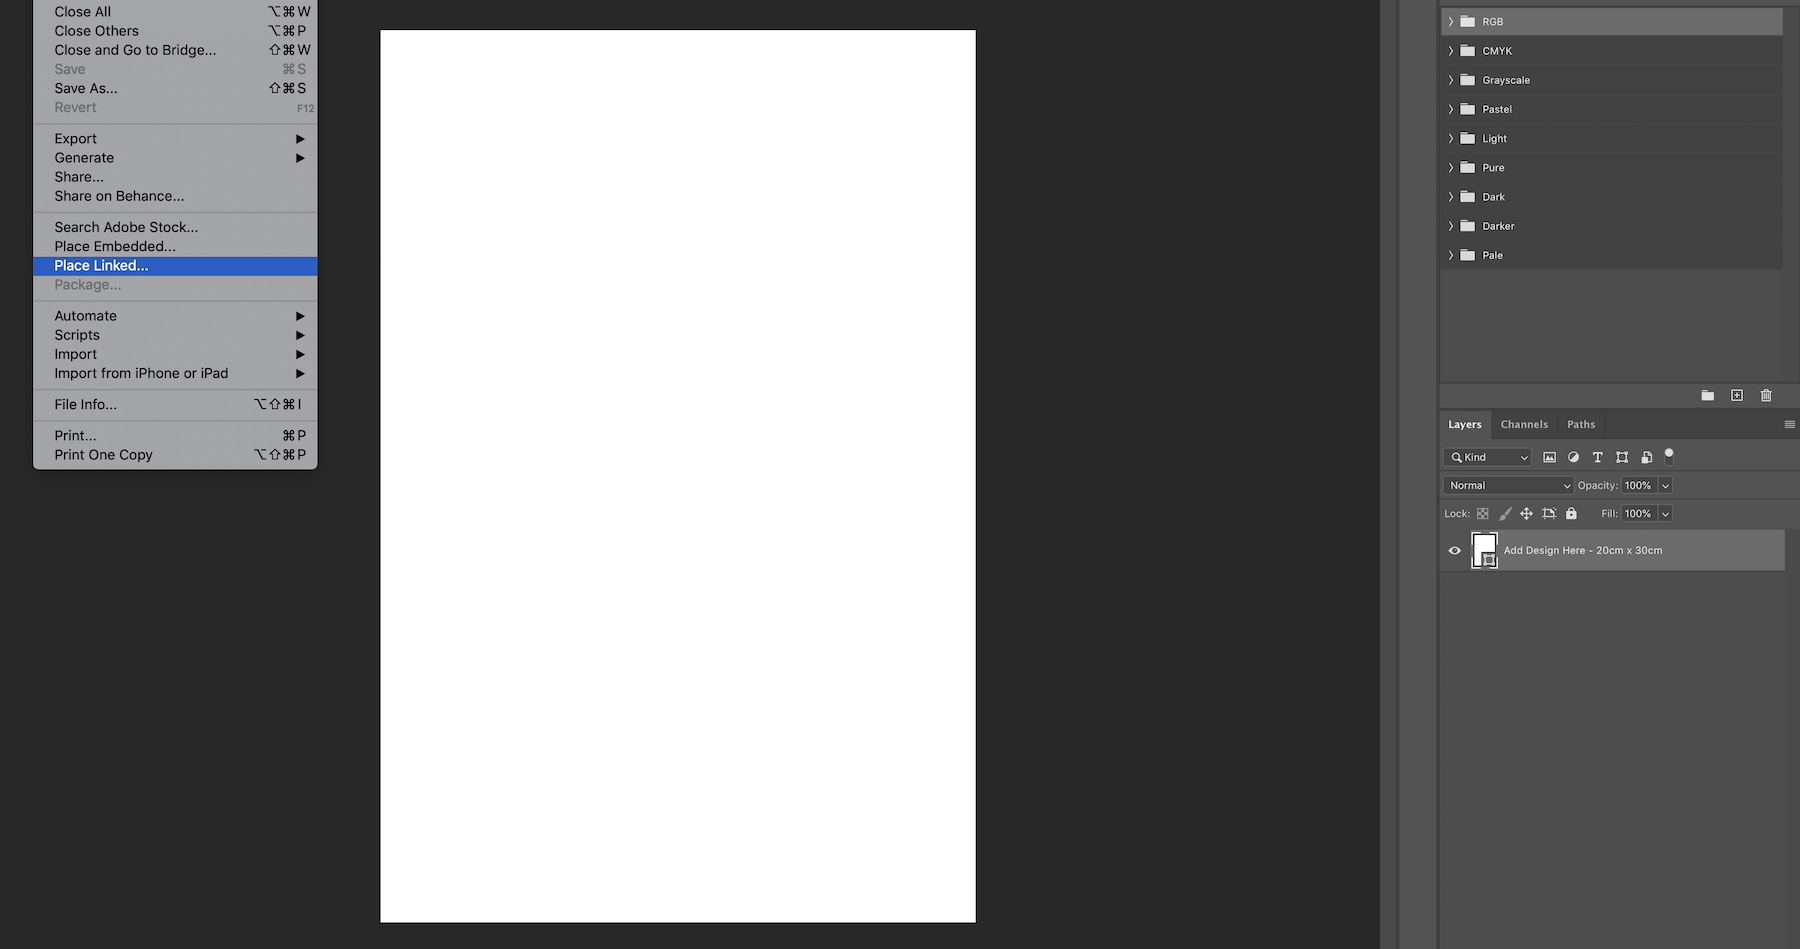
2. In the new tab, click File > Place Linked, select your artwork and click ‘Place’.
3. Scale the image so it fills the white space (if necessary) and once you are happy with the image position go to File and then click Save. You can then close this tab.

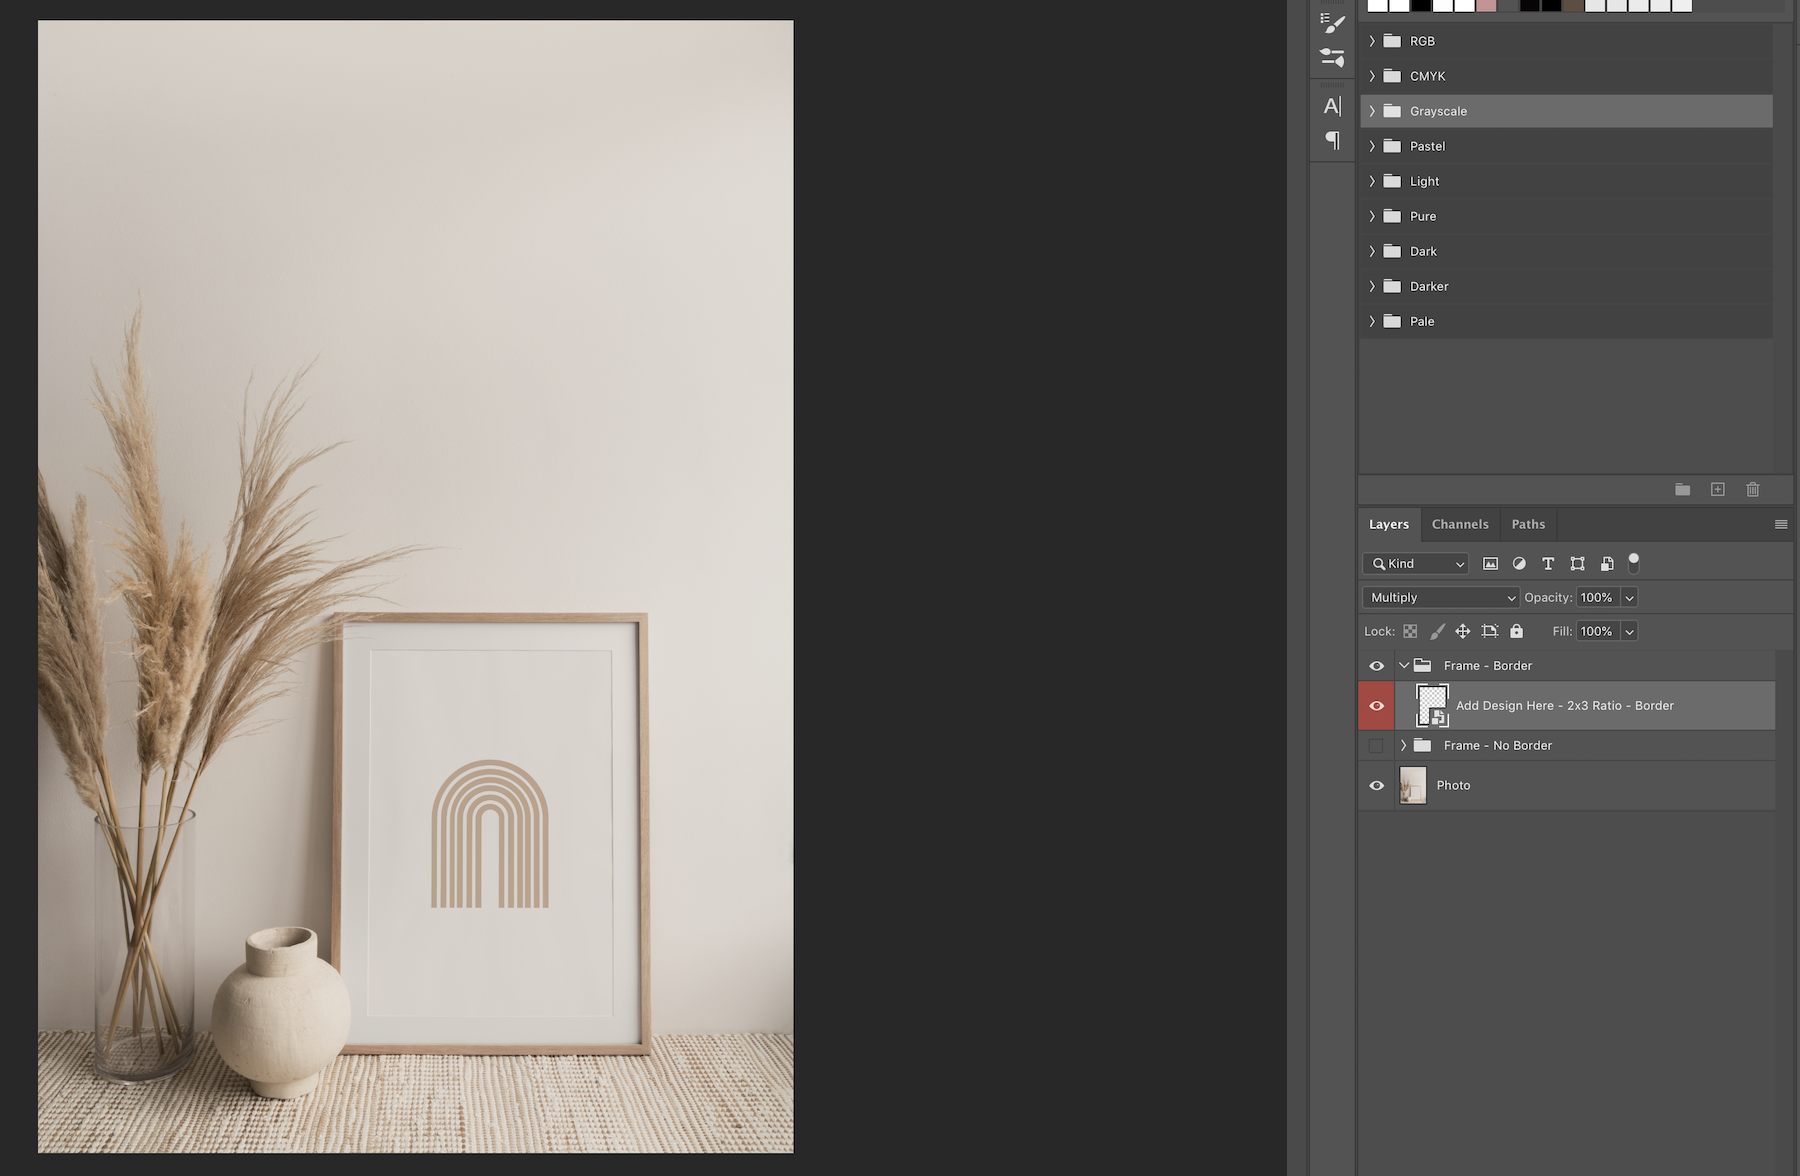
You will then see that your design is now placed in the correct position. To edit the image again, simply repeat the above.
Bonus Customisable Images
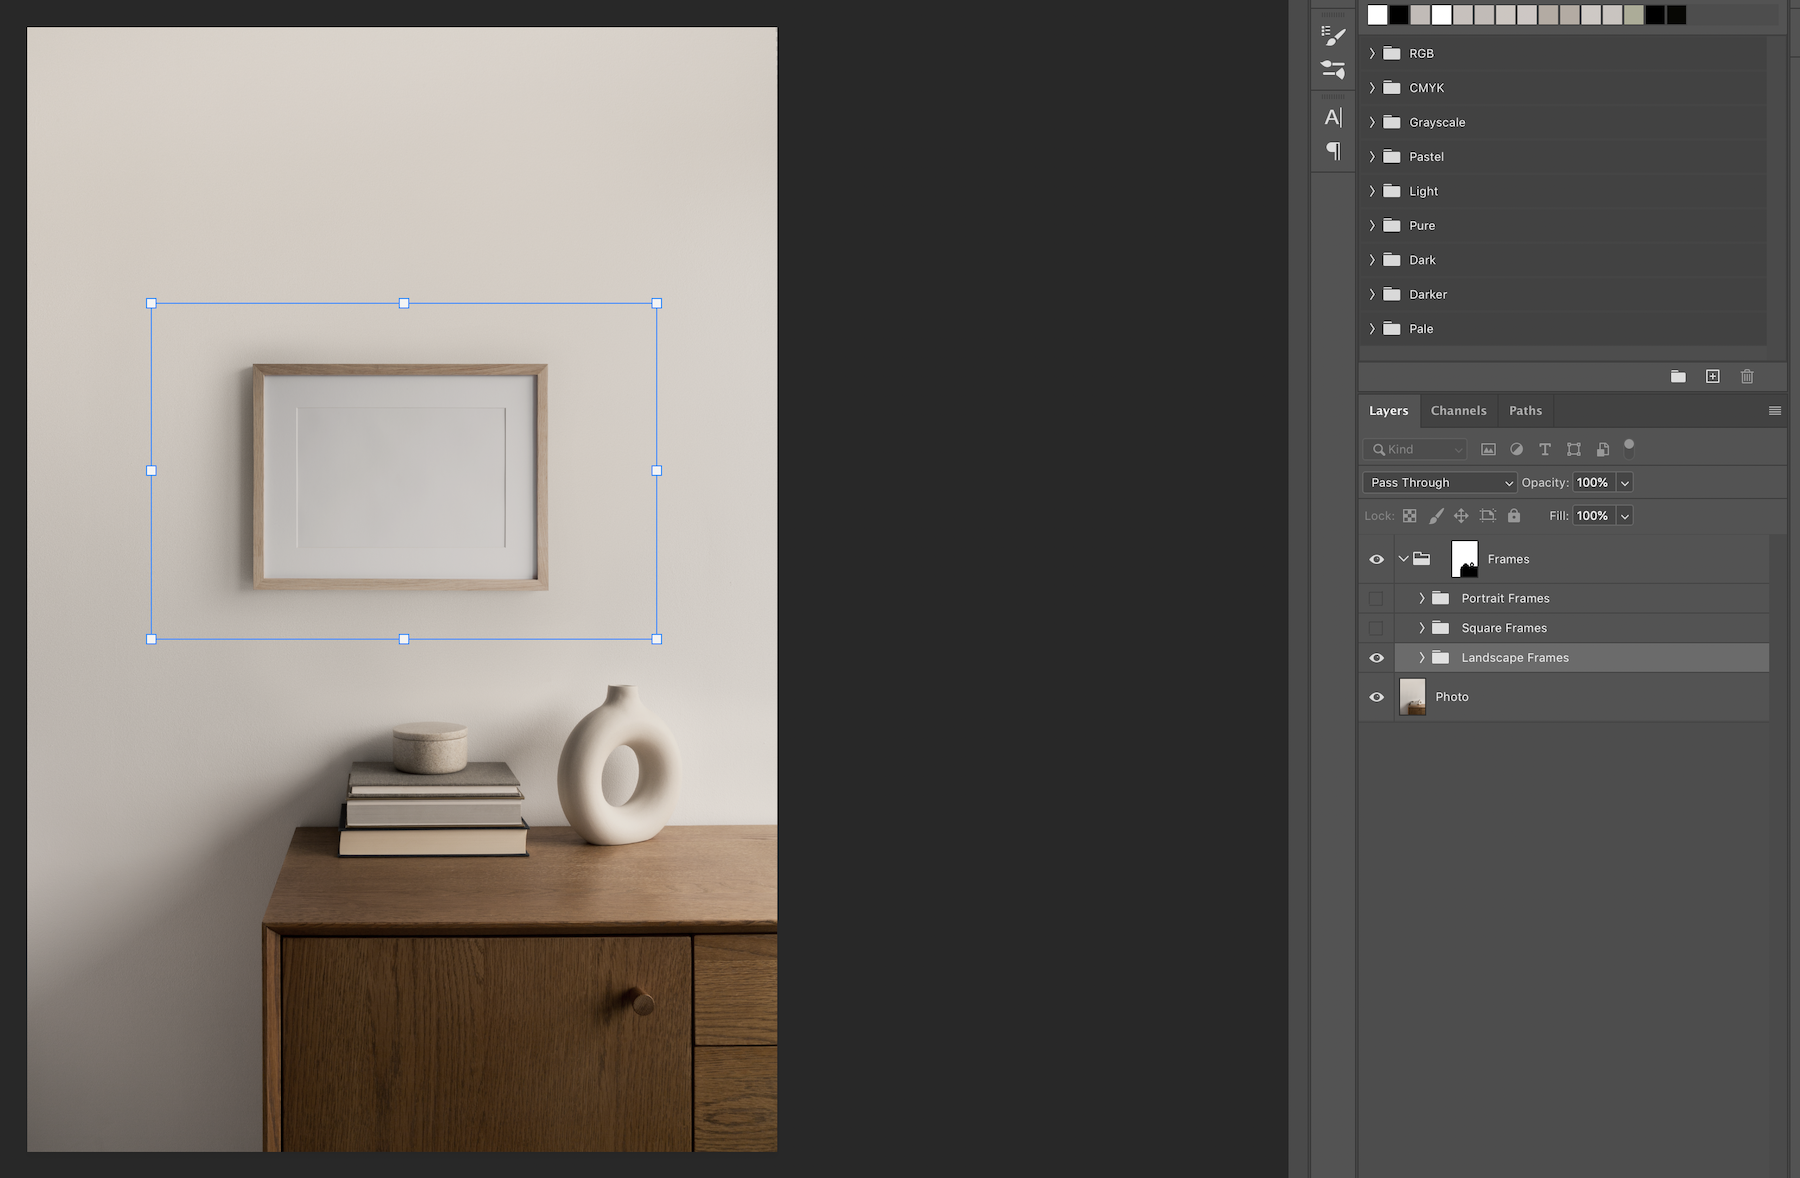
There are now 4 bonus customisable Photoshop images. They come with an option to show portrait, landscape and square frames. You can select to show all of these in any combination or individually. They can also be moved anywhere on the wall as well as be resized.
Like the other images in this bundle, each size frame has the option to toggle on/off the passe- partout.
To add your artwork to these frames, simply expand the folder that you want to edit and follow the steps above.
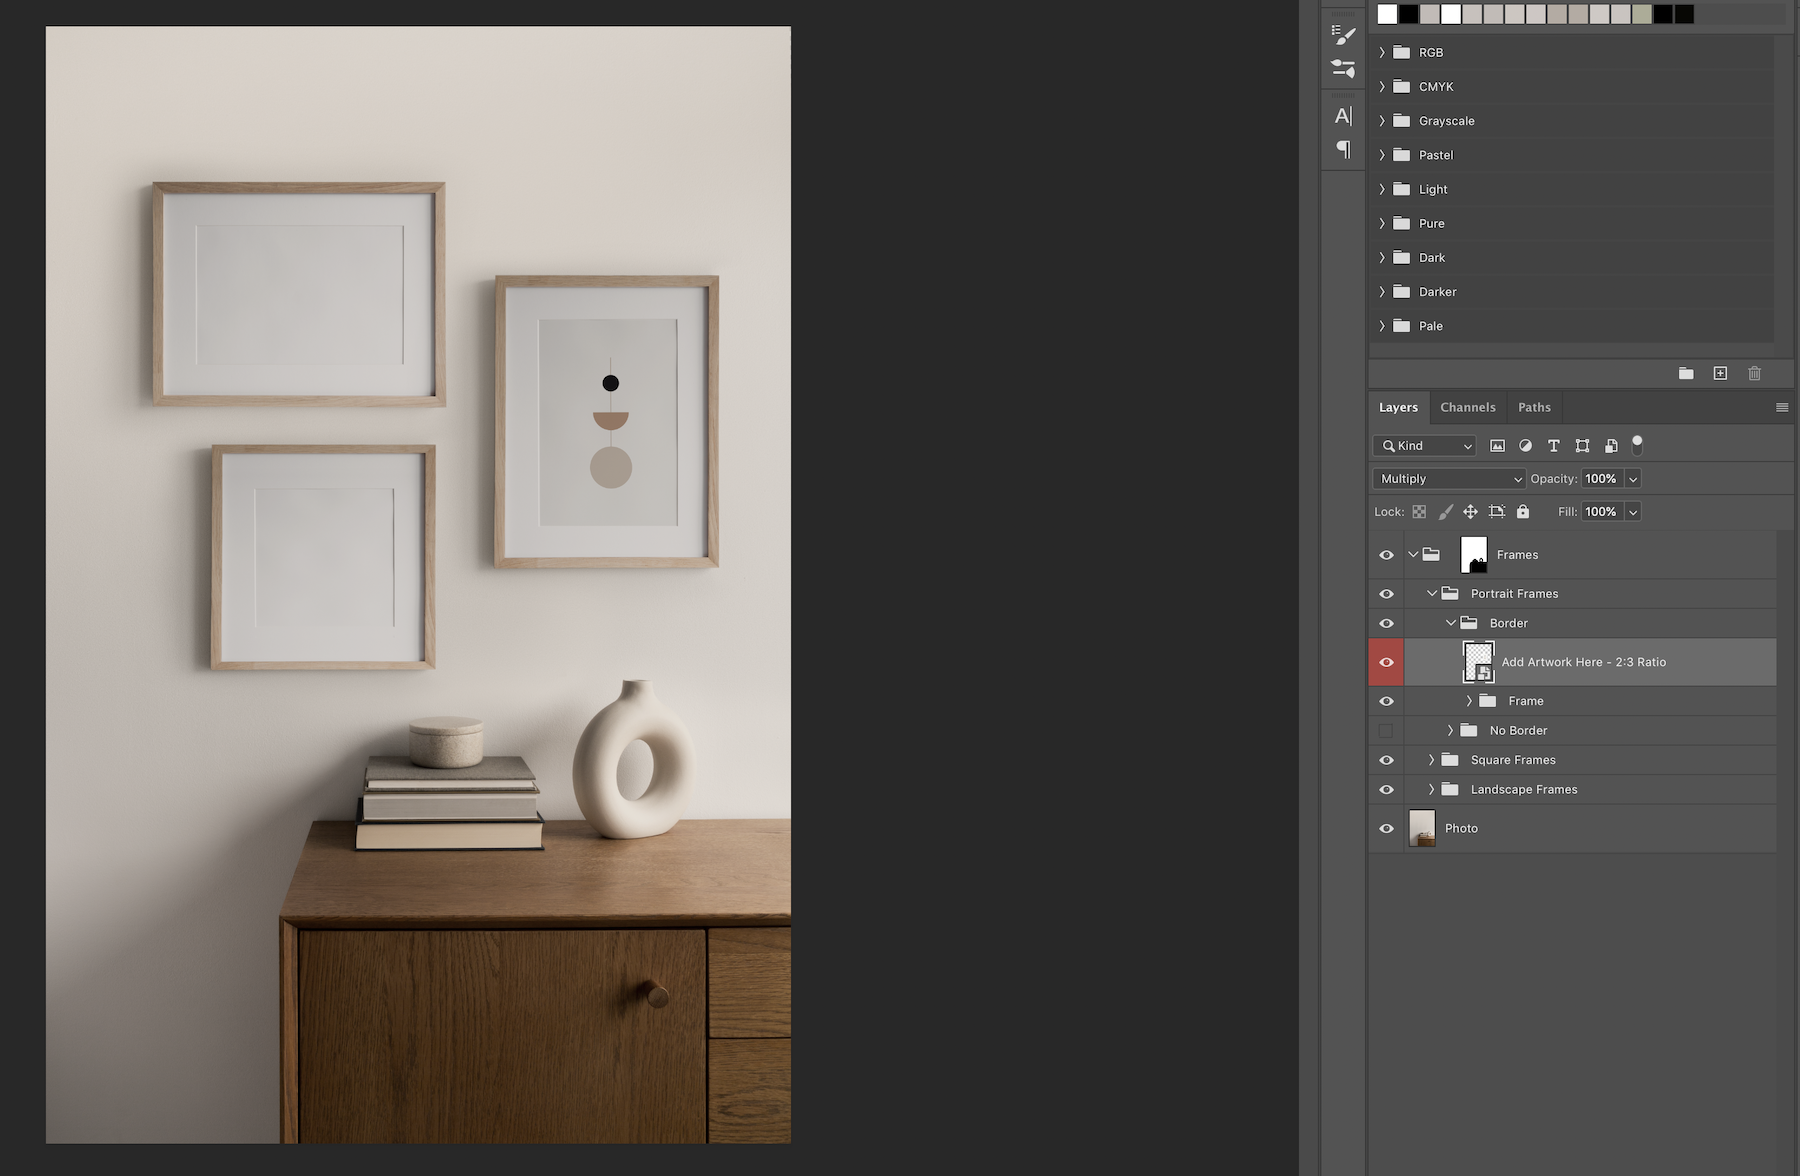
If you want to show or hide any of the frames, simply click the eye icon of the main folder group. For example if you didn’t want to show the square frame uncheck the eye icon of the ‘Square Frames’ folder.
To move the frames select the main folder group and press Command/CTRL + T to select. Use the move tool and move the selected frame. For example, if you wish to move the portrait frames, make sure the ‘Portrait Frames’ folder is highlighted. Make the selection and move the frame to its new position.
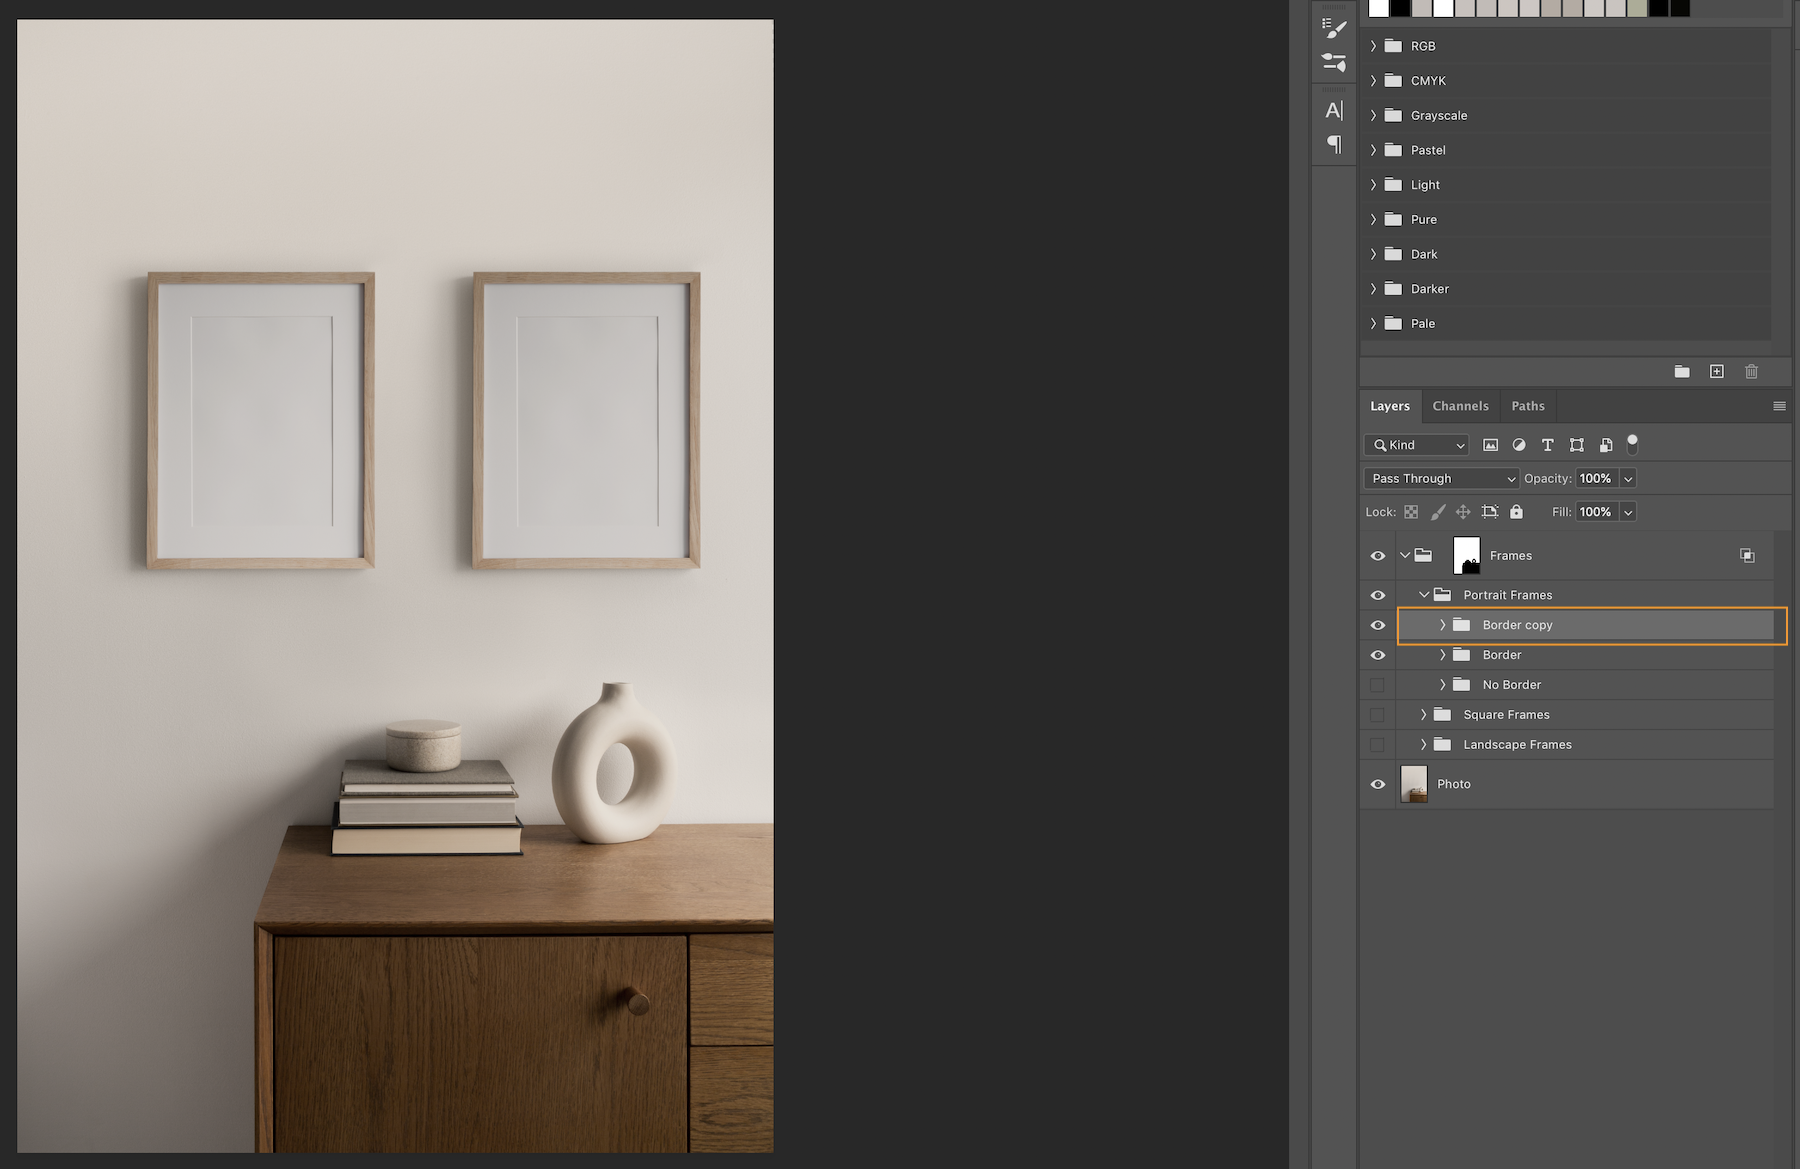
Multiple Frames with different designs
If you would like to duplicate a frame, for example, have 2 portrait frames with border (passe- partout) then please follow these steps:
-
Expand the ‘Portrait Frames’ folder
-
Expand the ‘Border’ folder
-
Duplicate this ‘Border’ folder so that you have ‘Border copy’
-
The new frame will appear on top so move it to one side so that you can see both frames
-
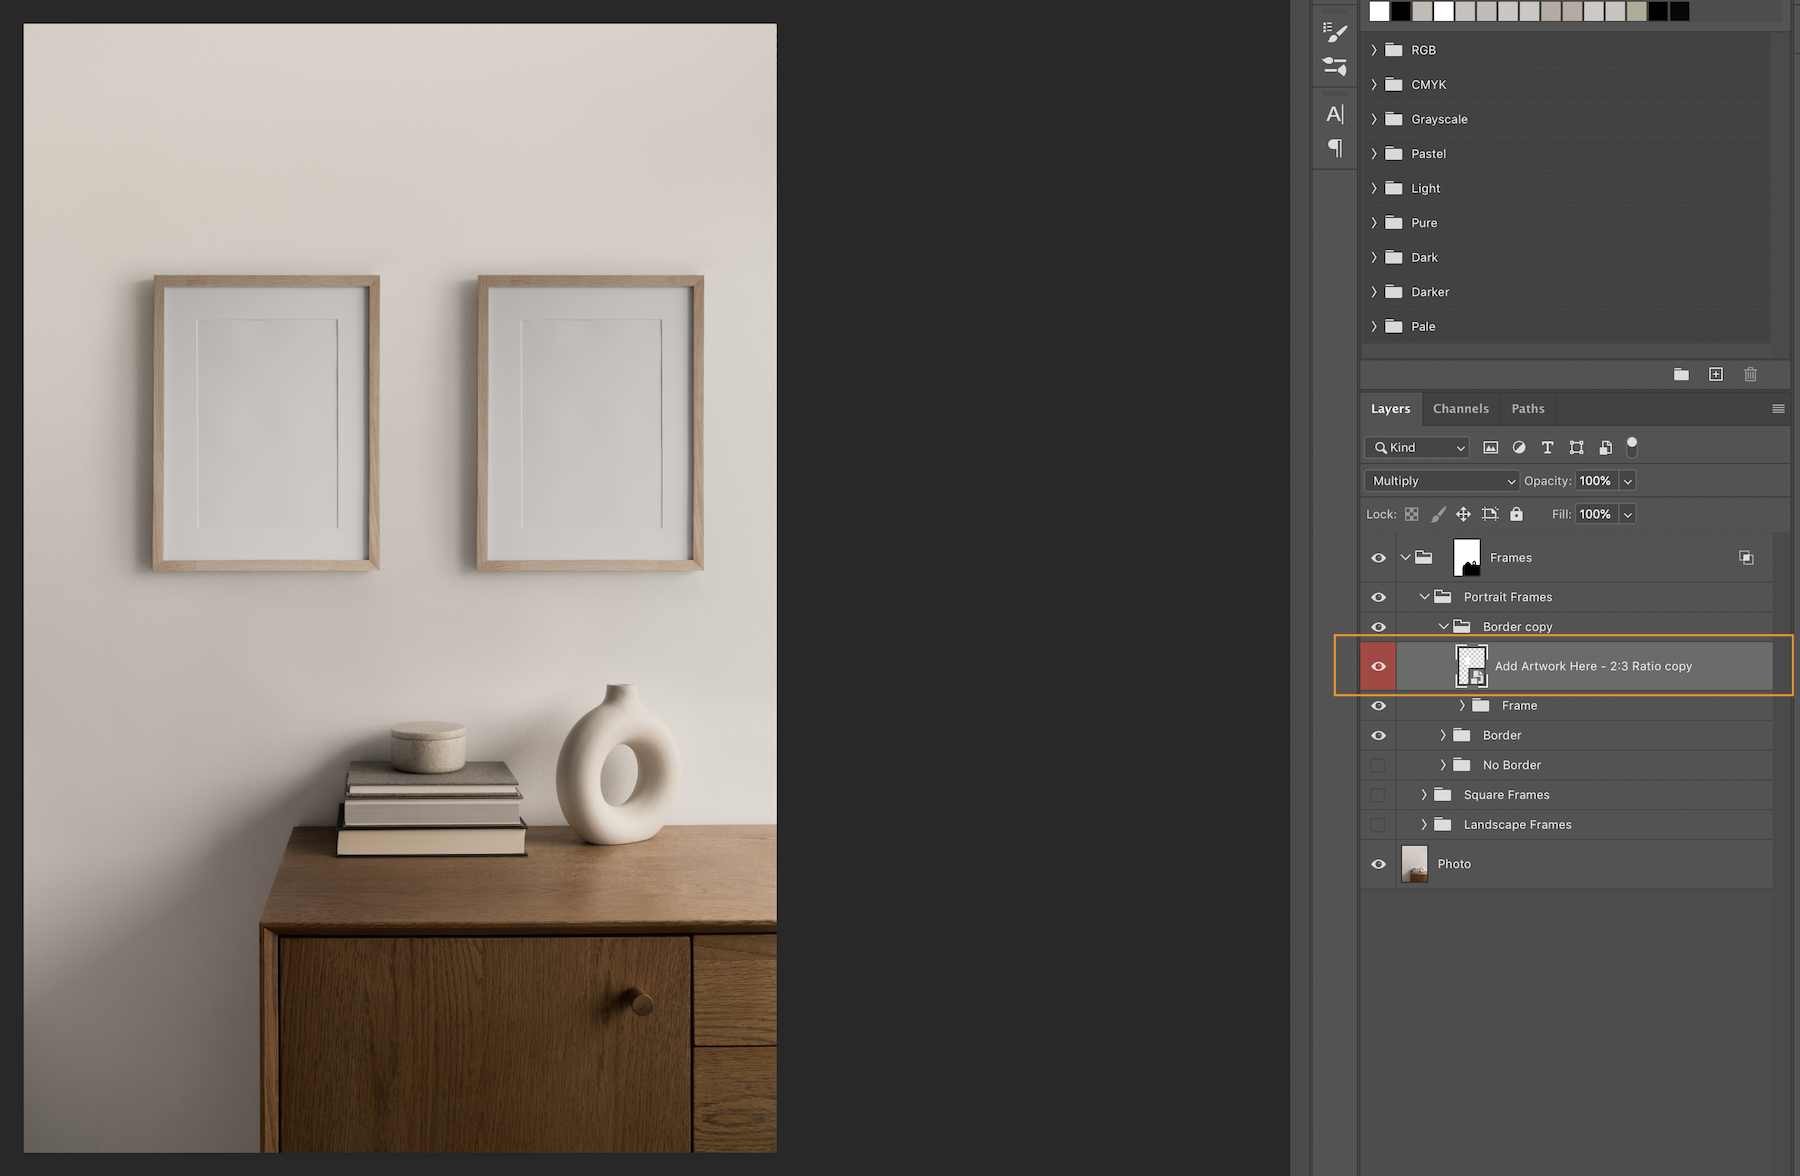
Expand the ‘Border copy’ folder
-
Control/Right Click on the smart layer highlighted red
-
Click ‘New Smart Object via Copy’
-
Delete the old smart layer
-
Add your design to the new layer by double clicking the thumbnail of the new layer highlighted red and follow the steps above.
The same process applies for each frame orientation.
Duplicate the folder

Select the smart layer highlighted red. Create ‘New Smart Object via copy’.
Delete old smart layer. Double click on the thumbnail of this duplicated smart layer and add your design by following the steps above.
Note: If you find that your artwork appears darker than expected, then you can change the blend mode of the smart layer (highlighted red) to ‘Normal’ and then reduce the ‘Fill’ slider.
You could also add a ‘Brightness/Contrast’ adjustment layer to the smart layer and turn up the brightness.
Comments
0 comments
Please sign in to leave a comment.