How To Add Your Designs
Follow these steps to add your designs to the Photoshop smart layer.
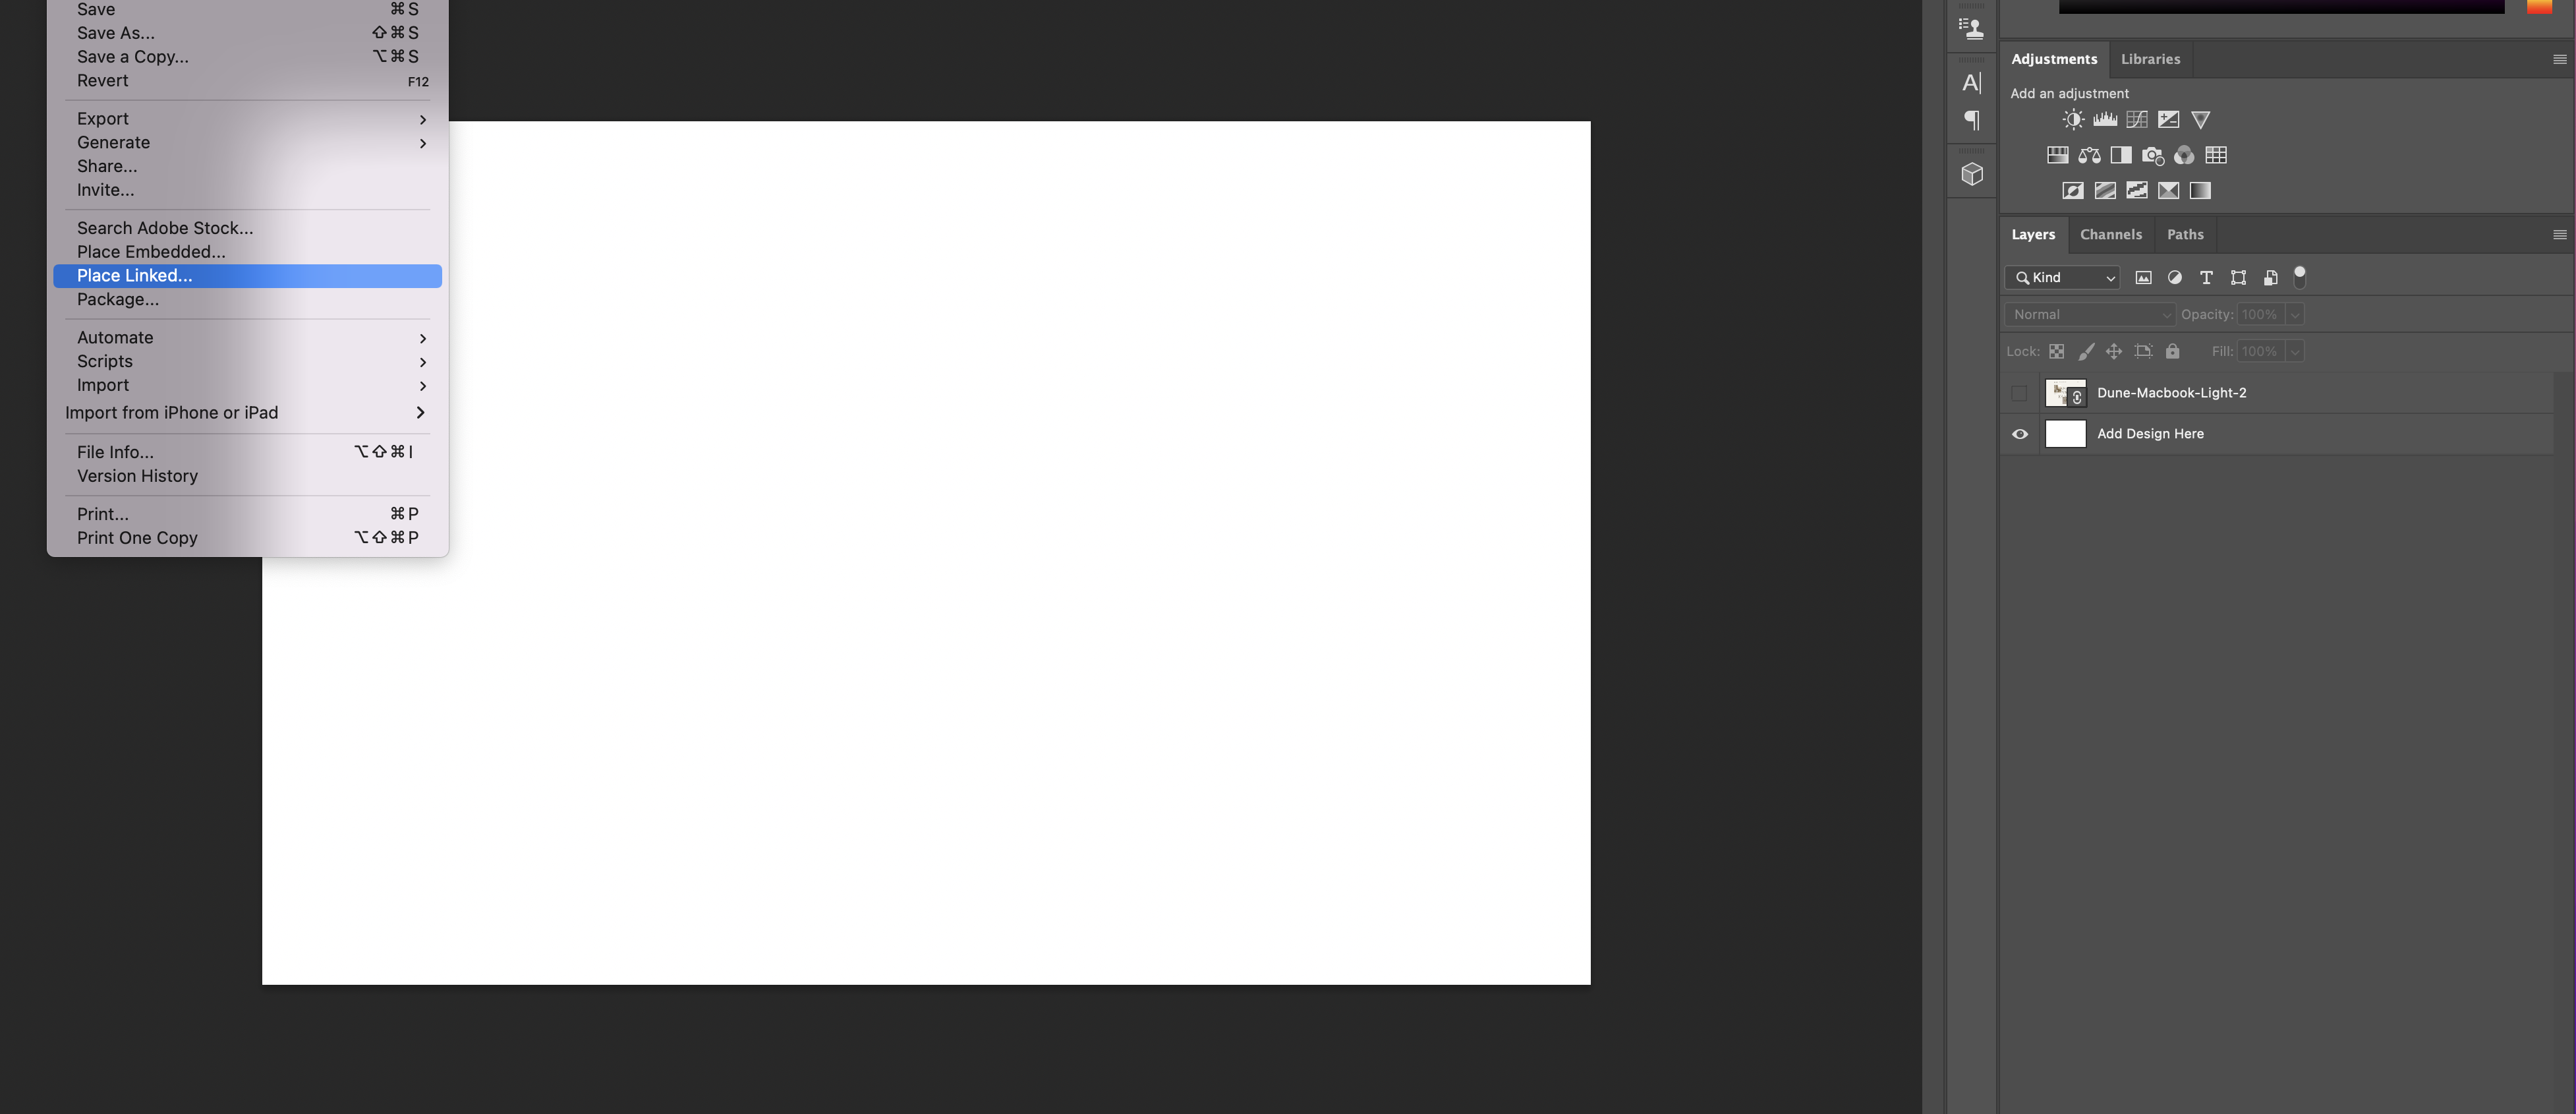
1. Double click on the thumbnail of the ‘Add Design Here’ layer (highlighted in red). This will open a new tab in Photoshop.

2. In the new tab, click File > Place Linked, select your design and click ‘Place’
3. Scale the image so it fills the white space (if necessary) and once you are happy with the image position go to File and then click Save. You can then close this tab.
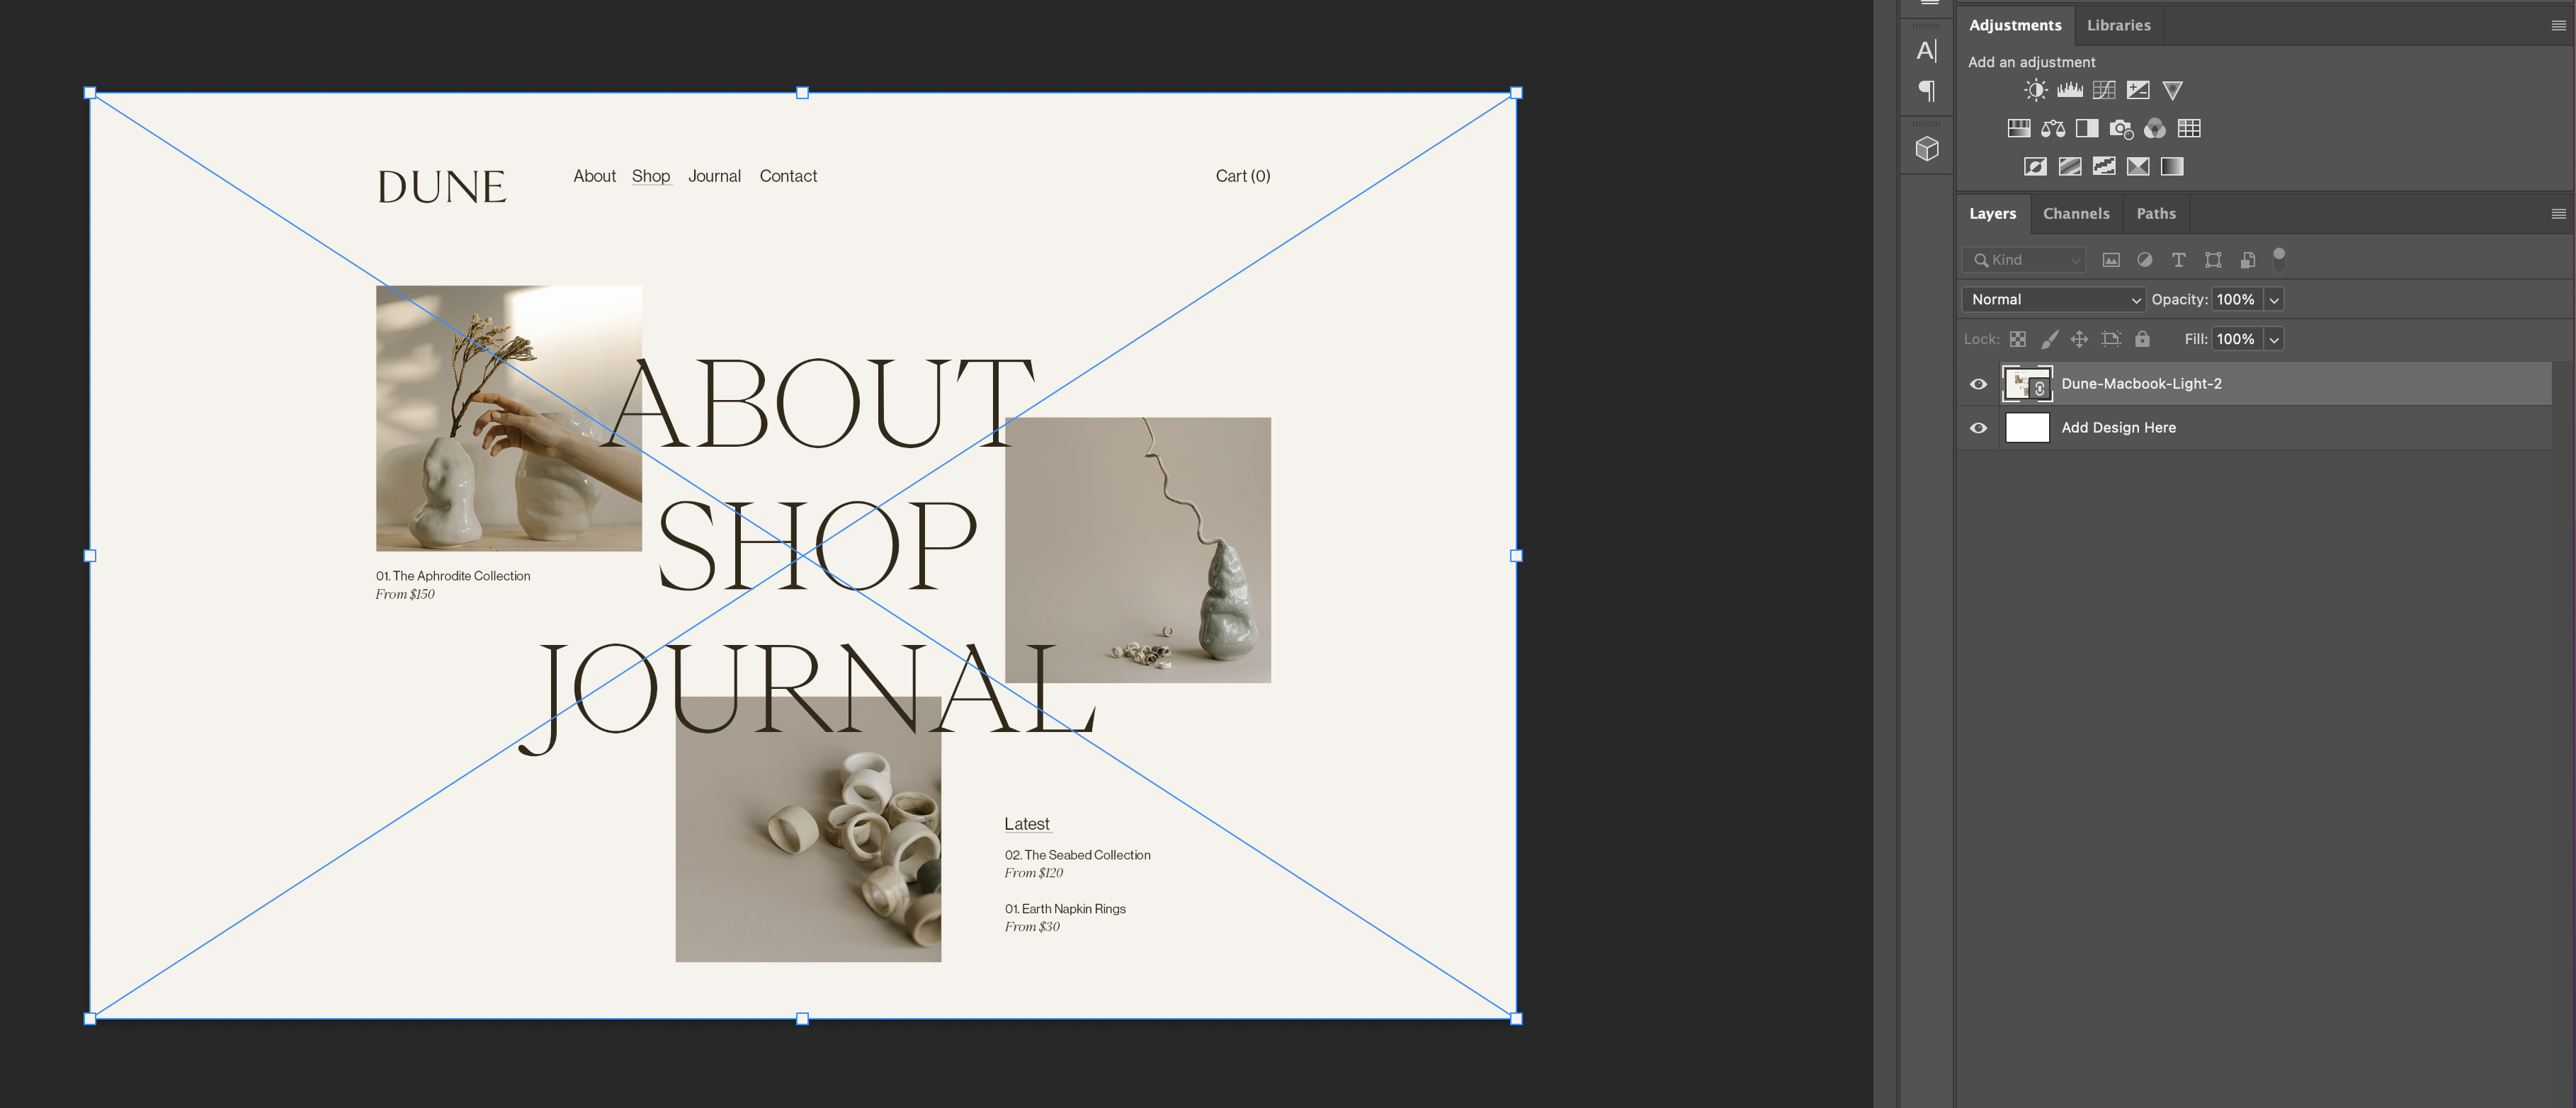
You will then see that your design is now placed in the correct position. To edit the image again, simply repeat the above.
Customising Colours
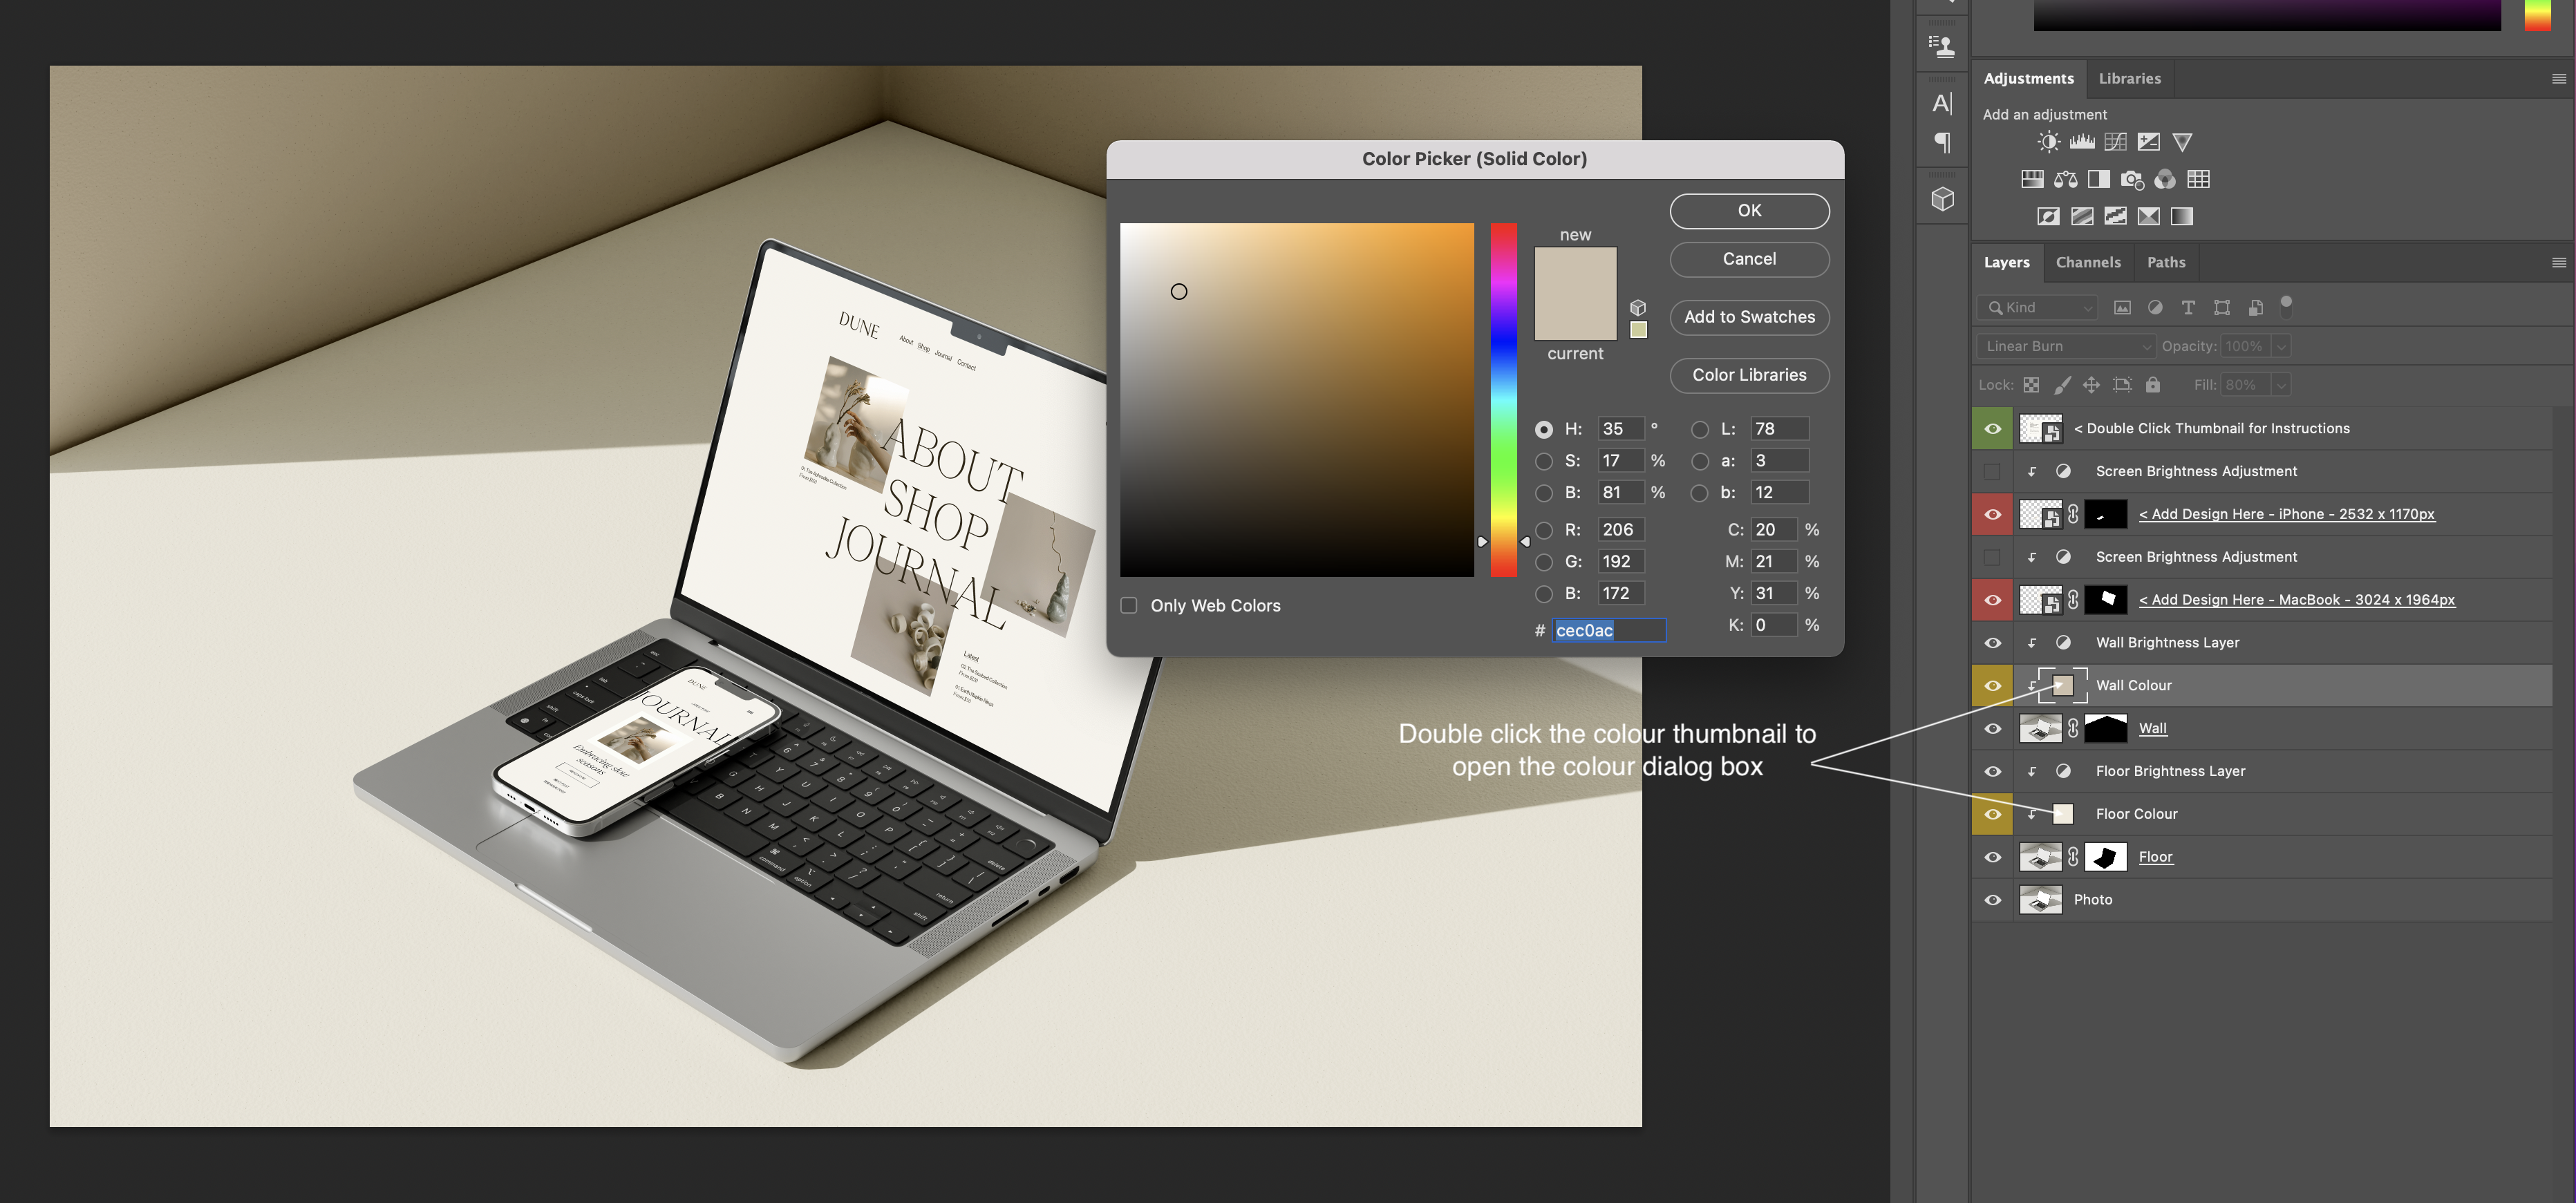
Double click the colour thumbnail of the layers highlighted yellow to open the colour dialog box. Select the colour and click OK.
Optional Adjustments
Depending on your design you may need to adjust the brightness. In the layers panel, you will see a ‘Screen Brightness’ adjustment layer. By default this is turned off, but you can toggle this on or adjust slider to darken the screen should you wish to add additional realism to the mockup.
Comments
0 comments
Please sign in to leave a comment.