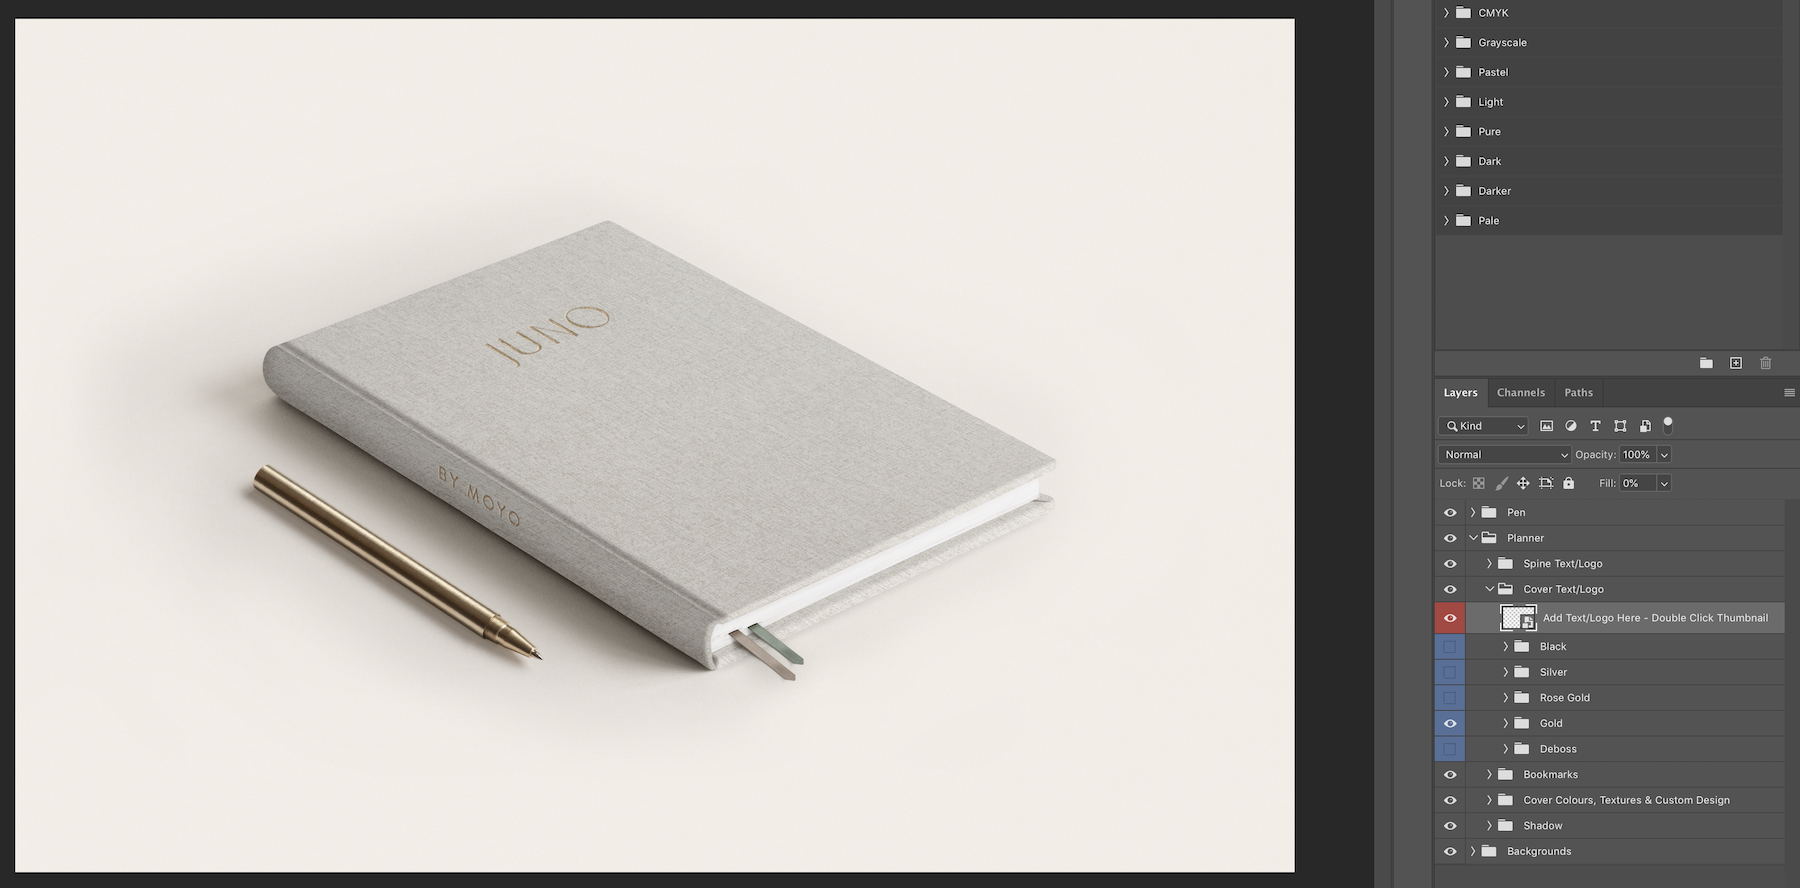
To add text/logo and custom designs to the planner covers there are layers called ‘Add Text/Logo Here’ and ‘Add Custom Design Here’ highlighted red. To find these layers, you will need to expand the main ‘Planner’ folder and then the corresponding folder you want to edit such as ‘Cover Text/Logo’, ‘Spine Text/Logo’, ‘Custom Design’ etc depending on which Photoshop file you are working on.
To add text/logo:
1. Simply double click the thumbnail of the ‘Add Text/Logo Here’ layer
2. A new tab in Photoshop will open.
3. Go File > Place Linked and select your text/logo or use the text tool to add some text.
4. Position the text/logo where you want it.
5. Go File > Save. Close tab.
To add a custom design to cover (artwork, illustrations, seamless pattern etc.):
1. Simply double click the thumbnail of the ‘Add Custom Design Here’ layer
2. A new tab in Photoshop will open.
3. Go File > Place Linked and select your design.
4. Scale the design (if necessary).
5. Go File > Save. Close tab.
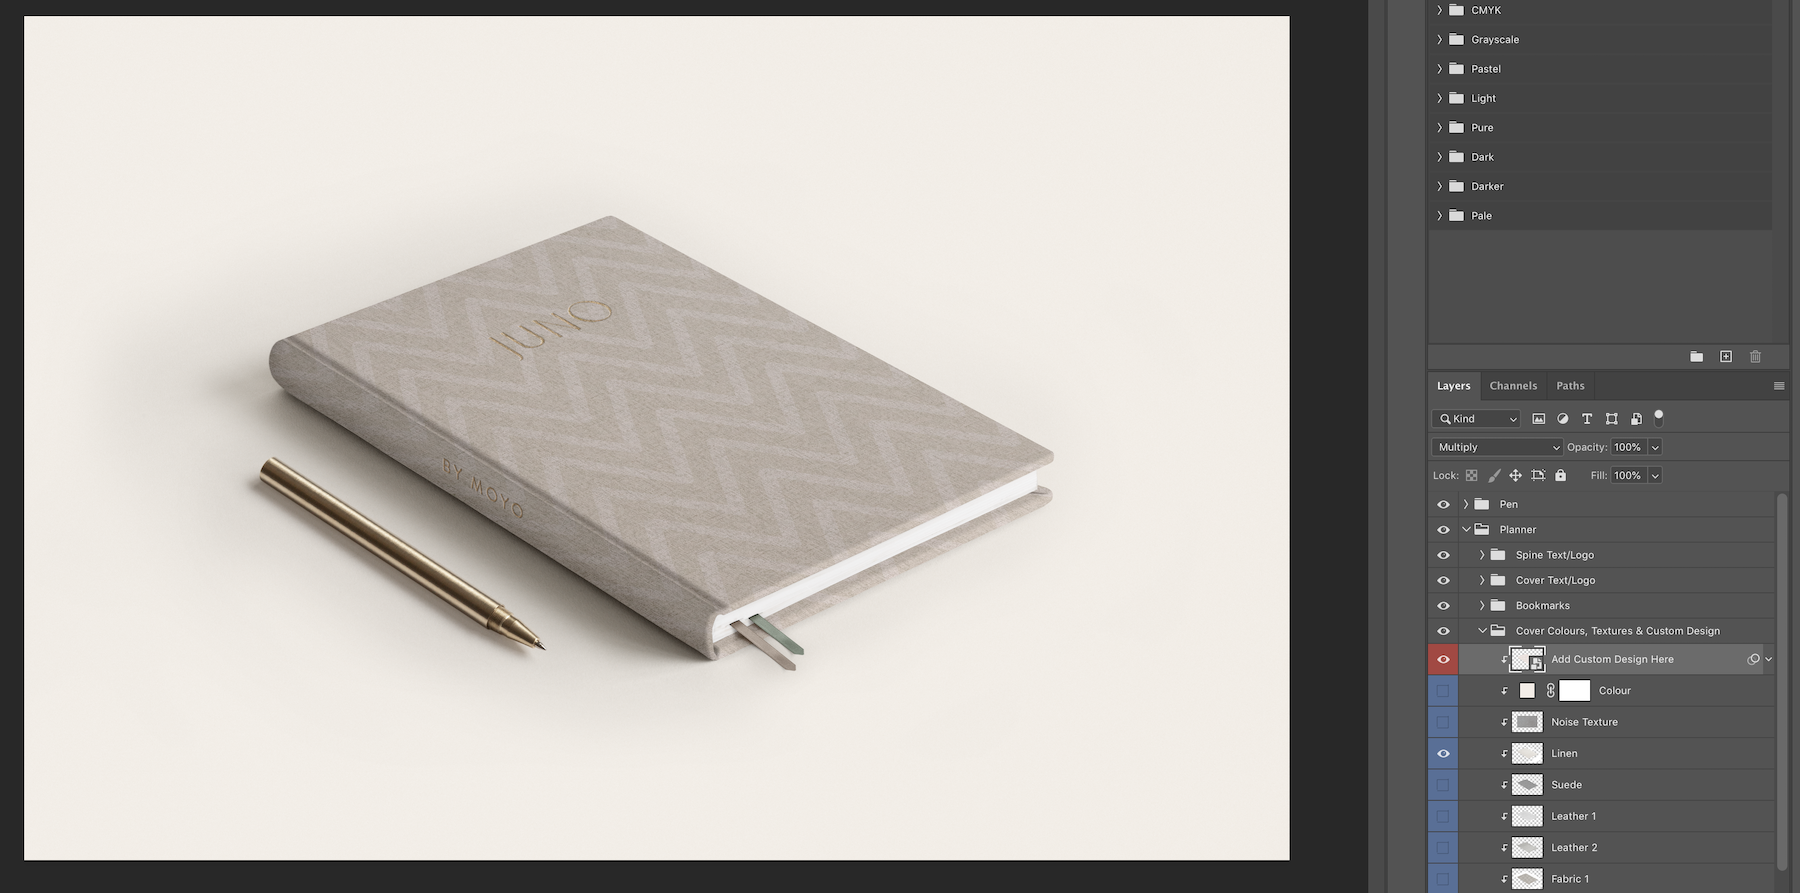
Note: For Position 3 - Angle, the design wraps around the whole planner including the cover, spine and back cover.
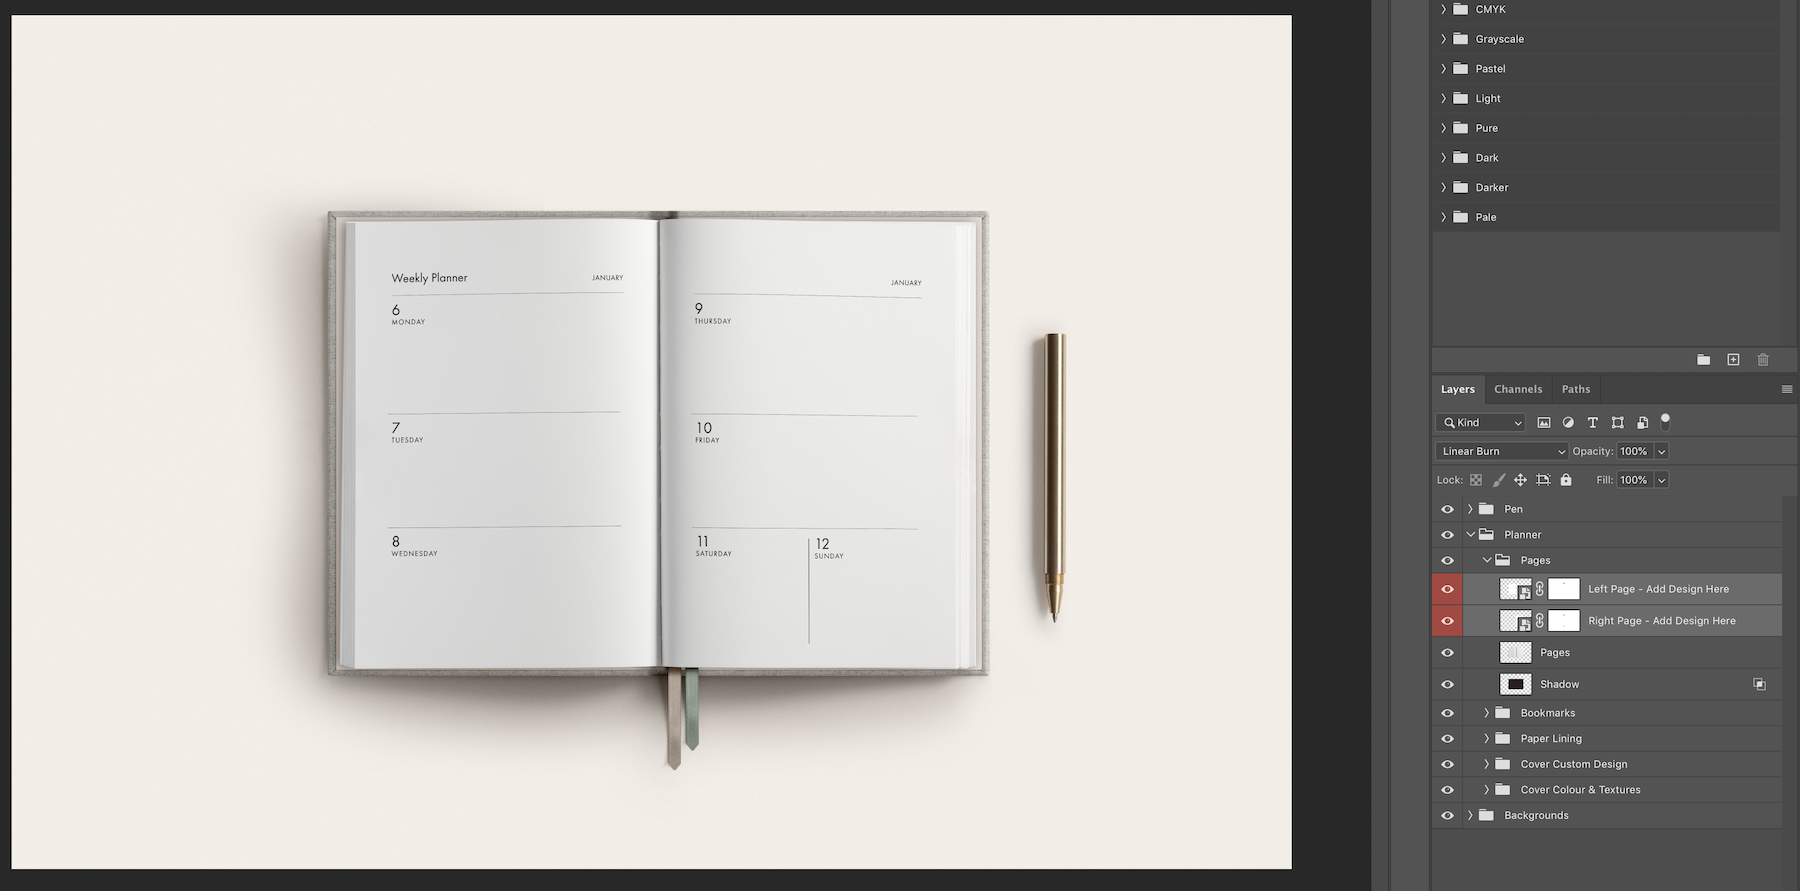
To add a page design for ‘Position 4 - Open Spread’:
1. Simply double click the thumbnails of the ‘Left Page - Add Design Here’ and ‘Right Page - Add Design Here’ layers.
2. A new tab in Photoshop will open.
3. Go File > Place Linked and select your page design.
4. Scale the design (if necessary).
5. Go File > Save. Close tab.
Comments
0 comments
Article is closed for comments.