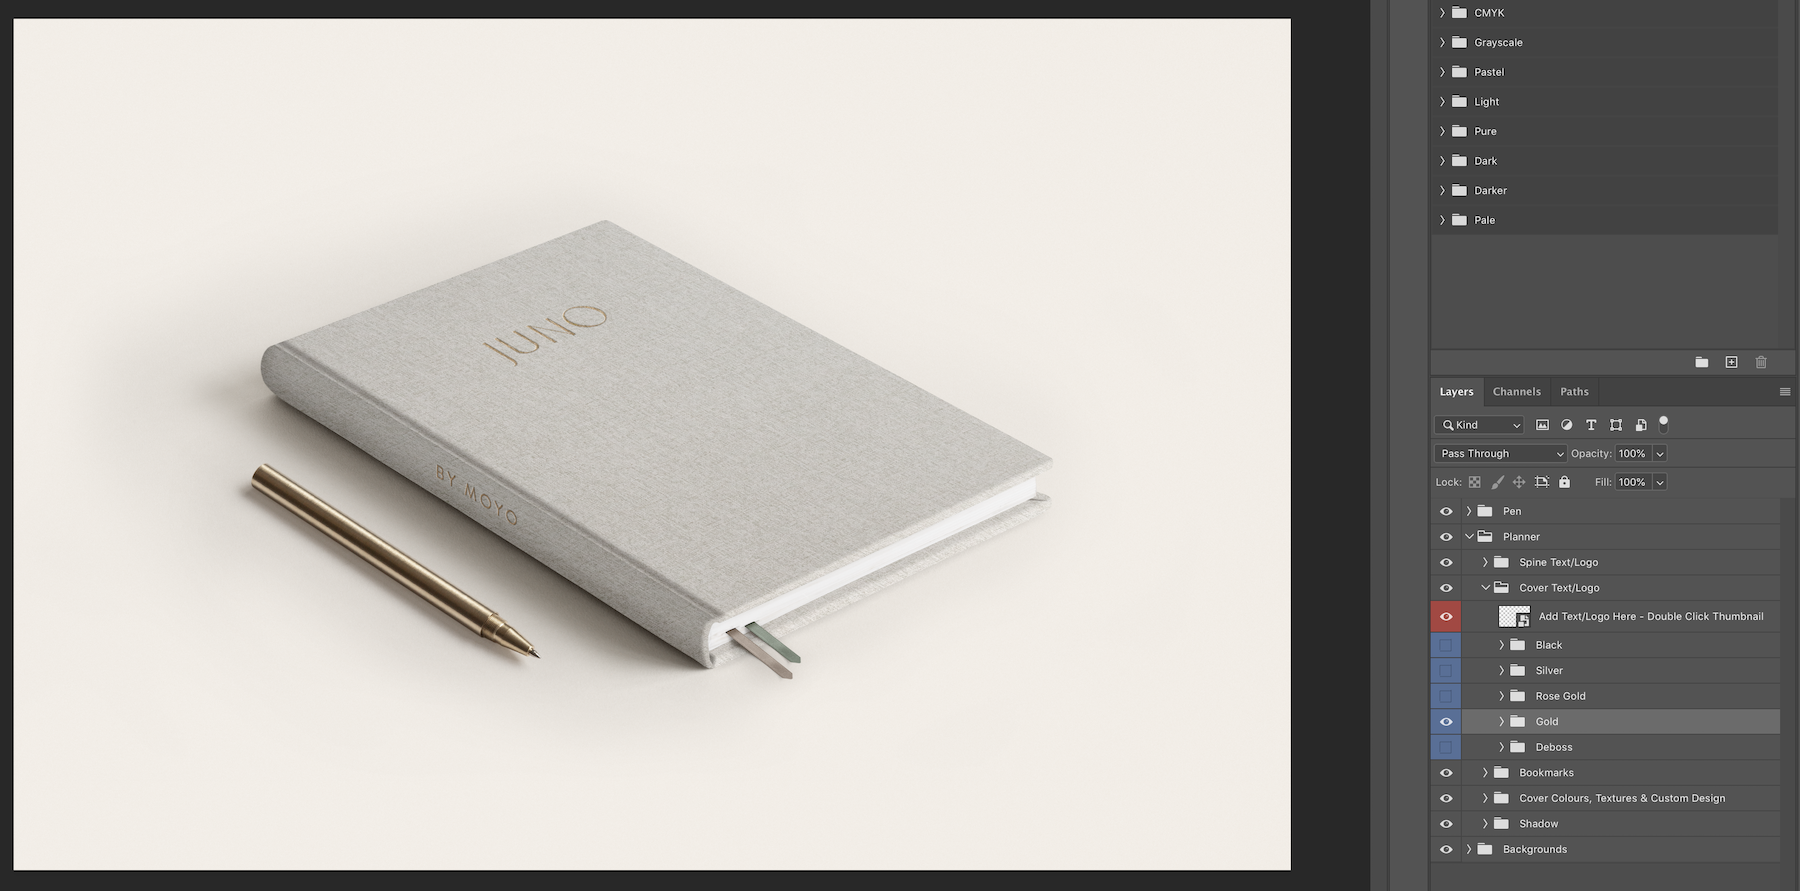
Deboss Foil Text/logo Effects
After adding your text to the ‘Add Text/Logo Here’ layer highlighted red, you can select which text effect you would like.
These text effect layers are located under this layer and are highlighted blue. There are 5 different text effects to choose from - Black, Silver, Rose Gold, Gold and Deboss. Simply click the eye icon of these layers to turn them on. Please only have 1 turned on at a time.
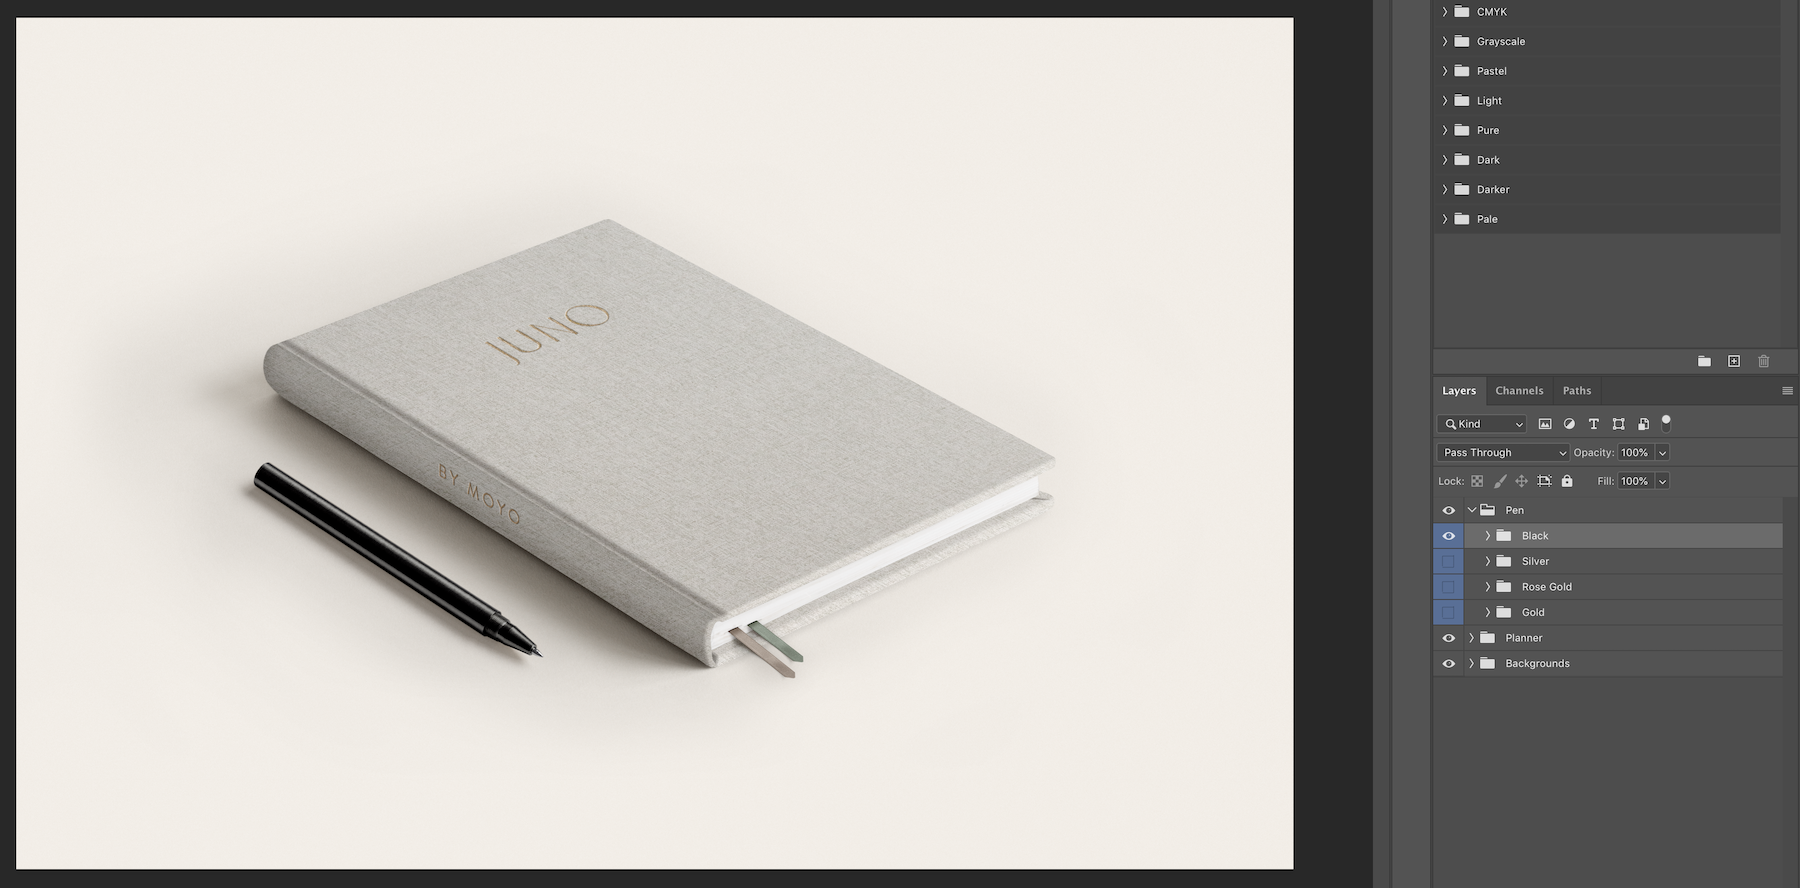
Pen
Choose between 4 pen colours - Black, Silver, Rose Gold and Gold. Simply expand the ‘Pen’ Folder and simply toggle on/off the colour folder that you want. These folders are highlighted blue.
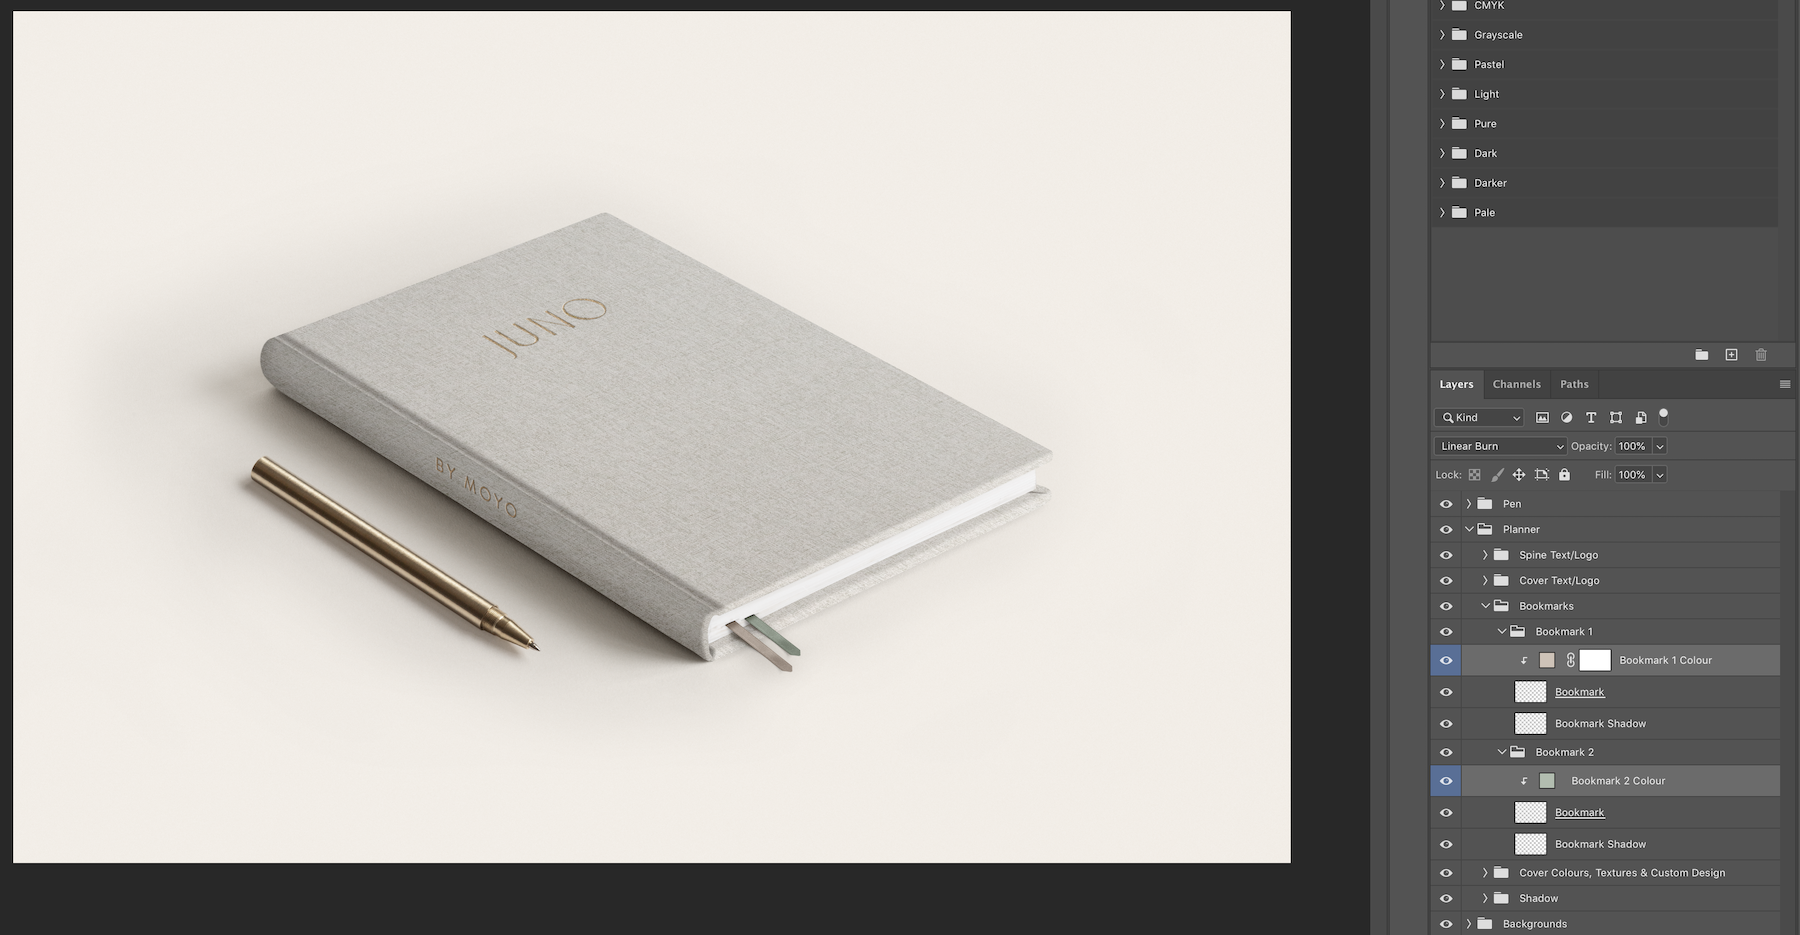
Bookmarks
There are 2 bookmark options that can be toggled on/off by clicking the eye icon of the Bookmark 1 and Bookmark 2 folders.
If you expand these folders there will be a layer highlighted blue which allows you to change the colour of the bookmark. Double click the colour thumbnail, this brings up a colour dialog box. Select your colour and click OK.
Cover Colour & textures
To change the colour of the planner cover, simply expand the main ‘Planner’ folder and then ‘Cover Colour & Textures’.
For ‘Position 3 - Angle’, the name of the folder will be ‘Cover Colour, Textures & Custom Design’. You will see several layers highlighted blue.
The first layer is the ‘Colour’ layer. To change the colour of the cover, simply double click the thumbnail of this layer. This brings up a colour dialog box. Select your colour and click OK.
To turn the colour layer on/off click the eye icon for that layer.
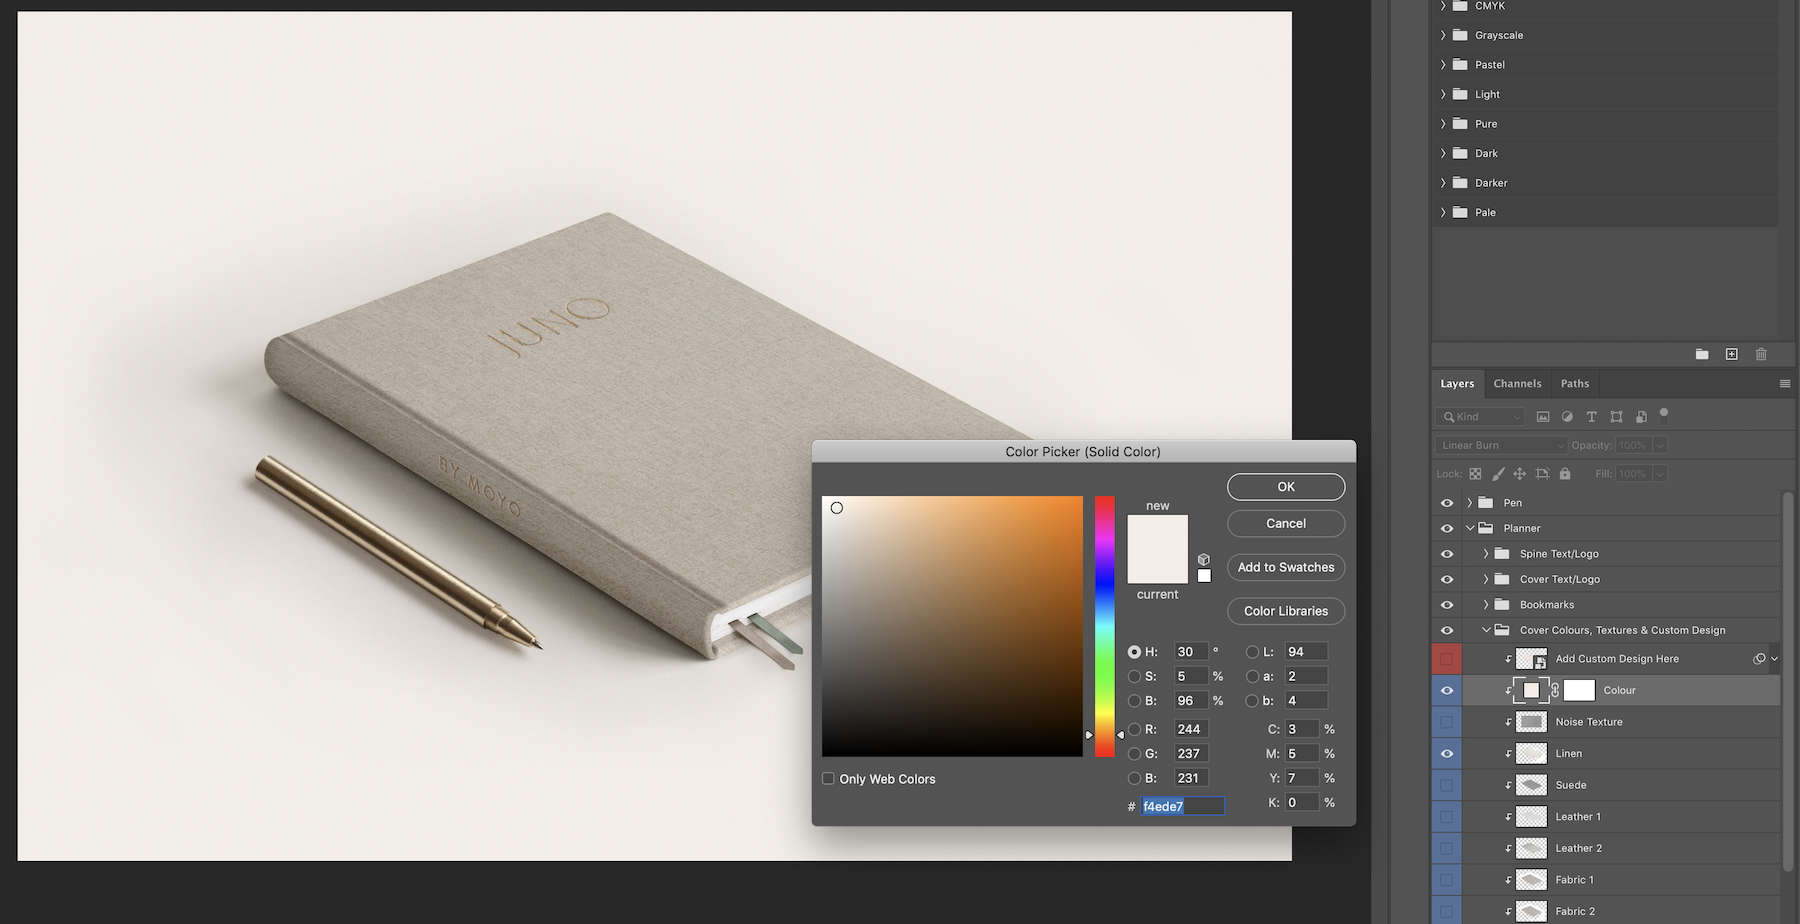
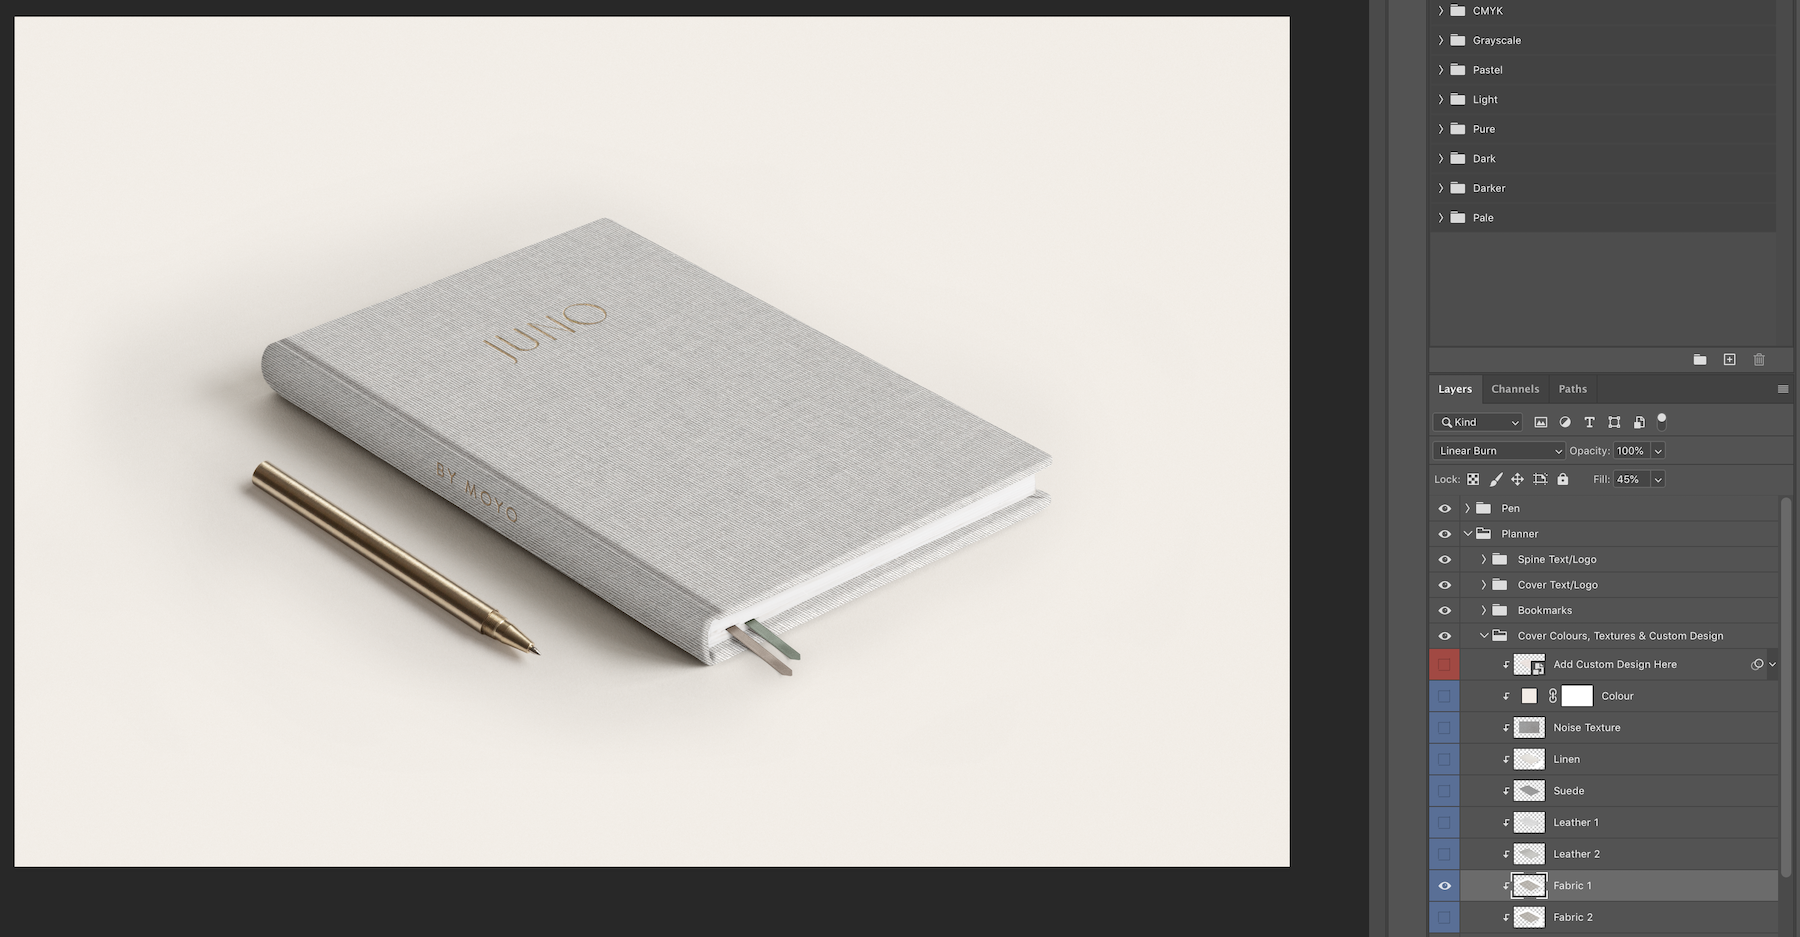
To change the cover texture simply click the eye icon of the texture you would like. Turn on only 1 texture at a time.
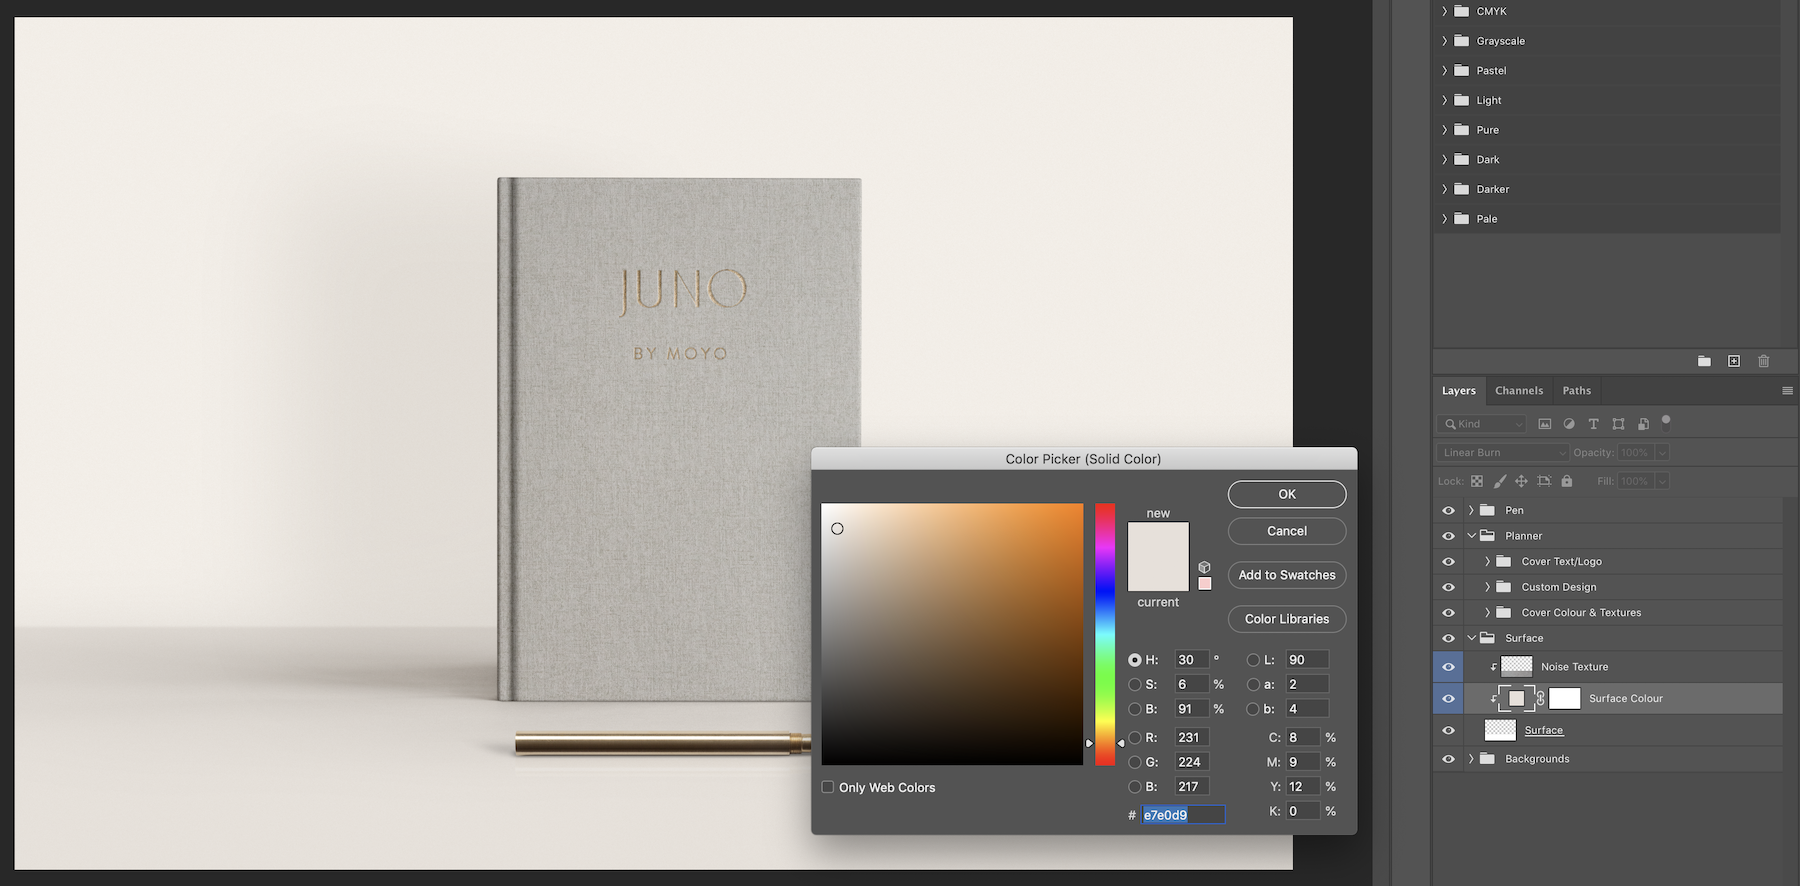
Surface - ‘Position 2 - upright’
For ‘Position 2 - Upright’, there is an option to add a surface layer. To turn this on, simply click the eye icon of the ‘Surface’ layer. To change the colour of the surface, expand this folder and double click the colour layer thumbnail. Select a colour from the dialog box and click OK.
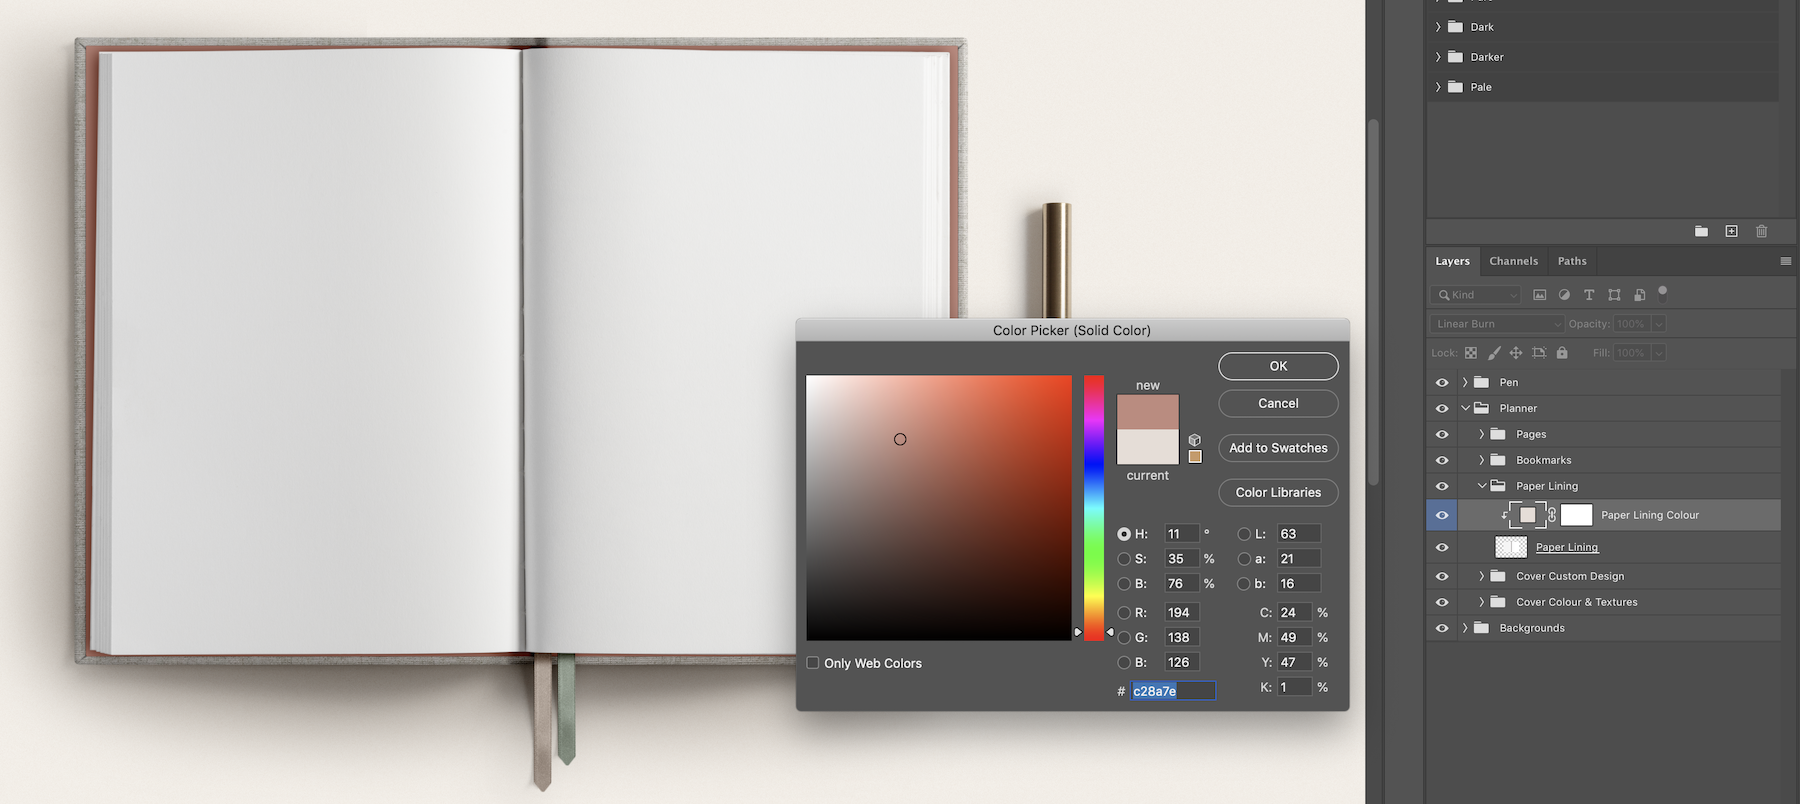
Pages and Paper Lining - ‘Position 4 - Open Spread’
For ‘Position 4 - Open’, you can add your page design to the left and right pages by following the instructions above.
To change the colour of the inner paper lining, simply expand the main ‘Planner’ folder and then the ‘Paper Lining’ folder. Double click the colour thumbnail, this brings up a colour dialog box. Select your colour and click OK.
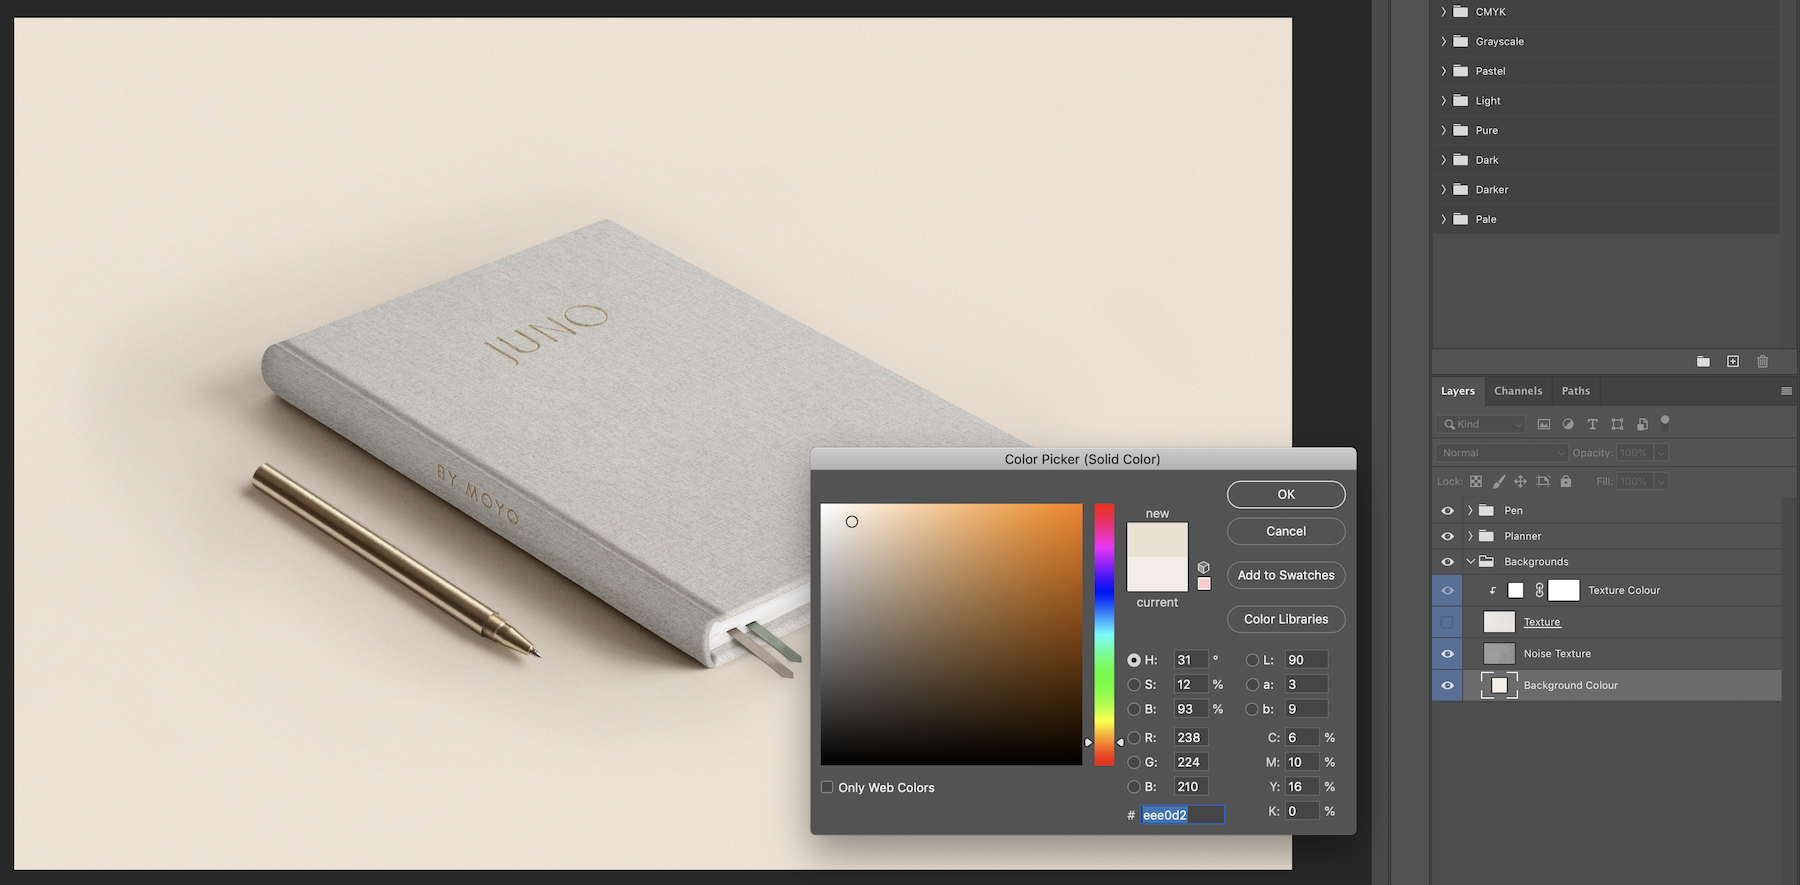
Backgrounds
To change the background, simply expand the ‘Backgrounds’ folder. There is a ‘Texture’ layer which can be customised by changing the colour of the ‘Texture Colour’ layer.
There is also a ‘Background Colour’ background which can be made any colour by double clicking the layer thumbnail and choosing a colour. There is an optional noise texture layer which can be toggled on/off or adjusted in intensity by increasing/decreasing the fill/opacity sliders.
Comments
0 comments
Article is closed for comments.