In the layers section expand the ‘Paper’ group by clicking the small down arrow. Click the ‘eye’ icon of the paper size that you want to add your design to toggle it on. Then expand it by clicking the small down arrow. You will see a layer that is highlighted red and called ‘Add Design Here’. Double click the layer thumbnail. This will open a new tab in Photoshop.

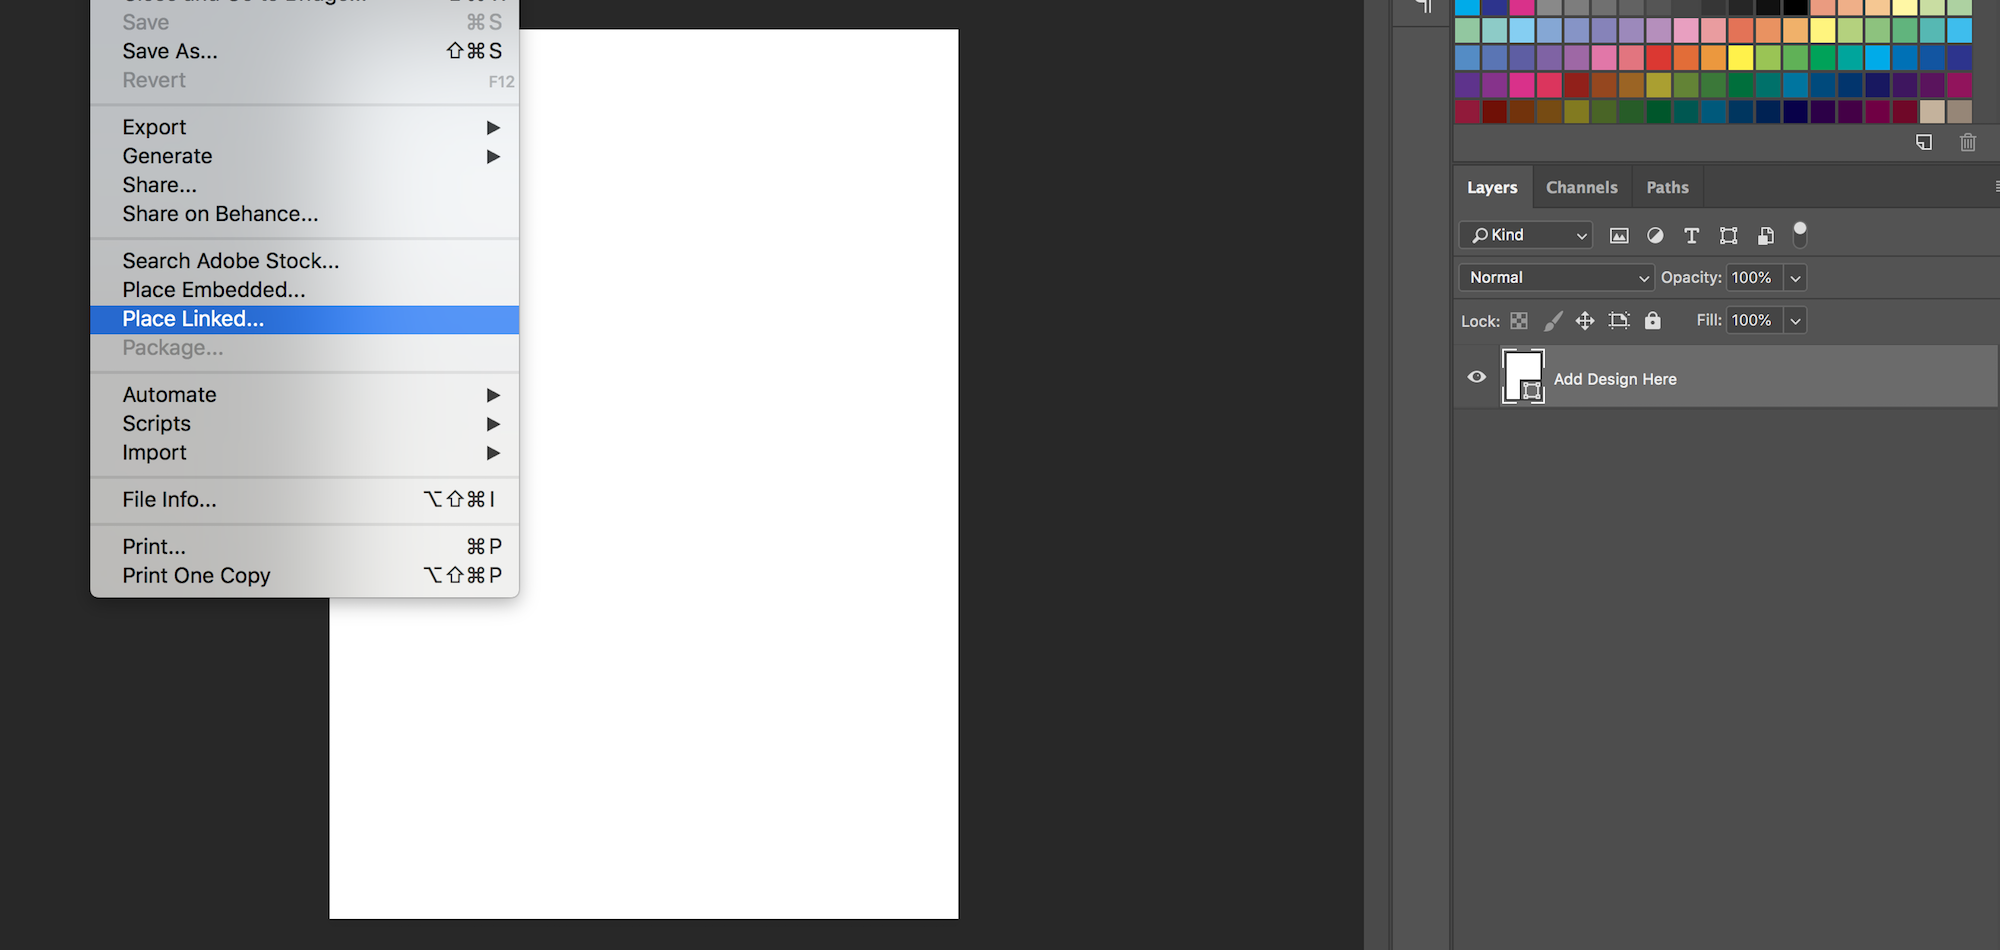
In this new tab, to add your design simply go File > Place Linked and select your design. Click Save. Your design will appear on the paper.
Repeat the same process for adding your design to the tag.
To change the colour of the paper or tag click the highlighted red layer called ‘Add Design Here’.This will open a new tab where you will see a blank white shape. You can add a new layer by going to Layer > New > Layer. Select your desired colour and use the ‘Paint Bucket’ tool to apply the colour to the new layer. Save this tab and close it.The colour will now be applied to the paper or tag.
If you need to duplicate a paper size to showcase more than one design then you will need to select the paper size group layer and go Layer > Duplicate Group. Select the new duplicated group and expand it. Select the highlighted red layer called ‘Add Design Here’. Control click / right click this layer and select ‘New Smart Object via Copy’. This will create a copy of the layer which you can then add your design to by following the step above. You can then turn off or delete the original layer.
Each paper size and tag comes with 2 different textures. You can toggle them on or off to your specification as well as adjust the opacity of the texture by selecting the texture layer and reducing the Opacity or Fill sliders.
Comments
0 comments
Article is closed for comments.