TAGS
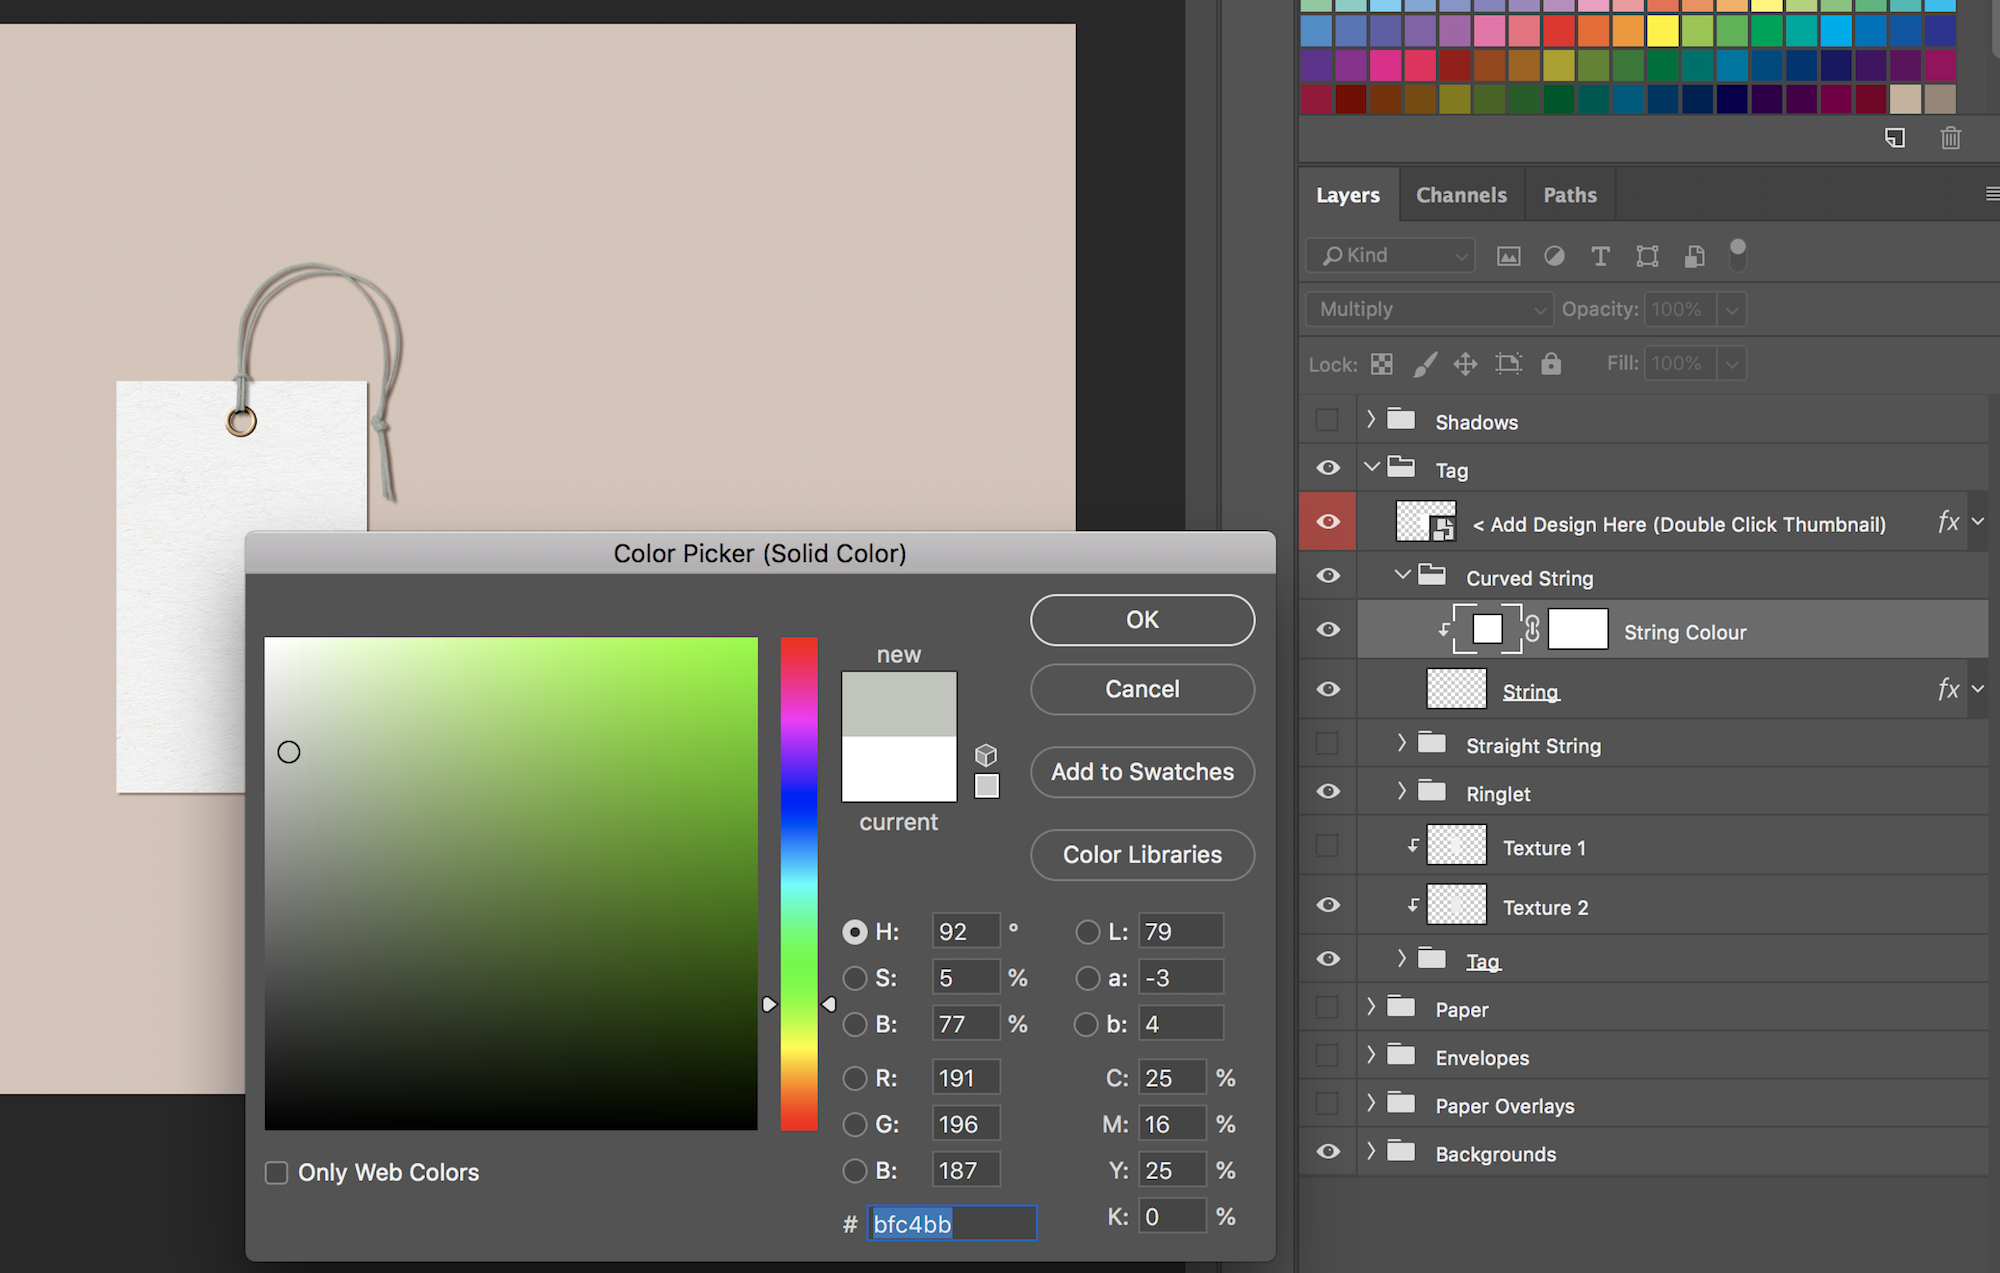
Our scene creator comes with two tags, one with straight string and one with curved string. To change the colour of the tag please follow the steps above.
You can change the colour of the string by firstly expanding the tag group and then expanding the ‘String’ group. The first layer will be the ‘String Colour’. Double click the layer thumbnail. This will bring up the colour dialog box. Choose a colour and click OK.
You can also customise the colour of the ‘Ringlet’ on the tag. Expand the ‘Ringlet’ group and simply double click the layer thumbnail of the ‘Ringlet Colour’ layer and select a colour from the dialog box.You also have the option to toggle the ringlet on or off.

POLAROID & COLOUR SWATCH
To add your design/image to the Polaroid, simply expand the 'Polaroid' folder and double click the layer highlighted in red 'Add Design Here' and follow the same process as adding your designs to the paper.
To change the colour of the colour swatch, simply expand the 'Colour Swatch' folder and double click the thumbnail of the layer highlighted in orange called 'Pick Swatch Colour'. There are also 2 text layers highlighted in orange which can be edited to your specification.

ENVELOPES
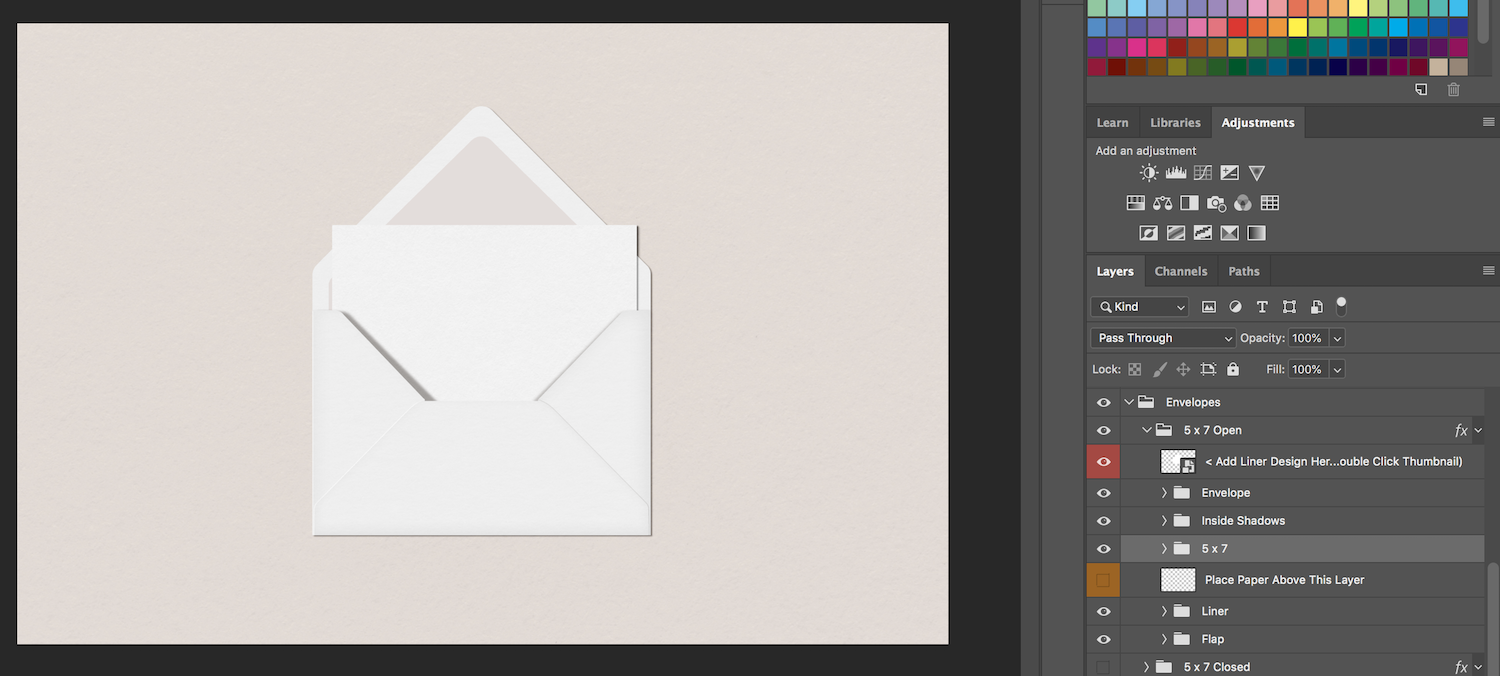
Our scene creator comes with 6 different envelope styles, C5, DL, 5x5 closed, 5x5 open, 5x7 closed and 5x7 open. Expand the ‘Envelopes’ group and toggle on/off the desired envelope. If you then expand that envelope group you will see a layer highlighted orange called ‘Place Paper Above This Layer’. You can drag a paper size group above this layer or place anything that you want to and it will appear as though it is under the flap of the envelope.
To change the colour of the envelopes or flaps you will need to double click the layer thumbnails for the ‘Envelope Colour’ and ‘Flap Colour’ layers.This will open up a colour dialog box.
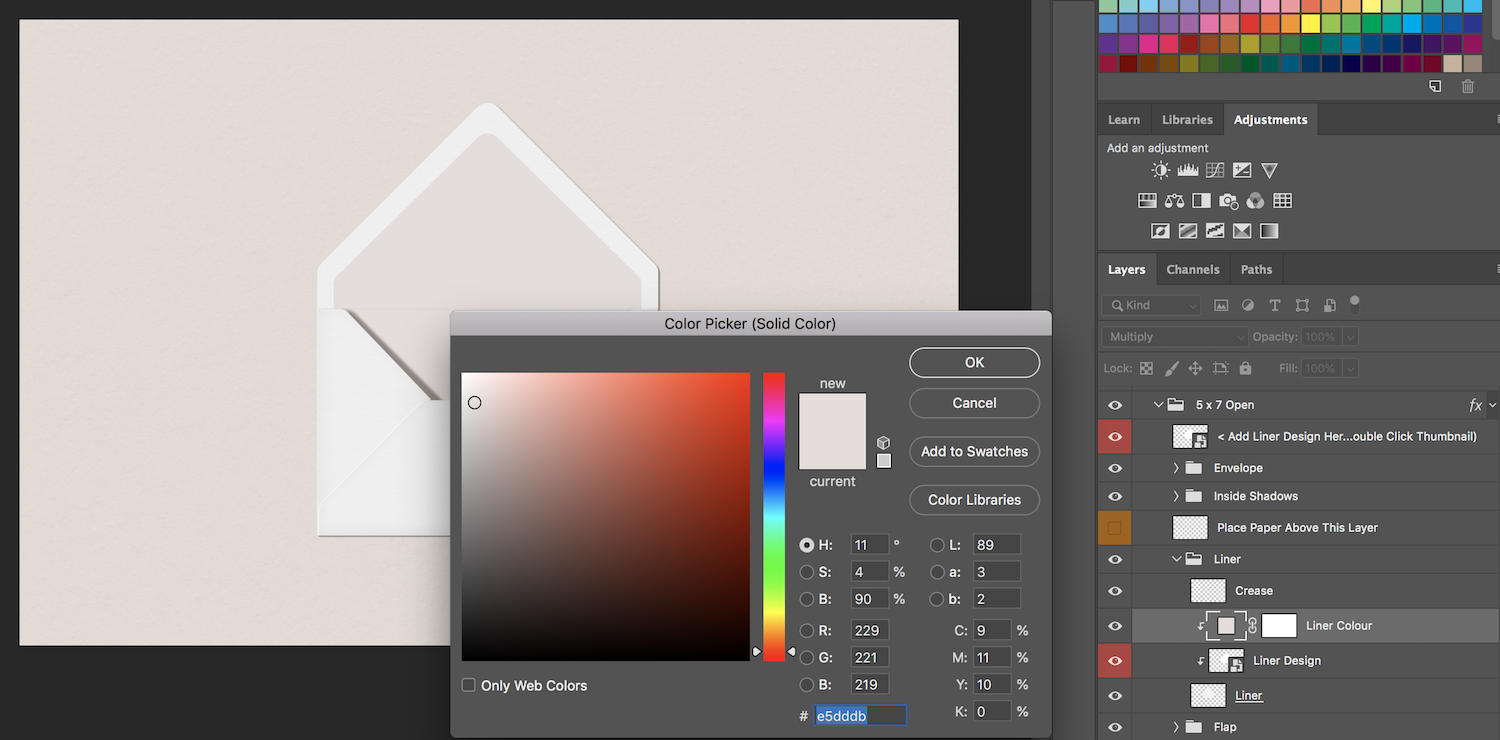
The 5x5 open and 5x7 open envelops have a 'liner' that can be completely customised. To add a design to the liner, expand these folders and there is a layer highlighted in red called 'Add Liner Design Here'. Double click the thumbnail of this layer and this will open a new tab in Photoshop. Go File > Place Linked and add your design. Scale the design to cover the liner area. Save and close this tab. You can also change the colour of the liner by expanding the 'Liner' folder and double clicking the 'Liner Colour' thumbnail.
The flap and the main envelope are separate layers and therefore can be customised individually. For the closed envelops, the flap has a shadow applied that gives the appearance of the flap being slightly raised. To give the appearance of the flap being closed, you can either toggle this shadow layer on or off or adjust the Opacity or Fill sliders.
STICKY TAPE
To create a 'Mood Board' there is an option to use sticky tape on any of the elements. Simply move the tape by moving the 'Tape' folder and placing it on the element. There are 2 sizes of tape and each can be made any colour. To change the colour, simply expand the 'Tape' folder and then the folder of the tape size you want to change. Double click the thumbnail of the 'Tape Colour' layer and select from the colour dialog box. The tape has a noise texture applied which works better for lighter colour tapes. If you want to use a darker colour then the intensity of the noise texture layer may have to be adjusted as well as the opacity/fill of the 'Tape' layer itself by adjusting the opacity/fill sliders.
ADJUSTING DROP SHADOWS OF PAPER, TAGS AND ENVELOPES
Each paper size, tag and envelope has a small drop shadow applied to the layer highlighted red called ‘Add Design Here’.You can completely customise the look of these shadows by selecting this layer and double clicking where it says ‘Drop Shadow’.This will open up the ‘Layer Style’ dialog box.You can then adjust the settings to achieve your desired appearance.
SHADOWS
To add a shadow, simply expand the ‘Shadows’ group and toggle on/off the desired shadow. To adjust the appearance of the shadows, simply expand the group of the shadow and you will see two layers called Shadow 1 and Shadow 2.You can increase/decrease the Opacity and Fill sliders to get the look that you require. Shadow 1 will take on the colour of the background and your designs and Shadow 2 is used to darken or lighten the shadow.
PAPER OVERLAYS
Our scene creator comes with 3 different paper overlays, Diagonal, Horizontal and Vertical. Each one comes with a paper texture layer that can be toggled on or off or adjusted by using the Opacity or Fill sliders.To change the colour, simply expand the group and double
click the ‘Paper Overlay Colour’ layer thumbnail.This will bring up the colour dialog box where you select your colour, and then press OK to confirm changes.
BACKGROUNDS
To change the background, simply expand the ‘Backgrounds’ group and toggle on/off the desired background.There is also a ‘Colour’ background which can be made any colour by double clicking the layer thumbnail and choosing a colour.
Toggling on/off different texture layers and adjusting the Opacity and Fill sliders can produce lots of different effects. For example if you wanted the marble texture layer to be more pink, you can make the ‘Colour’ background pink and then slightly reduce the Opacity and Fill sliders of the marble texture. Plus, you can also choose a different blending mode for the textures such a ‘Multiply’ or ‘Linear Burn’.This means that the texture will blend with whatever layer is underneath it.
Comments
0 comments
Article is closed for comments.